


We've previously looked at how aperture, shutter speed and ISO can control the amount of light your camera uses, and how they're related in the exposure triangle. But how does a camera determine what the correct exposure is? Here we'll explore the metering modes most commonly found on cameras, and which ones you should be selecting for different subjects.
Metering modes allow a camera to determine how much light there is in any given scene, and how much there should be. However, the way the modes calculate this can vary, and probably work slightly differently to how you expect. They look at the reflected light in part or all of the image frame, and determine an appropriate exposure for the "average" scene based on this. In automatic modes this can then be used to control settings like ISO, aperture and shutter speed.
The important thing to note is that this appropriate exposure level is based on the metered subject having an assumed reflectance level of around 12 to 18 percent (depending on the camera system). This means whatever tone the metered subject actually is, the camera assumes it's of a middle gray tone. Users can then be presented with a exposure level indicator which is a sliding scale showing whether the current camera settings will result in the metered subject being over or under exposed and make adjustments accordingly.
Practically, this means that if you were to take a photo of a black cat in the snow your images would look very different depending on your metered subject. Metering just on the black cat, would mean the camera exposed for it being middle gray, making it appear lighter in the resulting image, and detail in the snow lost as blown highlights. Meanwhile, metering on the snow would result in the camera exposing it as middle gray, and the details of the cat lost into darkness.
This is why it's important to understand and then select the right metering mode for the image you're shooting, whether shooting in automatic modes or manually. Here we'll look at the three main metering modes found on the majority of cameras, how they work, and what sort of images they are best suited for.
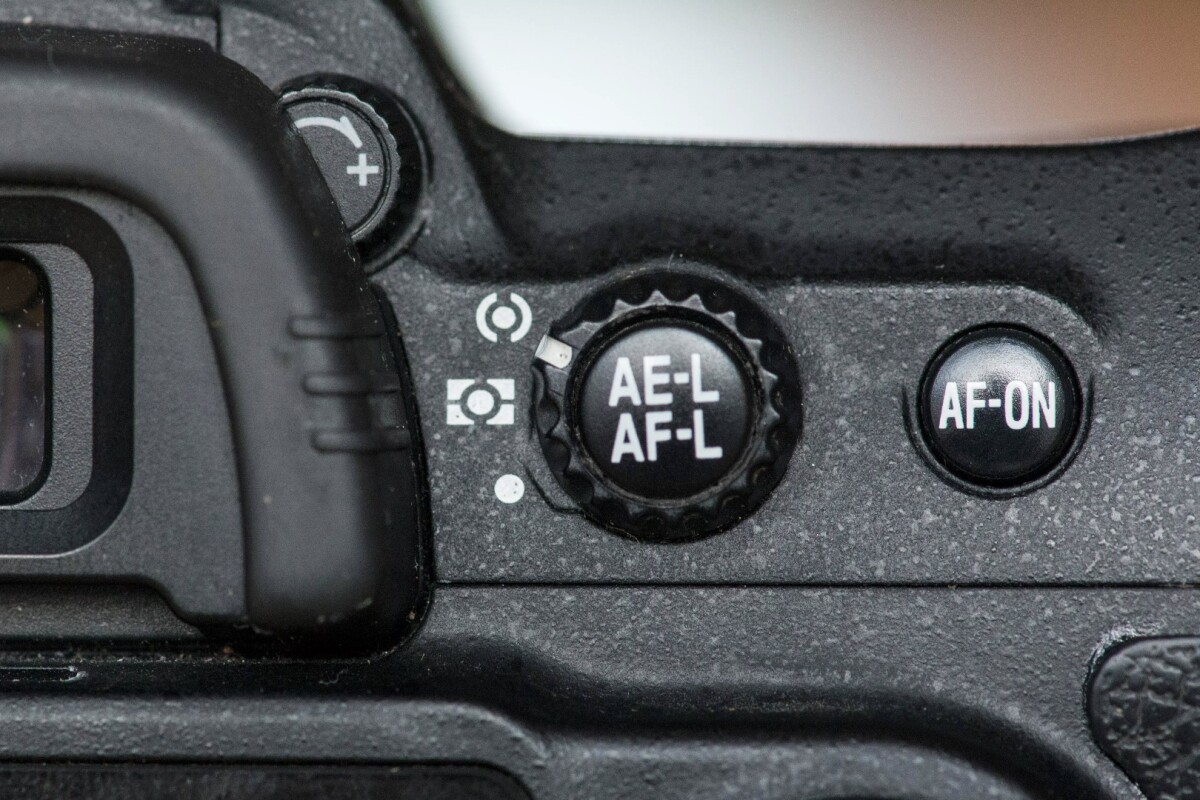
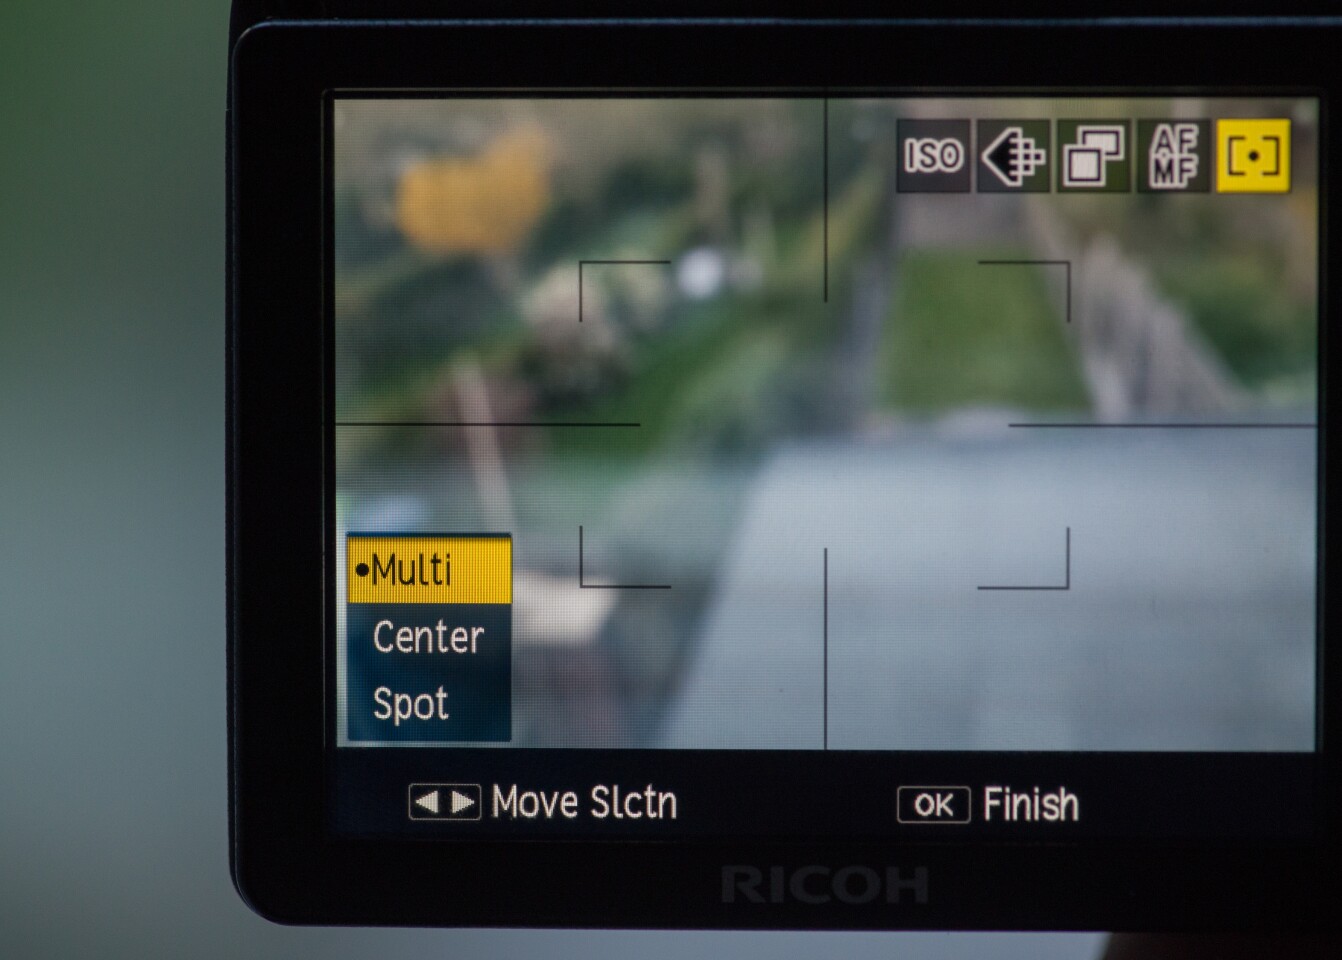
Metering modes can be selected via a physical dial on some cameras, or within the menu system on others, so it's best to check your own instruction manual if you are not sure where to do this.
Evaluative Metering

This is typically the metering mode many cameras use by default, though it could be called Multi, Matrix, Zone, Pattern or Honeycomb depending on brand. It works by dividing the image frame in a number of sections, which are each metered separately.
The camera then calculates an appropriate exposure. This can be done in a number of ways, and again will vary depending on camera brand. Some simply work out an average exposure value based on all of the metering zones, while others will give priority to factors such as focus point or distance to subject, and can take into account databases of reference images for a better chance of getting it right.

Using this metering mode will give a correctly exposed image most of the time, in most situations. This makes it a good choice for everyday shooting where another mode doesn't offer an obvious advantage. It also works well with automatic and semi-automatic shooting modes. However, if you want to have more control you might want to explore the alternatives, too.
Center-weighted Metering
In this mode the camera does not consider the entire image frame equally, but instead focuses on the center area when determining an appropriate exposure. The importance given to this area can then diminish depending on how far it is from the center of the frame.
While some cameras will have a center-weighting which covers a set percentage of the image frame, others let users adjust the size of the circular area depending on what subject they are shooting.

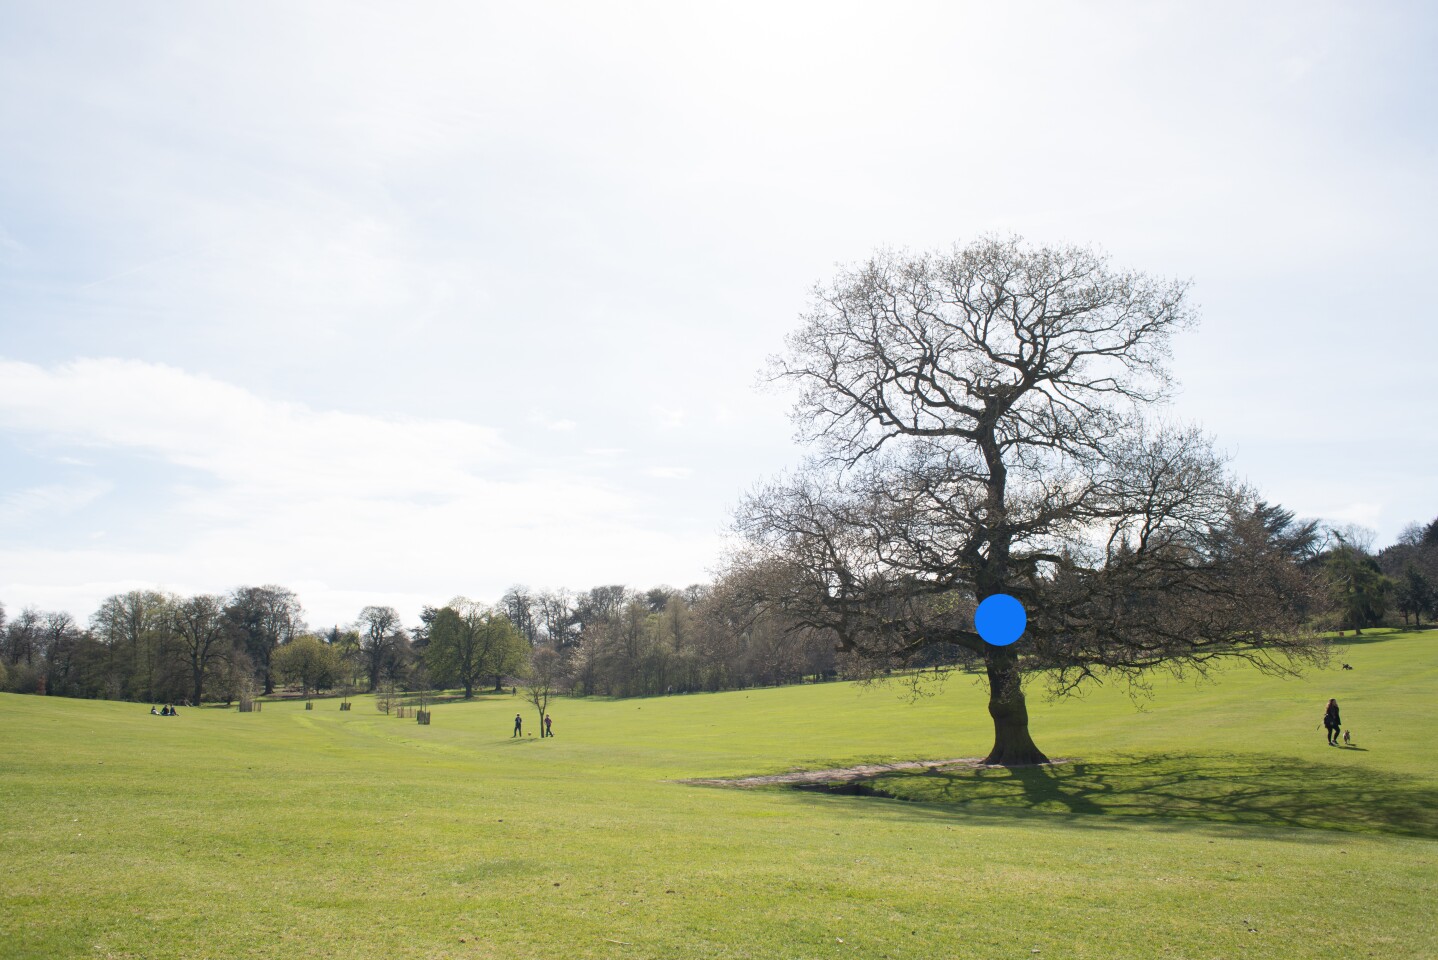
Because this mode is more predictable than the more automatic evaluative metering mode, it's well suited for users who have a better understanding of exposure. It is often used when shooting subjects located in the center of the image, or high-contrast scenes where evaluative metering can have trouble gauging a correct exposure.
Spot Metering
As the name suggests, spot metering uses a spot on the image frame to calculate appropriate exposure. This area is typically about 2-5 percent of the frame, which means you get a more precise reading, but have to be more careful and accurate when using it.
When using spot metering everything within that spot will be averaged out to determine exposure, but nothing outside the spot is taken into account. However, because it's so precise it can take a bit more getting used to than the previous modes. Spot metering can be done from the center of the frame, though users often have the option to move the spot area around the frame with the focusing point.
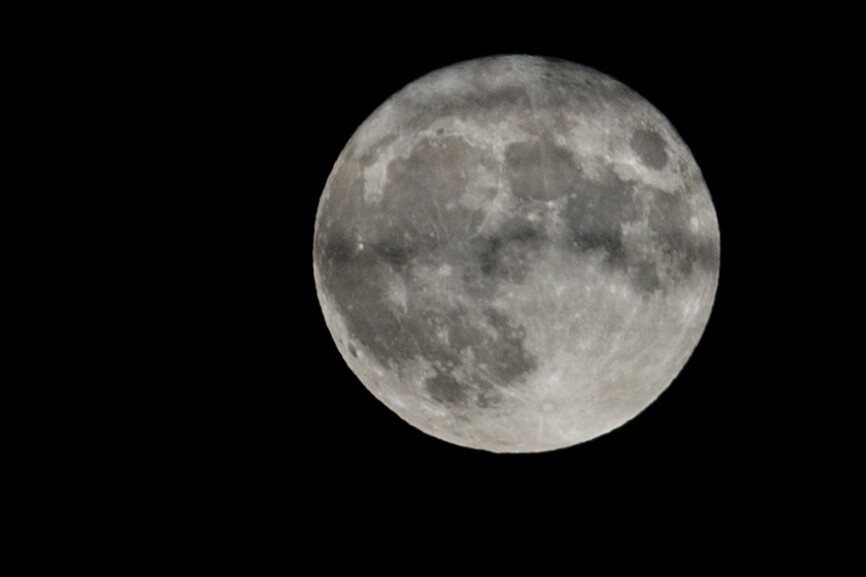
Spot metering is well suited to times when you are shooting into the light (and need to meter on something which isn't too bright) or a subject with an extreme light or dark background. In fact, anytime you are dealing with tricky lighting, spot metering is probably going to be your best bet. It is also particularly handy for macro photography. Many enthusiasts and pros leave their camera set to spot metering as it puts them in more control.
Summary
Hopefully this article has helped you to understand what the metering mode of your camera is doing, and what that exposure indicator scale is showing you. By having an understanding of how this works, and knowing which mode to select and when, it should give you a better chance of consistently shooting images with the sort of exposure you are aiming for. It also gives you far more creative freedom than shooting with automatic modes.
If you want to say goodbye to the automatic mode on your camera, you might also want to check out our guides to camera modes, aperture, shutter speed, ISO and the exposure triangle. In upcoming articles we'll also explore subjects like focus modes, and which lenses to use and when.