


We've been fortunate to have a review unit of the mesmerizing HTC Vive in house for nearly a couple of weeks. Though the Vive's setup and use is pretty straightforward, we have a few tips to help you get the smoothest VR experience from the best VR headset.
Before setting up: Find the right room

One of the biggest myths about the HTC Vive is that you need to devote a room to it permanently. Poppycock: you don't need a permanent VR room for the Vive any more than you need a permanent gaming room for your old Wii or for a workout room for exercise videos. All you need is a space where you can leave your PC plugged in, and can easily clear floor space once it is time to play.
It will be easier if it's somewhere that you don't have to move furniture, and it's also better if you can close a door behind you if you have young tikes or pets. Room-scale is adaptable in size, but to get a high-quality experience, try to shoot for something in the (roughly) 8 x 7 ft. (around 2.5 x 2 m) or larger range.
Avoid cable kinks

If you're used to mobile VR, one minor drawback with PC-based gear like the Vive is that you'll have a long cord dragging behind you as you walk around your playing space. If it gets any pesky kinks in it, like the kind you get from a garden hose, then it may have trouble stretching all the way across your room.
If your setup allows for it, store your Vive with the cord stretched out flat (rather than coiled up) when you aren't using it. Our review unit's cord has one spot that tended to get kinks in it, but since storing it stretched out, it's been less of an issue. Store it stretched out from the moment you get it, and you probably won't get any to begin with.
Make Chaperone subtler

One of the Vive's killer features is its Chaperone system, which pops up a virtual wall to let you know you're getting near the edge of your playing space. By default, it's very obvious, with a tight grid running all along the holographic wall. If you prefer, though, you can tweak Chaperone's appearance to only trace the outline of the wall, for a subtler effect.
While wearing the Vive, tap one of the controller's system buttons (that's the one below the trackpad) to bring up the SteamVR menu. Then click the little settings gear on the lower right of the menu and choose Chaperone. Beginner is the out-of-box default setting, while Intermediate makes the walls' grid pattern less dense and Advanced only includes a single line at the edges of each wall.
Lens position: Finding balance

Wear glasses? You can slide the Vive's lenses forward to make room. Don't wear them? Then pull those lenses all the way back to get maximum field of view.
To do this, just pop out the little gray rings on the sides of the headset, then pull or push on the front of the Vive. There are different degrees of lens position (and markers to indicate which level you're on), so you don't need to settle for the worst field of view just because you wear glasses. I find that one or two clicks forward is all it takes to make my specs comfortable inside the headset.
Clear up your view with IPD

See that little ridged knob on the lower right side of the Vive headset? While wearing the headset, you can twist that knob to tweak the Interpupillary Distance (IPD), which is the distance between your eyes.
While twisting, a little number will pop up inside the headset to show which setting you're on: this is handy if you've already measured the distance between your eyes and want to match up your setting with that. We find that it's easiest, though, to simply load a game and adjust the IPD until the environment looks clear and comfortable.
Keep your head(set) up

Speaking of clear virtual environments, wearing the headset too low can lead to fuzzier visuals. In addition to adjusting the IPD, try lifting the headset a bit higher than usual to see if it makes your virtual worlds look better. If it does, adjust those straps accordingly to leave it there.
Give Lighthouse a rest

The Vive's Lighthouse base stations can stay powered on all the time, but if you'd rather save power and potentially extend their lifespan (since there are moving parts inside) you can set your base stations to automatically power down when you aren't playing.
To do this, jump into SteamVR settings (the settings in the SteamVR app on your PC, not the one in VR) and then on the General tab check the box next to "Put Base Station in Standby mode when VR is not in use."
The only drawback is that, when you're ready to play again, it can take a minute or two for the Lighthouse stations to power up and start tracking. If you'd rather leave this setting off, you'll be able to play immediately – and we doubt there will be any real harm done to your power bill or the trackers' longevity.
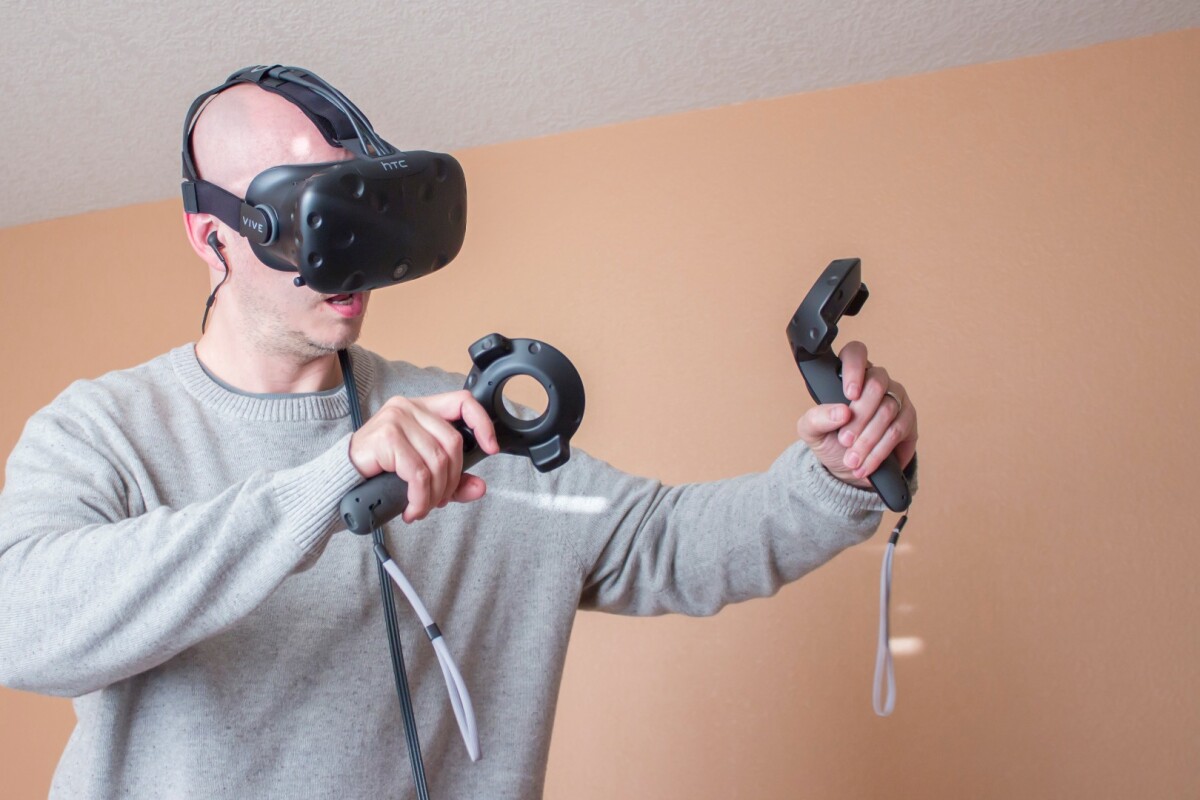
Strap up for more physical games

In games where movement is pretty gentle, we often don't bother with the controllers' wrist straps. But if you're playing something like Selfie Tennis or VR Baseball Home Run Derby, where you'll be flailing your arms like Barry Bonds on a 'roid rage rampage, then you'll definitely want to put those straps on both wrists.
Avoid low-hanging ceiling fixtures

Some games encourage you to reach your controllers up above your head. Our Vive playing space originally had a ceiling fan fixture hanging down, and we banged the controllers into it once or twice.
If you're in that same boat, then you may want to either choose a different room or (if that one is your only option) consider removing the hanging fixtures.
Get in sync

If your two Lighthouse stations are having trouble seeing each other (you'll know because the Vive's screen will temporarily turn gray and an optical error message will pop up in the SteamVR app on your PC), then you can attach the Vive's bundled sync cable to help out.
Just plug the optional sync cable into each base station and drape the long wire around the edge of your room, outside the boundaries of your playing space.
Tighten up those base stations

If you notice any judder, where the virtual world shakes a little (or a lot), then your base stations might not be mounted securely enough on the wall. There is movement and vibration going in inside the Lighthouses, and if your mounts are loose that can lead to tremors in your virtual world.
The easiest thing is to make sure the bracket that screws against the back of the base station is tightened all the way. Otherwise you'll need to take a look at how your screws are looking inside the wall. Give the wall mount a little jiggle with your hand – if it moves, you need to tighten it more.
That may mean you need to drill the screws farther into the wall, but if your wall is made of drywall, then use the included drywall anchors that were included with the mounts. They should help keep your base stations – and your VR worlds – perfectly still.
Skip the buds, get some cans

While the earbuds that ship with the Vive get the job done, they can sometimes get yanked out of your ears. If you have a pair of headphones, they'll likely give you better stability – and quite possibly better audio.
If you do use the buds, then be sure to snake them under the other cables coming out of the Vive, to decrease the chances of getting them pulled out of your ears.
Recovery boot: Resurrect a "bricked" Vive headset

Most people won't need to use this tip, but if something goes terribly wrong and your Vive seems dead to the world, with a solid red light showing on the side without being detected by your PC, there's a super-secret, emergency recovery reboot to jolt it back to life.
If your Vive is detected by your PC but just isn't showing anything on its display, then you'll probably just need to reboot your headset. Do that by jumping into the SteamVR app on your PC, right-clicking the headset icon and choosing reboot.
Of course you'll also want to double-check and make sure all cables are connected the way they're supposed to be before doing a hard reboot.
If none of that works, then a recovery boot it is. First, quit SteamVR and any other Vive/VR apps running on your PC. Then unplug the power cable from the side of the link box that's feeding into the headset. Now hold down the button on the left side of the Vive headset, and continue to hold it down as you plug the cable back into the link box – keep holding the button for up to 15 seconds after plugging that cable back in. After releasing the button, the Vive should get snapped out of its semi-bricked state. After that, install any available firmware updates.
For more on the best first-gen VR headset, you can hit up our HTC Vive review.