Eventide Island is one of the greatest challenges in The Legend of Zelda: Breath of the Wild. The island strips Link of all of his armor, weapons, and food, and forces him to scavenge across a small space to collect what he needs. There are three tasks to complete on the island, and dying before you complete them means that you'll need to start again.
You'll still have access to the rune abilities you gained at the beginning of the game (although you cannot summon weapons with amiibo), as well the powers you've collected from the Divine Beasts, and the heart containers and stamina you've built up. The rewards for Eventide Island are fairly minor, so it's best not to go there until late in the game, when you're much stronger.
This guide has been written with the benefit of hindsight, which is why the screenshots are not in strictly chronological order – this is the order I should have done things in, rather than the order I actually did them in.
Having said that, there's no perfect, "right" way to do this island. Conditions may conspire against you. But the route outlined here is relatively clean, minimizes the conflict you'll face, and will save you from having to fight the Hinox. Plan for a morning arrival – skeletal bokoblins come out at night, making the island even more dangerous.
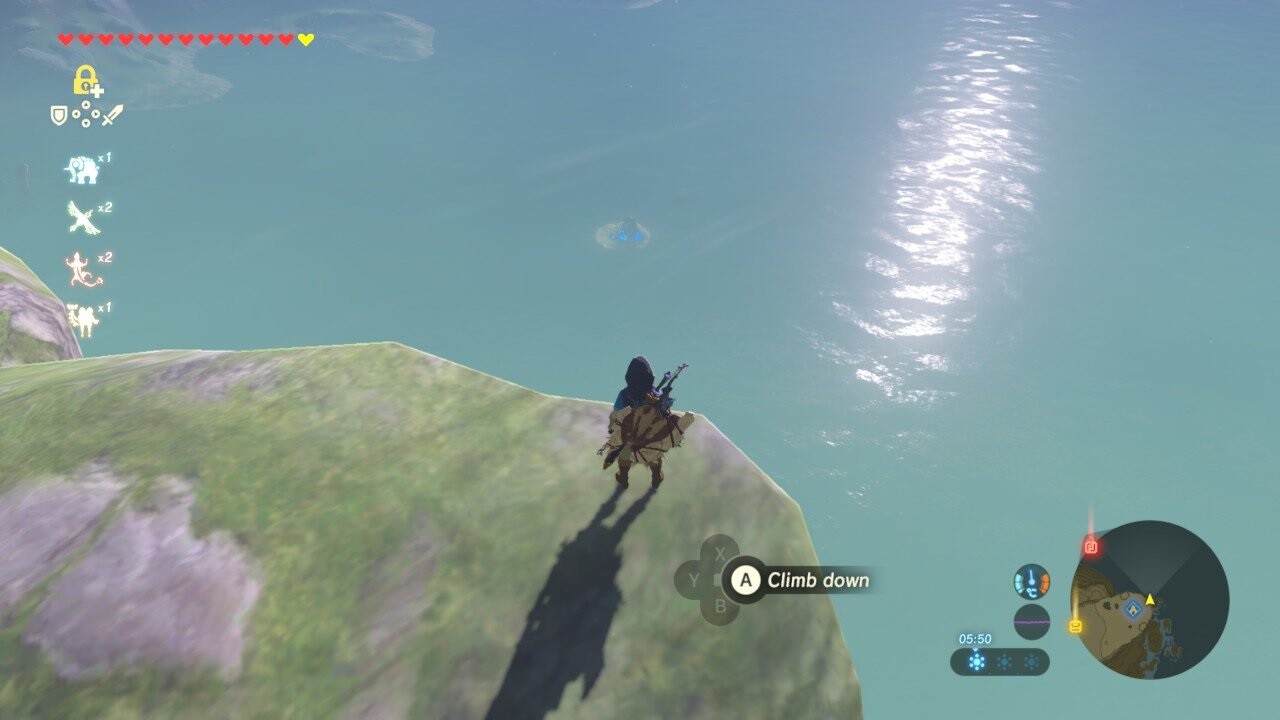
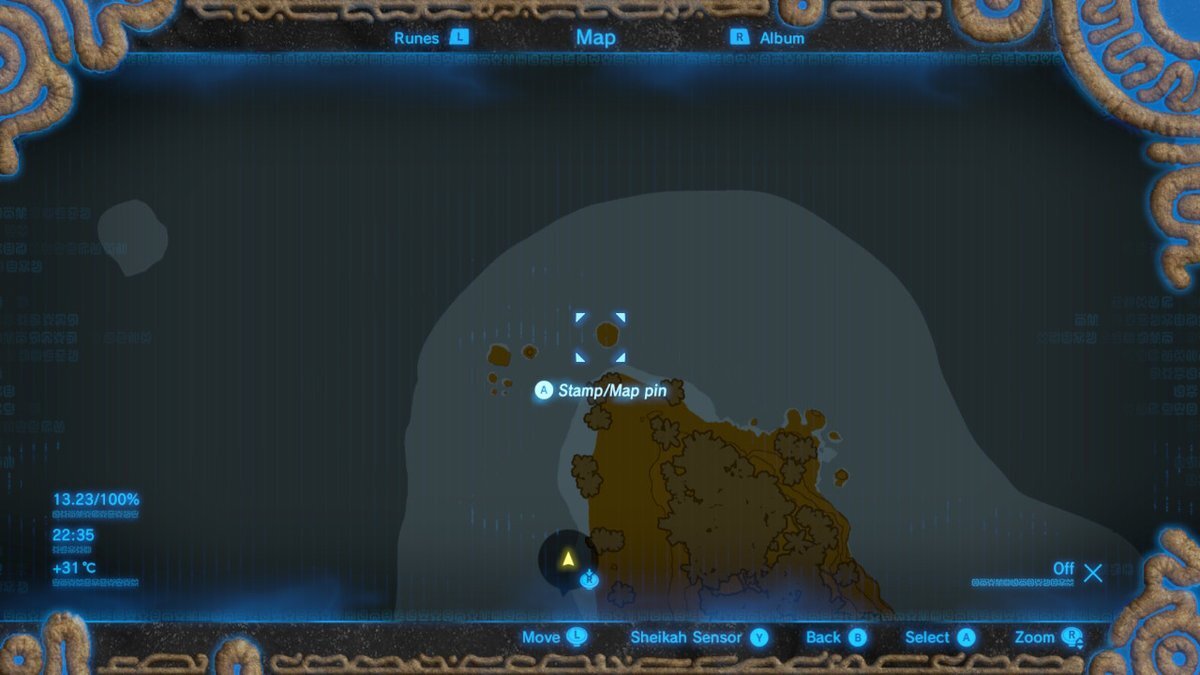
Eventide Island is located at the bottom right of the map, well off the coast. If you've visited the Muwo Jeem Shrine, which is on a plateau near the coast, it's a perfect point to warp to. Otherwise, if you haven't found any shrines in this area, Hateno Village is the closest point.

The fastest way to get there is to jump off the cliff facing it and glide. You need to make it to the island without landing and swimming – at a certain point off the island's coast the water will swallow you up immediately if you land in it, forcing you to go back to where you started. You should be able to make it if you've upgraded your stamina four times, otherwise make sure you have food or a potion to replenish some stamina mid-journey. If you give yourself extra hearts before arriving, they will stay in effect when you arrive.
You can also take a raft, if you have a Korok leaf (there's one on the island itself to make things a bit easier on you). There's one next to the shrine on Tenoko Island. If you take a raft, you can even cheat a bit.

As you approach the island, drop your best weapons and potions onto the raft (be careful not to drop them into the water – save before you do this just to be sure). When you reach the island and get stripped of your items, you should be able to grab what you left on the raft to take with you. This is somewhat against the spirit of the trial, though, so for the sake of this guide let's assume you float across. No matter how you get there, try to land on the closest shore.

Once on the island, you'll find yourself unarmed, but don't worry this won't last long. Your objective is to find the three balls scattered around the oval, and take them to their pedestals. You're not told where to find any of these things, but the island isn't too big, so you shouldn't get lost.
Before you start, a word of advice – if you have to put an ball down, try to put it down on a flat surface so that it doesn't roll away from you while you're not looking. If your ball falls in the water at any point, use your crynosis power to lift it back out. Unfortunately, you can't take photos of these balls and track them with your upgraded Sheika Slate.

The moment you land, chances are that an Octorok will start attacking you from the water. Ignore it, but lift the rocks along the beach to grab some tasty crabs (if possible, hold onto your produce rather than eating it right away – you'll have access to a cooking fire soon enough).

It's best to manage the Hinox's ball first – this is the most intimidating enemy, and if you wake it up there could be trouble, so you want to deal with it first so it doesn't ruin your day twenty minutes into the trial.

The Hinox has the ball around its neck, and while there are a few ways to quietly get up there, the easiest is to stand in the creature's hand and wait for it to reach up and scratch itself. This will deposit you on the Hinox's belly, making for an easy grab.

Sneak off, put the ball down somewhere safe, and head to the water to the south of the island (to your right if you're approaching the Hinox from the beach).

There are a few treats in this area, but it's also a good spot to go if you need to flee the Hinox. Swim out a little way and the creature will give up to go back to sleep.

Use your Magnesis on the chest in the water here for an iron sledgehammer. This is a fairly powerful weapon, but be wary of thunderstorms, which occur frequently on the island.

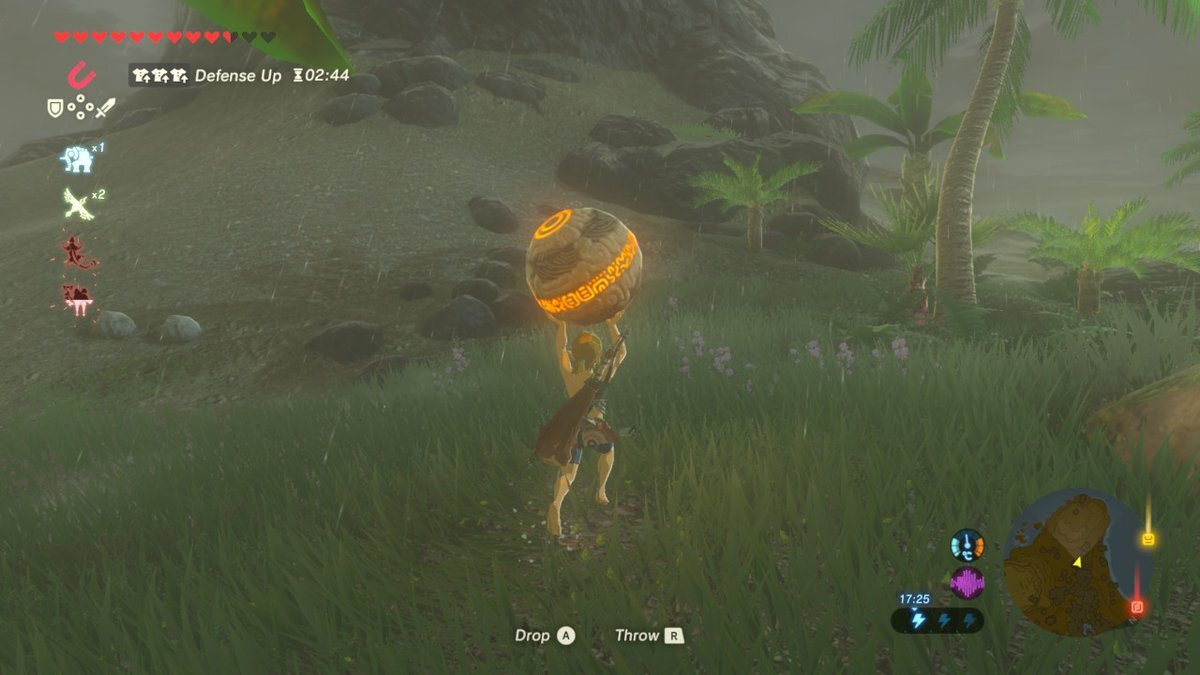
While you're there, drop a few bombs in the water and blow them up to collect as many Armored Porgy as you can. Eat them if you need a quick health boost, or hold onto them –cooking them up will give you a temporary defense boost.
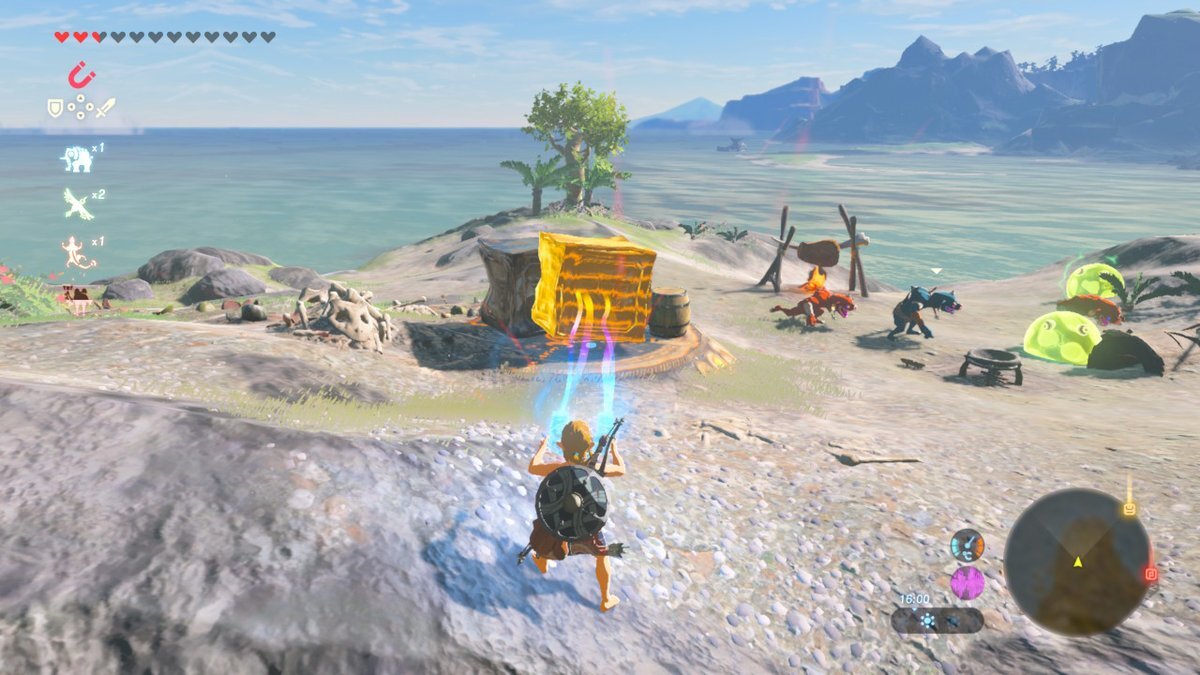
As you exit the water, climb up the rocky outcrop to your left. The first pedestal is up here, as well as some enemies. You can fight them with your sledgehammer, but you'll have a much easier time (especially with the electrified chuchus) if you use your magnesis powers to smack them around with the boxes up here. Just swinging the boxes around with your magnet ability, and hitting your enemies with them, does massive damage. Clear out the enemies and you'll be awarded with multiple weapons, a hunk of meat, and a campfire –ideal for cooking any items you might encounter while on the island. Cook up your fish if it's not raining.
Once those enemies are dealt with, go back to the ball and follow the path that snakes around this hill (don't try to climb up). Place the ball in the pedestal. One third complete!

Go back down and head past the Hinox again, heading to the left this time. You'll want to go here next for a few reasons – you can collect a bow and arrow down here, and there's a fire that does not go out.

This fire is extremely helpful if you don't want to deal with the repercussions of a thunderstorm. When the lightning rolls in, come here and sit a while to skip right over it (although there are advantages to lightning – trees can get knocked over, covering the ground in fruit).
There are four enemies here (two red bokoblins, a blue, and a fire chuchu), along with a bow in a chest, and a ball. If you're brave, let the archers fire at you several times before you take them out, so that you can grab the arrows they leave behind. Grab the ball and leave it in a safe place – we'll be back for it later.

Next, you'll want to head to Koholit Rock and start climbing it. You should be well armed now, but the battle ahead is tough, so be ready. Once you arrive, try to sneak around and use stealth attacks when possible, but once you're noticed prepare for a fight.

It's worth noting that if you've cleared the Divine Beast for the Gerudo, and have access to Urbosa's Fury, this will be a cinch. With a single spin attack I took out the entire army. If you don't have this power, it's just going to come down to fighting well.

The ball and the pedestal are in the same place here. To get to the pedestal, you'll need to use statis on the rock covering it, then whack it several times to send it flying off. Just one pedestal to go now!
You're heading for this point, just off the north tip of the island. You're better off following the beach rather than heading into the woods, where dangerous fire chuchus live.

You can basically run across the beach without issue, although if it's night-time you may need to fight some skeletons. In any case, none of the enemies along here are too tough.

Soon, you'll approach the final pedestal. There are a few ways to approach it, but cryonosis is the best, most reliable way.

Throw your ball in the ocean, then build a platform below it. This may take some adjustment, but once you're here, you're safe, so feel free to take your time. The island is called Eventide for a reason – the ball will not get swept out to sea or wash up on shore. If the ball gets stuck on the side of this island, jump into the water and nudge it with your body so that you can get a platform beneath it. Eventually, you'll be close enough to throw the ball into the hole.

You'll get all your equipment back, and a shrine will sprout on top of Koholit Rock. Head back that way, and feel free to slaughter any enemies you let go before – you don't need to, but catharsis is a great reward.

Head inside the shrine and you'll find that there's no additional challenge to complete, just a reward to collect.

A golden rupee goes a long way, and the shadow orb you collect will definitely feel well-earned.

There's not much else to do on the island, but enjoy the view as you exit – you've earned it for conquering one of Zelda's harshest challenges.
Don't miss the rest of our guides to Legend of Zelda: Breath of the Wild.