Games

How to complete the Trial of the Labyrinth in Breath of the Wild

How to complete the Trial of the Labyrinth in Breath of the Wild
The Labyrinth in all its glory.
View 32 Images
The Labyrinth in all its glory.
1/32
The Labyrinth in all its glory.
The Labyrinth stands out on the map.
2/32
The Labyrinth stands out on the map.
Use Revali's Gale for some extra height as you float over there.
3/32
Use Revali's Gale for some extra height as you float over there.
This is, ultimately, where you need to go.
4/32
This is, ultimately, where you need to go.
Running on the edge is a bit sneaky, but we'll allow it.
5/32
Running on the edge is a bit sneaky, but we'll allow it.
This won't pop up until you properly 'enter' the arena - but now, we've almost finished it already.
6/32
This won't pop up until you properly 'enter' the arena - but now, we've almost finished it already.
Even if you don't cheat, this isn't too hard.
7/32
Even if you don't cheat, this isn't too hard.
We found it was easier to enter from the left.
8/32
We found it was easier to enter from the left.
You'll ultimately be passing right through this wall.
9/32
You'll ultimately be passing right through this wall.
You can avoid enemies easily enough.
10/32
You can avoid enemies easily enough.
Magnesis saves the day again.
11/32
Magnesis saves the day again.
Here's the ladder again!
12/32
Here's the ladder again!
Make sure you burn these thorny branches.
13/32
Make sure you burn these thorny branches. 
The Great Flameblade is as cool as it sounds.
14/32
The Great Flameblade is as cool as it sounds.
Now you can warp back any time to keep exploring!
15/32
Now you can warp back any time to keep exploring!
This is a solid reward.
16/32
This is a solid reward.
The Labyrinth in all its glory.
17/32
The Labyrinth in all its glory.
The Labyrinth stands out on the map.
18/32
The Labyrinth stands out on the map.
Use Revali's Gale for some extra height as you float over there.
19/32
Use Revali's Gale for some extra height as you float over there.
This is, ultimately, where you need to go.
20/32
This is, ultimately, where you need to go.
Running on the edge is a bit sneaky, but we'll allow it.
21/32
Running on the edge is a bit sneaky, but we'll allow it.
This won't pop up until you properly 'enter' the arena - but now, we've almost finished it already.
22/32
This won't pop up until you properly 'enter' the arena - but now, we've almost finished it already.
Even if you don't cheat, this isn't too hard.
23/32
Even if you don't cheat, this isn't too hard.
We found it was easier to enter from the left.
24/32
We found it was easier to enter from the left.
You'll ultimately be passing right through this wall.
25/32
You'll ultimately be passing right through this wall.
You can avoid enemies easily enough.
26/32
You can avoid enemies easily enough.
Magnesis saves the day again.
27/32
Magnesis saves the day again.
Here's the ladder again!
28/32
Here's the ladder again!
Make sure you burn these thorny branches.
29/32
Make sure you burn these thorny branches. 
The Great Flameblade is as cool as it sounds.
30/32
The Great Flameblade is as cool as it sounds.
Now you can warp back any time to keep exploring!
31/32
Now you can warp back any time to keep exploring!
This is a solid reward.
32/32
This is a solid reward.
View gallery - 32 images

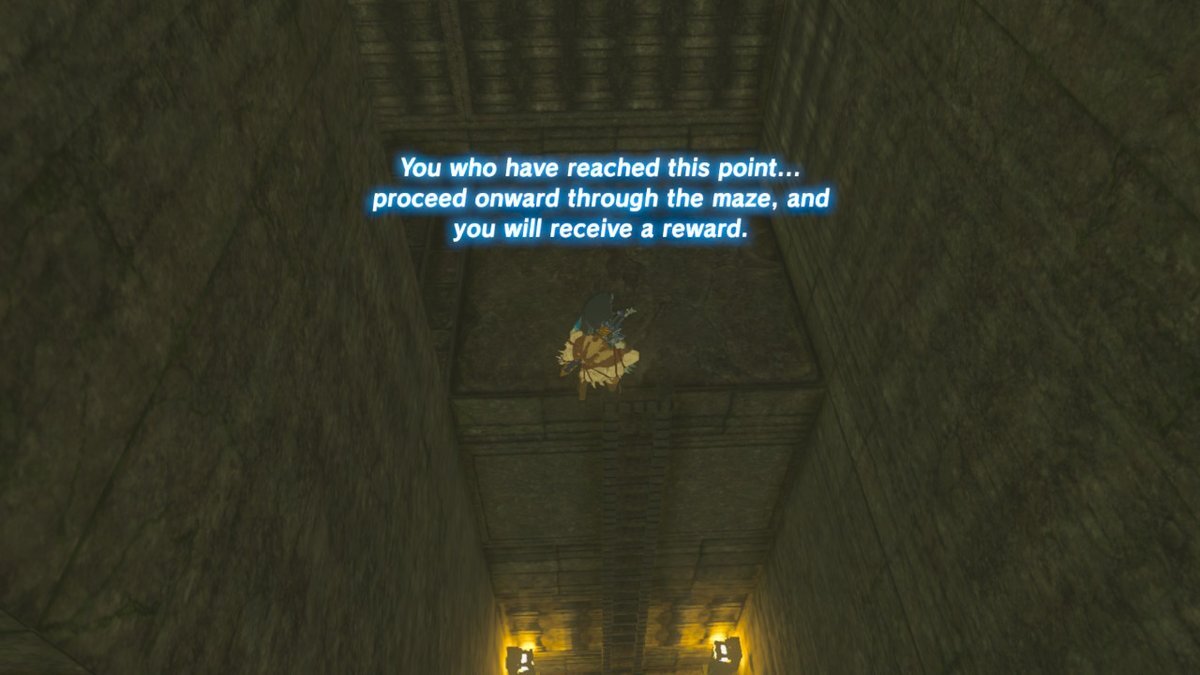
One of shrines in The Legend of Zelda: Breath of the Wild is located inside a labyrinth on an island. Lomei Labyrinth may look difficult from the outside, but if you know where to go it's actually not too bad.

The Labyrinth stands out on the map.

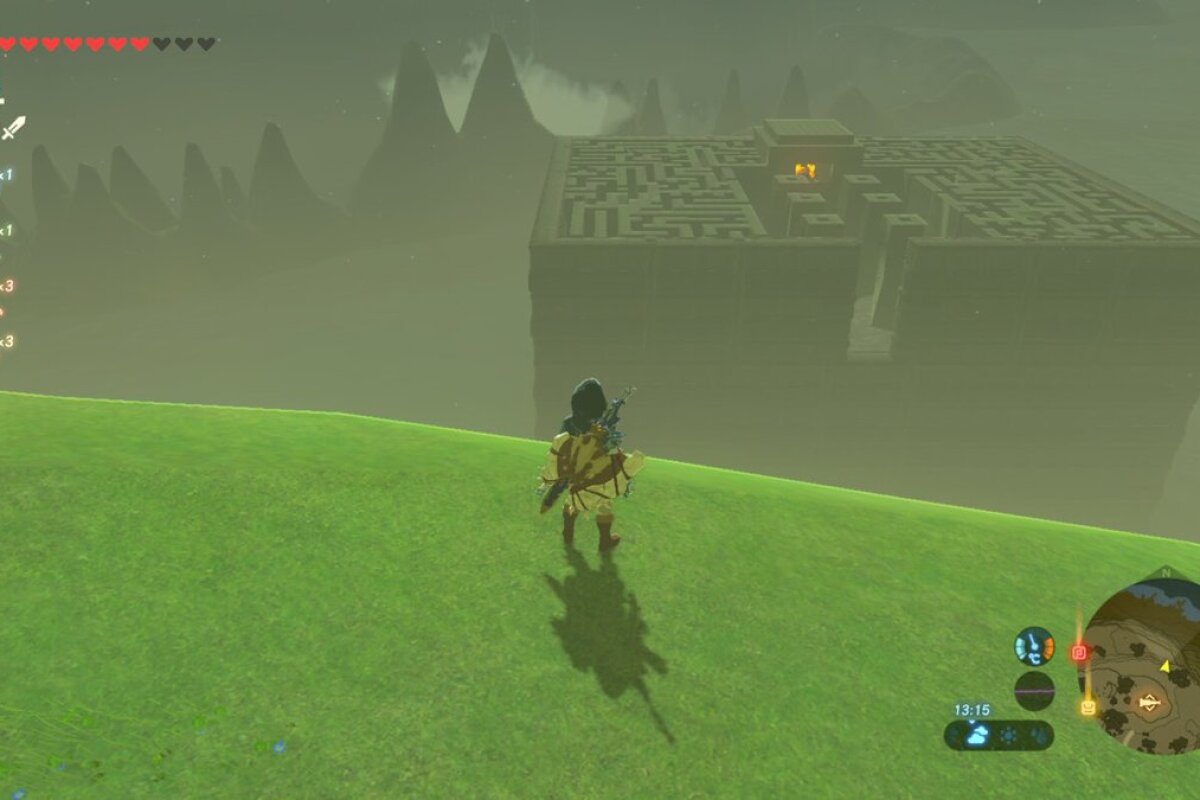
Lomei Labyrinth Island is on the north east corner of the map, just past the Akkala Ancient Tech Lab. It's pretty distinctive, so you can't miss it.

Use Revali's Gale for some extra height as you float over there.

You'll want to float over to the island from the crest just beyond the Lab. It's not a huge journey, so it won't use up much stamina, but how you float down will determine whether you take the relatively easy route, or the super easy route.

This is, ultimately, where you need to go.

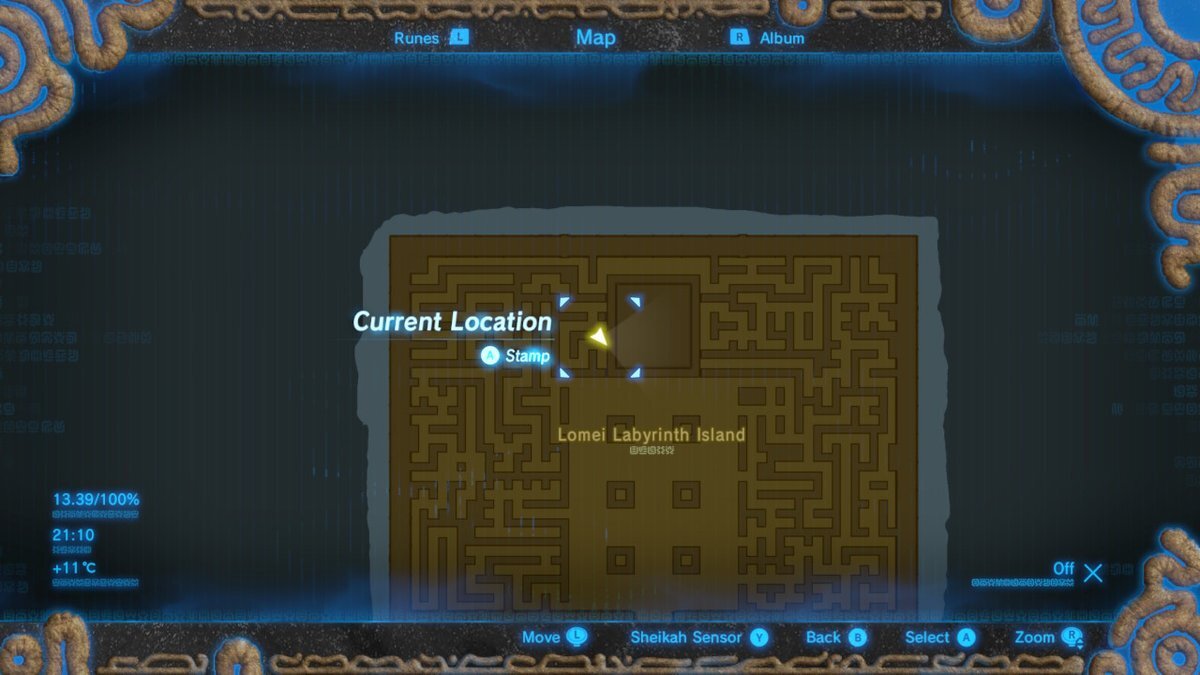
Ultimately, this is where you want to head on the map. You can either find your way here by passing through the labyrinth, or ...

Running on the edge is a bit sneaky, but we'll allow it.

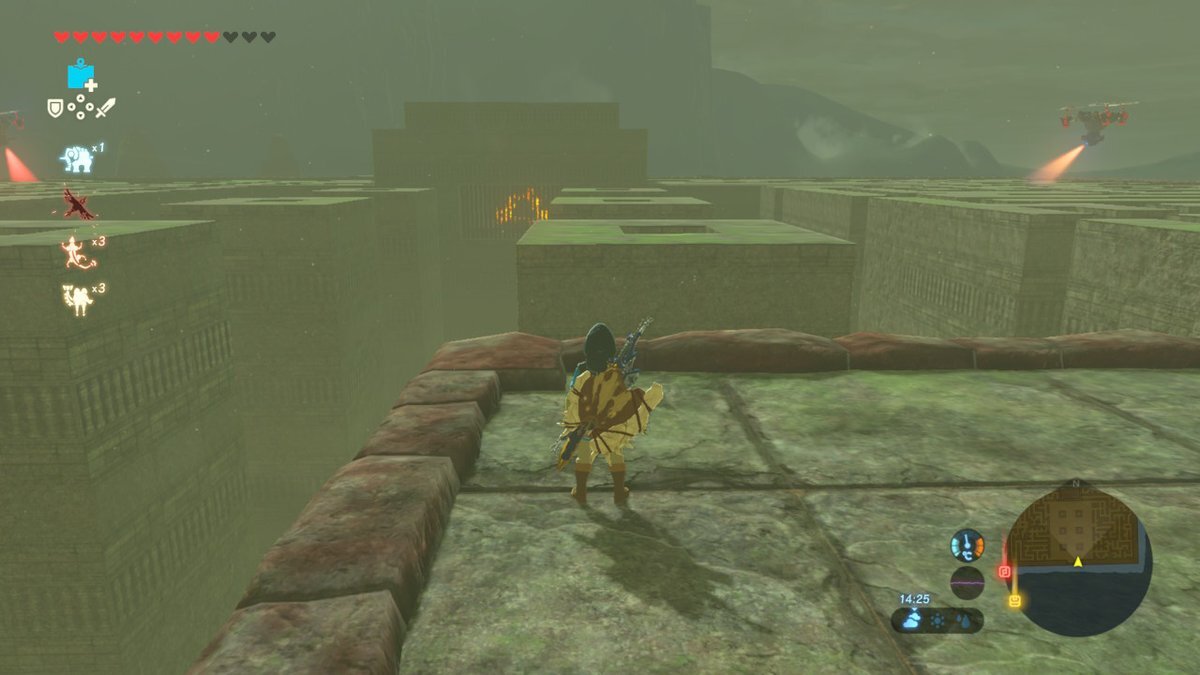
... you can cheat a bit by using Revali's Gale to land on the surrounding edge of the labyrinth. Don't worry about the flying enemies around the map – they are there to prevent climbing from inside the labyrinth, but if you run around this outer rim they will not stop you. Head to the point on the map pointed out above (using the gale again to jump onto the structure housing the shrine), drop down ...

This won't pop up until you properly 'enter' the arena - but now, we've almost finished it already.

... and the ladder into the area with the shrine is right there.

Even if you don't cheat, this isn't too hard.

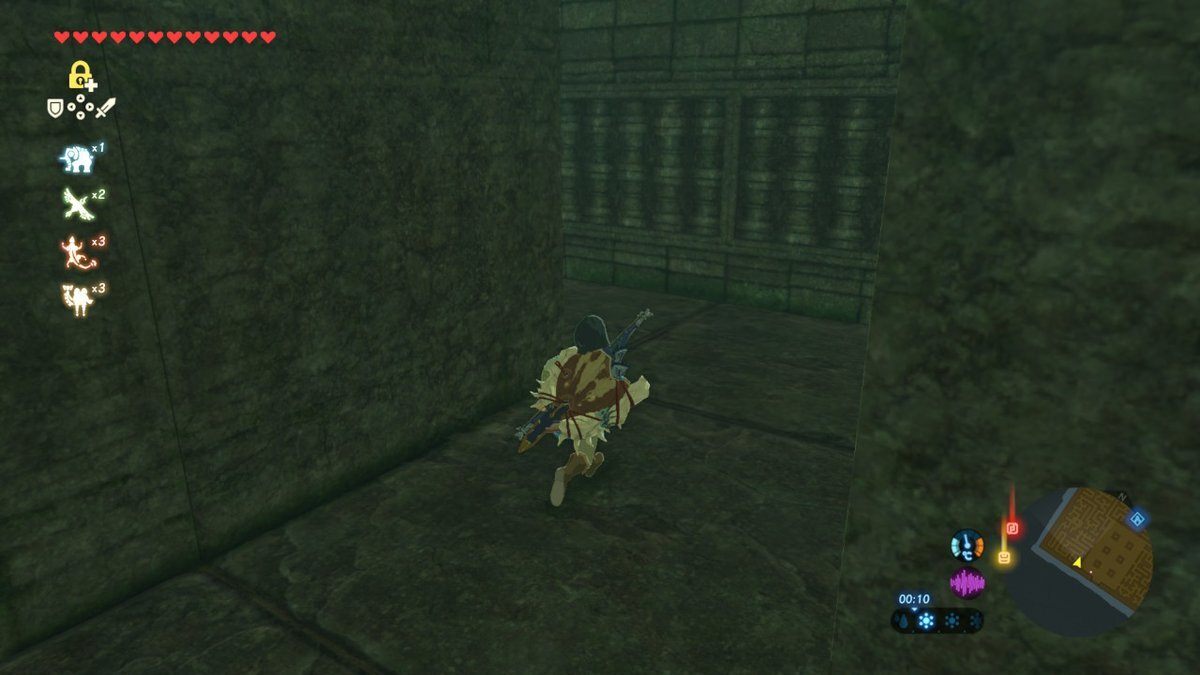
The other option if you don't have Revali's Gale (or you simply want to experience the labyrinth), is to find the path through. In this case, once you land, head immediately into the labyrinth through the first entrance on the left. There's a Guardian wandering around the entrance, but if you're fast it shouldn't get you, and it can't follow you into the maze.

We found it was easier to enter from the left.

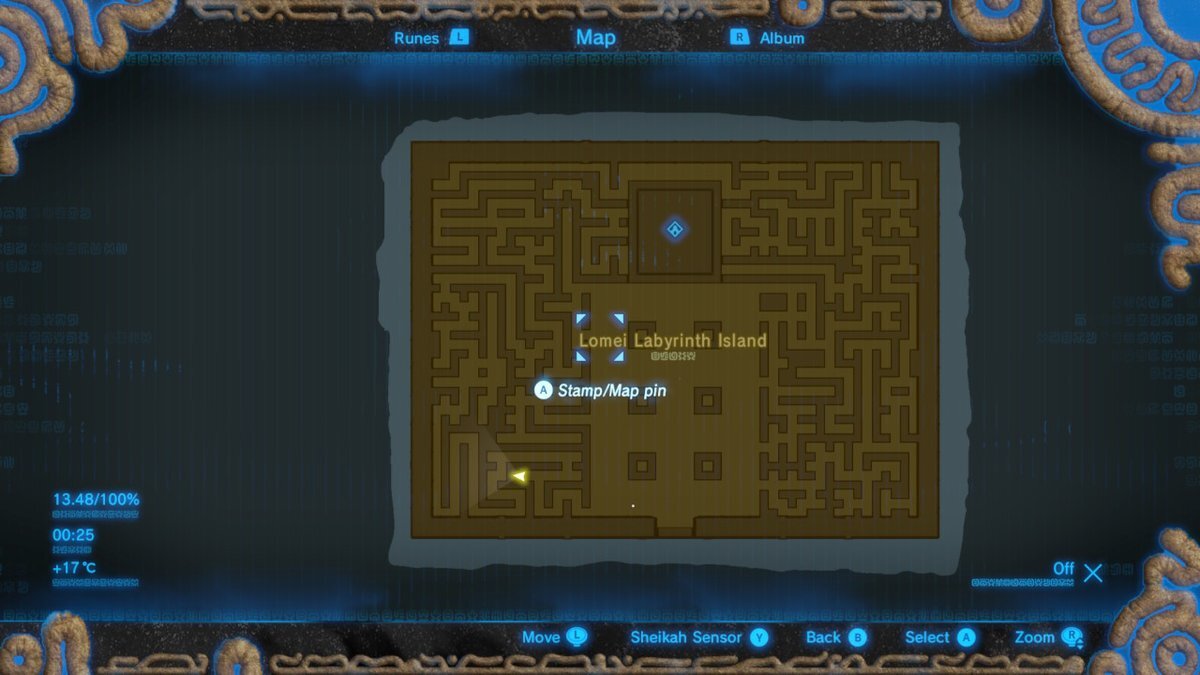
The best advice I can give you is to simply study the map as you're going. Don't try to map out a sequence of events, just pause and have a look whenever you encounter a crossroads, and check to see where the path ahead will lead.

You'll ultimately be passing right through this wall.

The position of the player icon on the screen above is the point you're ultimately heading towards. It may look like a dead end, but don't worry, there's a way through.

You can avoid enemies easily enough.

There aren't many enemies inside the labyrinth, and you can avoid combat entirely (this Guardian, for instance, is stuck in place and will only attack if you wander into its line of sight, which you will not need to do).

Magnesis saves the day again.

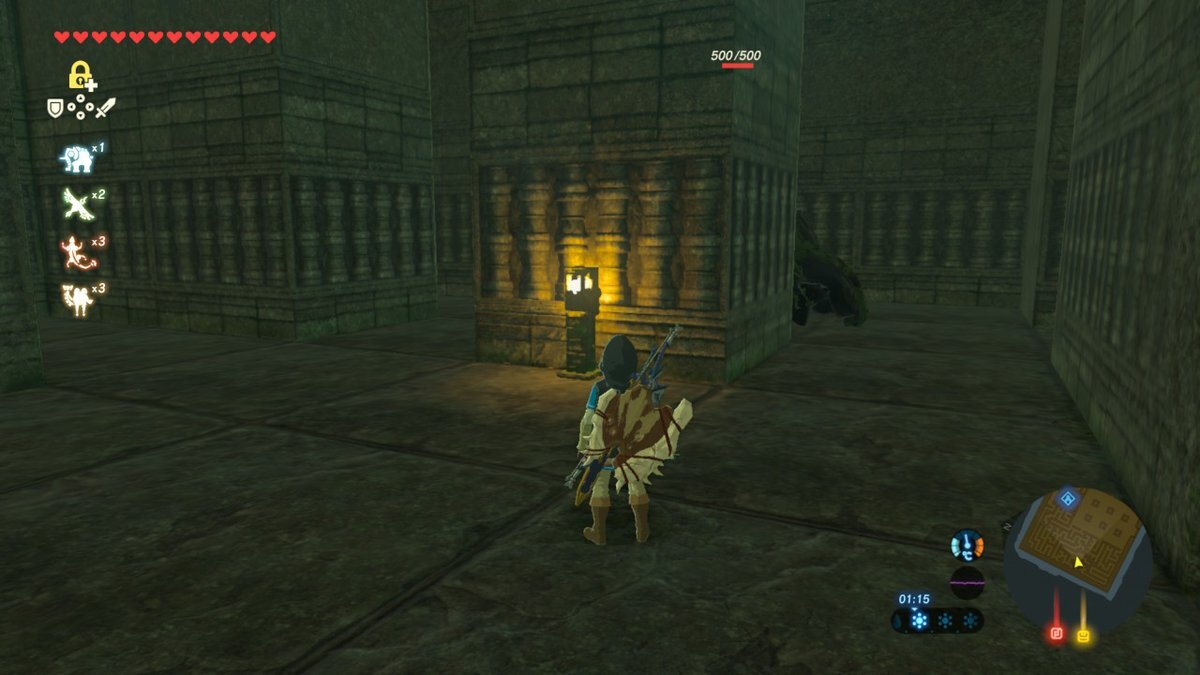
Head to the point on the map highlighted before, and you'll encounter this box. Use magnesis to move it out of the way and proceed forward through the gap. You're basically there now, but keep heading for the target point.

Here's the ladder again!

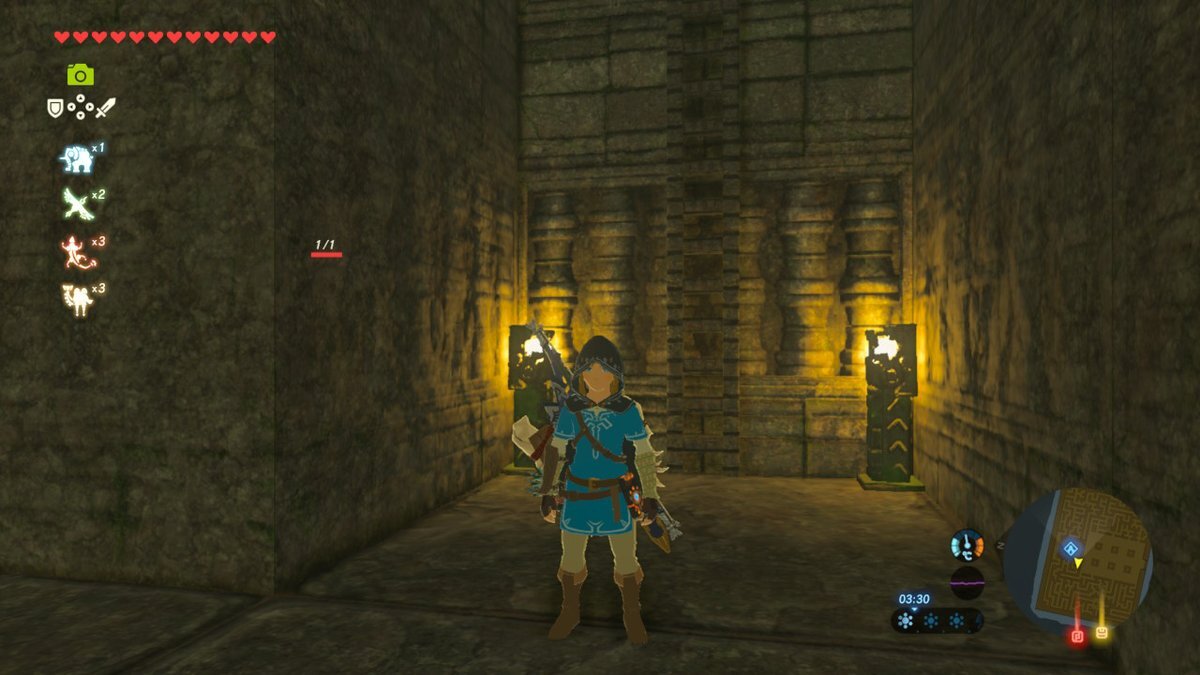
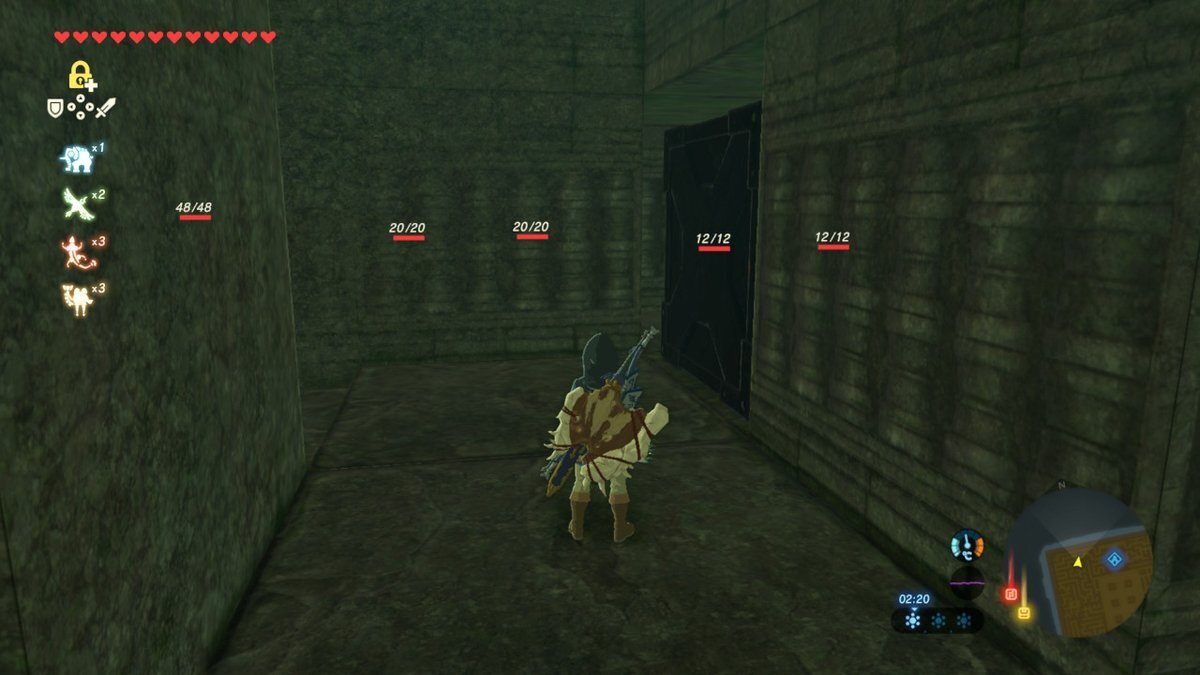
And there's the ladder! You won't encounter anything too exciting on the way here, but don't worry – once you have unlocked the shrine, it'll be easy to warp back here any time and explore the rest of the labyrinth for items. Climb the ladder.

Make sure you burn these thorny branches.
Make sure you burn these thorny branches. 

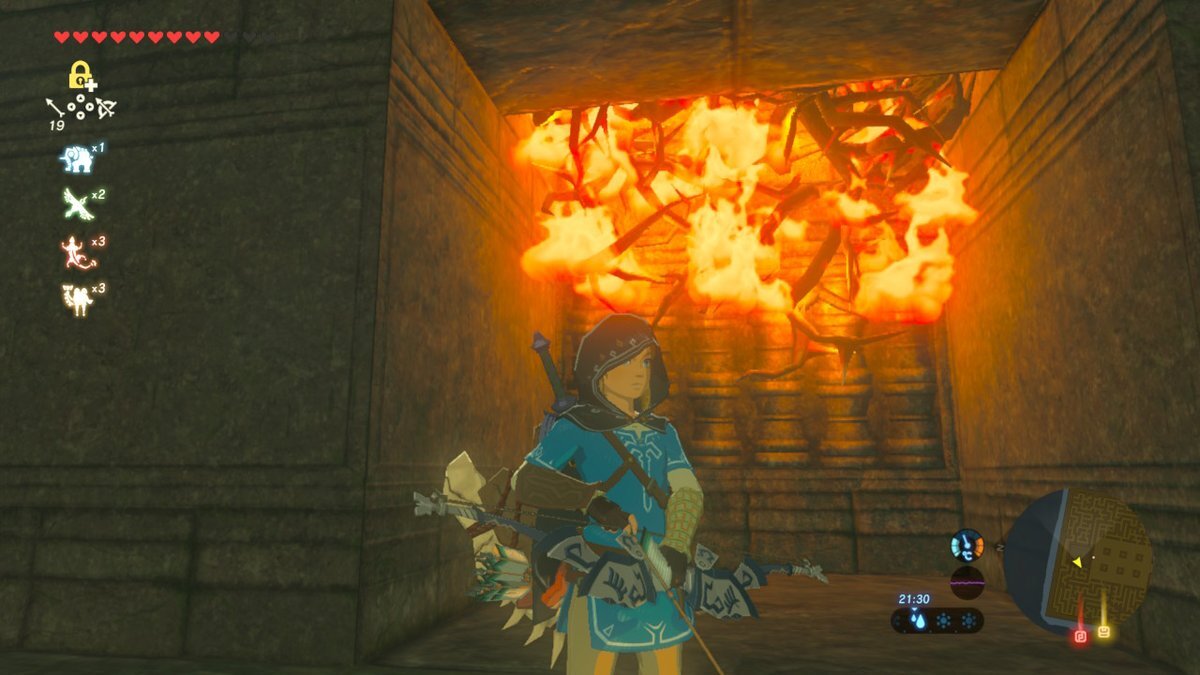
The path forward, up the stairs, is pretty straight, but you'll encounter brambles to your right as you head up. Light them up (if you don't have any weapons to do this, there's a fire and a torch outside the shrine ahead), and climb this wall.

The Great Flameblade is as cool as it sounds.

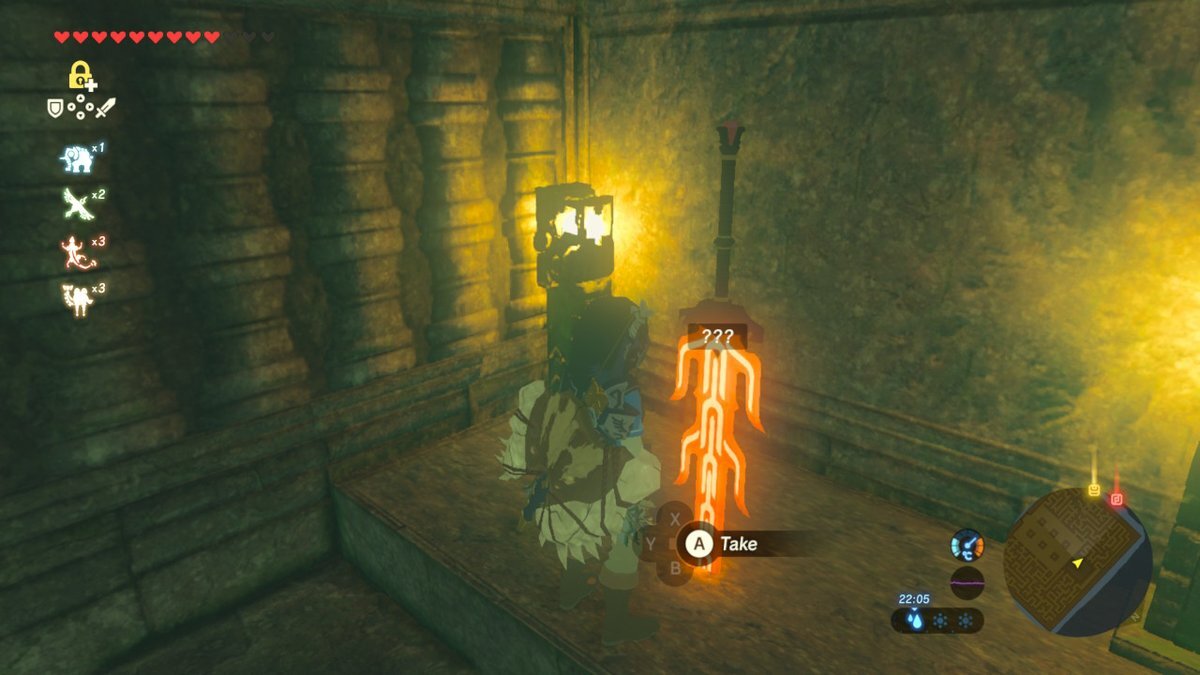
Here you'll find a Great Flameblade, which can be thrown further than most weapons and does flame damage when it's glowing red! It's a very useful two-handed weapon.

Now you can warp back any time to keep exploring!

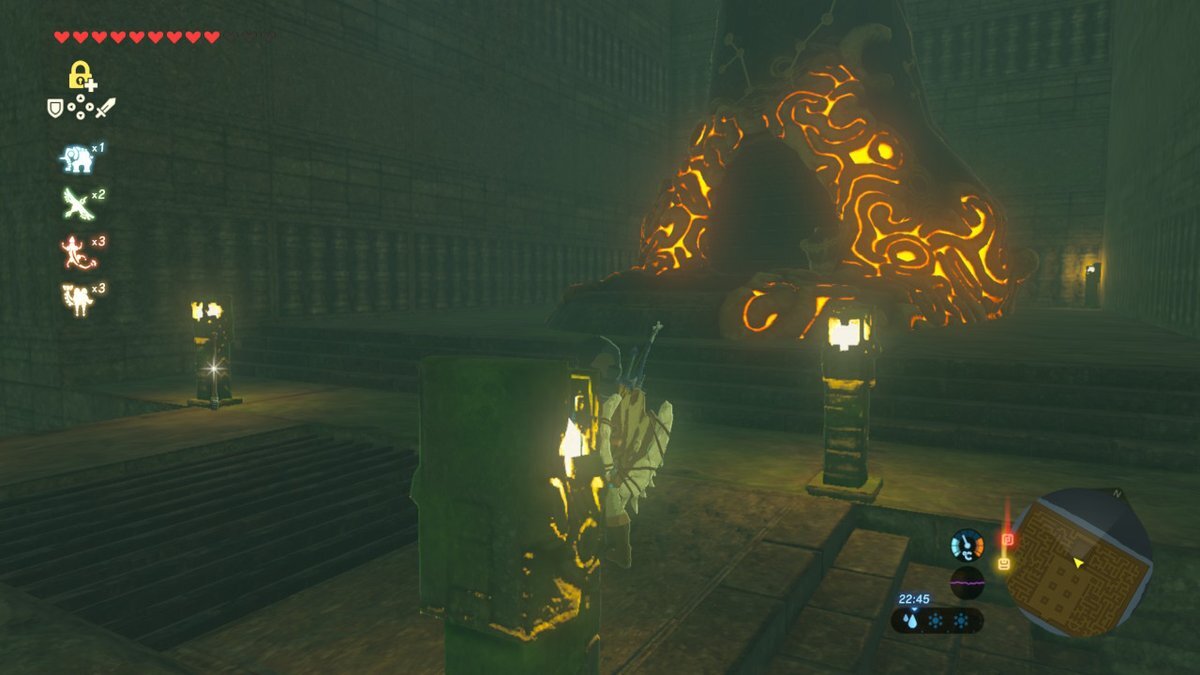
Go back and continue up to the shrine, dealing with the handful of Keese on the way, to claim your prize.

This is a solid reward.

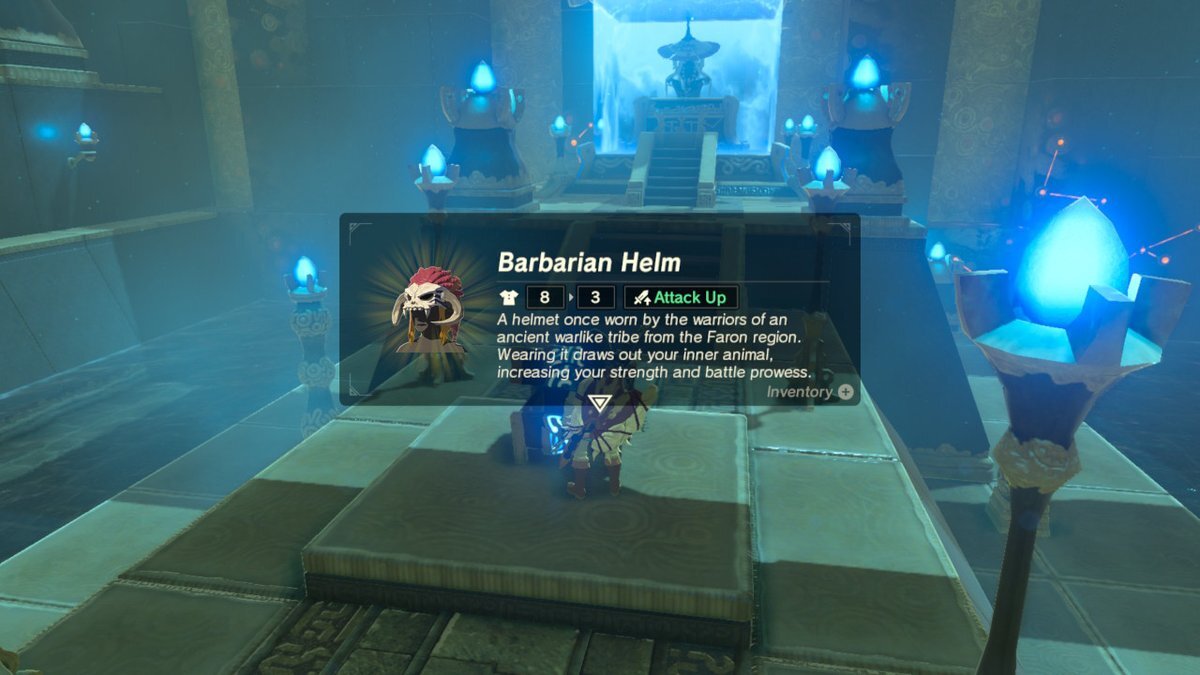
Inside the shrine (which poses no extra challenges), you'll be rewarded with a Barbarian Helm, as well as the standard shadow orb. That's another shrine wrapped up!

Don't miss the rest of our guides to The Legend of Zelda: Breath of the Wild.

View gallery - 32 images
No comments
0 comments
There are no comments. Be the first!