The Amazon Kindle Fire HDX is the latest in its line of tablets that run a forked and heavily customized version of Android 4.2 which Amazon calls Fire OS 3.0 "Mojito." But if you want to get more out of it, namely installing the full Google Play Store, you'll need to root the device. Here's a step-by-step guide to rooting your Fire HDX and some helpful tips if you run into any difficulties during the process.
Disclaimer: Whenever you alter official software on any device you run the risk of something going wrong, or features not working properly. Of course, there's also the possibility of voiding the device's warranty. I've rooted several Android devices, including the last two iterations of the Kindle Fire without any problems. But remember you do this at your own risk.
Before You Begin
Though I've heard about a Mac version of the rooting tools, you're best off using a Windows 7 or 8.x computer. Also, before starting, make sure you have all of your important local files backed up. Anything that's on the Amazon Cloud servers, like music, apps, movies, or books can be retrieved later if something goes awry or you need to do a factory reset.
Steps to Root the Kindle Fire HDX
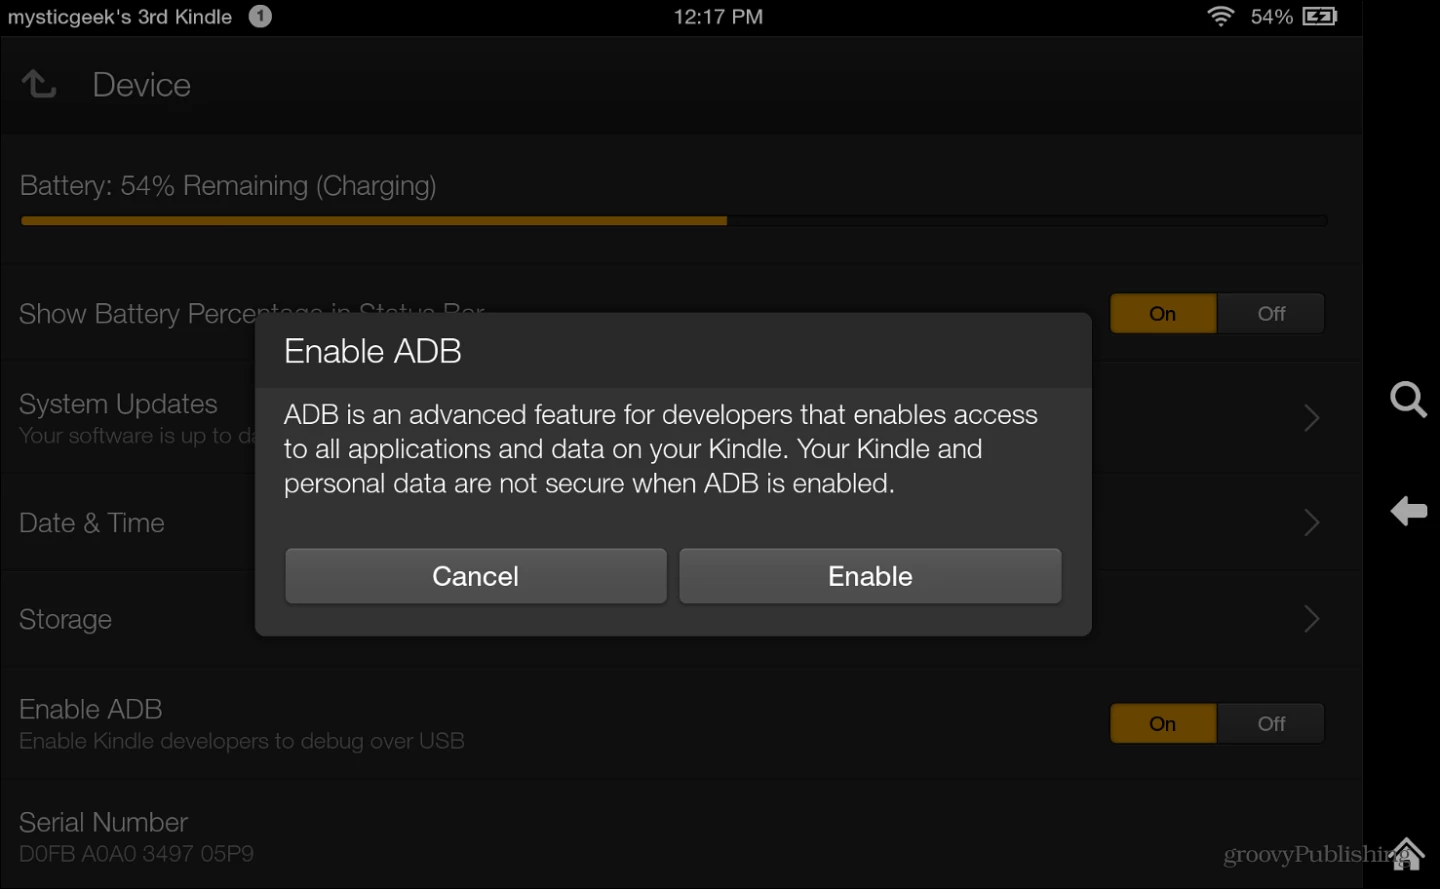
1. Enable ADB on your Kindle Fire by going to Settings > Device and turn on Enable ADB.
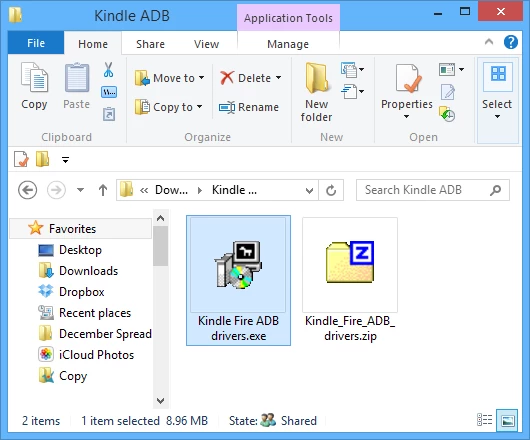
2. Download the ADB drivers from the XDA-Developers forum and extract the zip file to a convenient location.
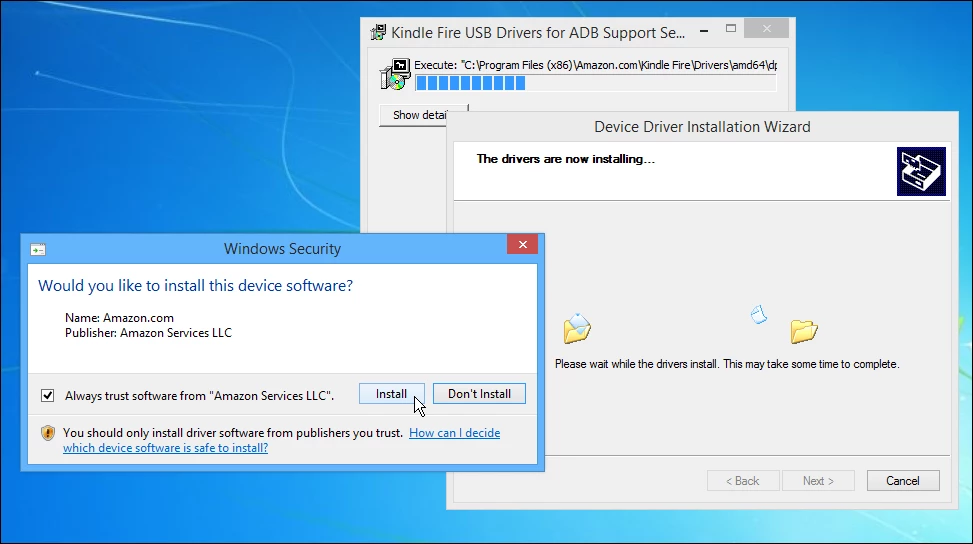
Then run the Kindle Fire ADB drivers.exe file. Installation is a snap following the install wizard. When the Windows Security dialog comes up, check "Always trust software from Amazon Services LLC" and click Install.
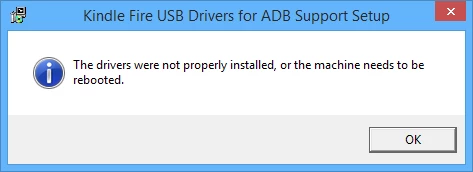
After installing the ADB drivers, you may be required to reboot your system, as was the case when I first installed them on my Windows 8.1 system.
3. Connect your Kindle Fire HDX to your computer using the included micro-USB cable.
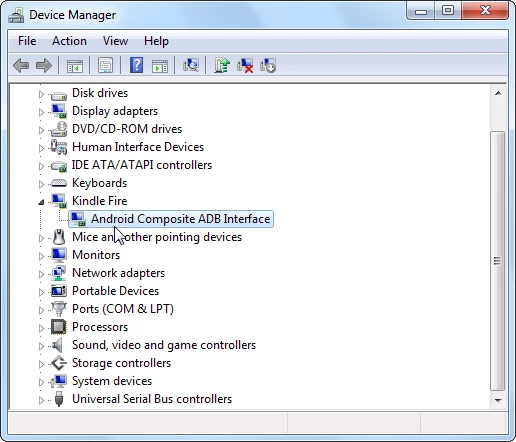
4. Open Device Manager and you should see a yellow alert icon next to Android under Other Devices. Right-click it and select "Update driver software" and on next screen choose "Browse my computer for driver software." Then point to the ADB folder that you extracted.
In my experience, I didn't need to do that on my Windows 8.1 computer, and the drivers installed successfully without the extra steps. Either way, this is what you'll want to see: Android Composite ADB Interface under Kindle Fire in device manager, like the screenshot below.
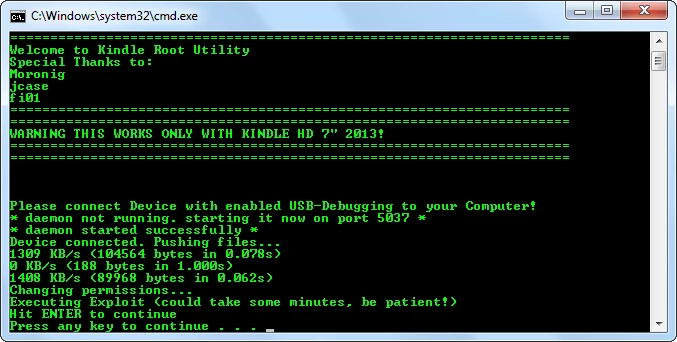
5. Download the automated root script from here. Unzip the file and double-click the runme.bat file. Wait for it to complete (it doesn't take long) and hit Enter a couple of times and that's it! While the script is running you won't see anything change on your Kindle Fire screen.
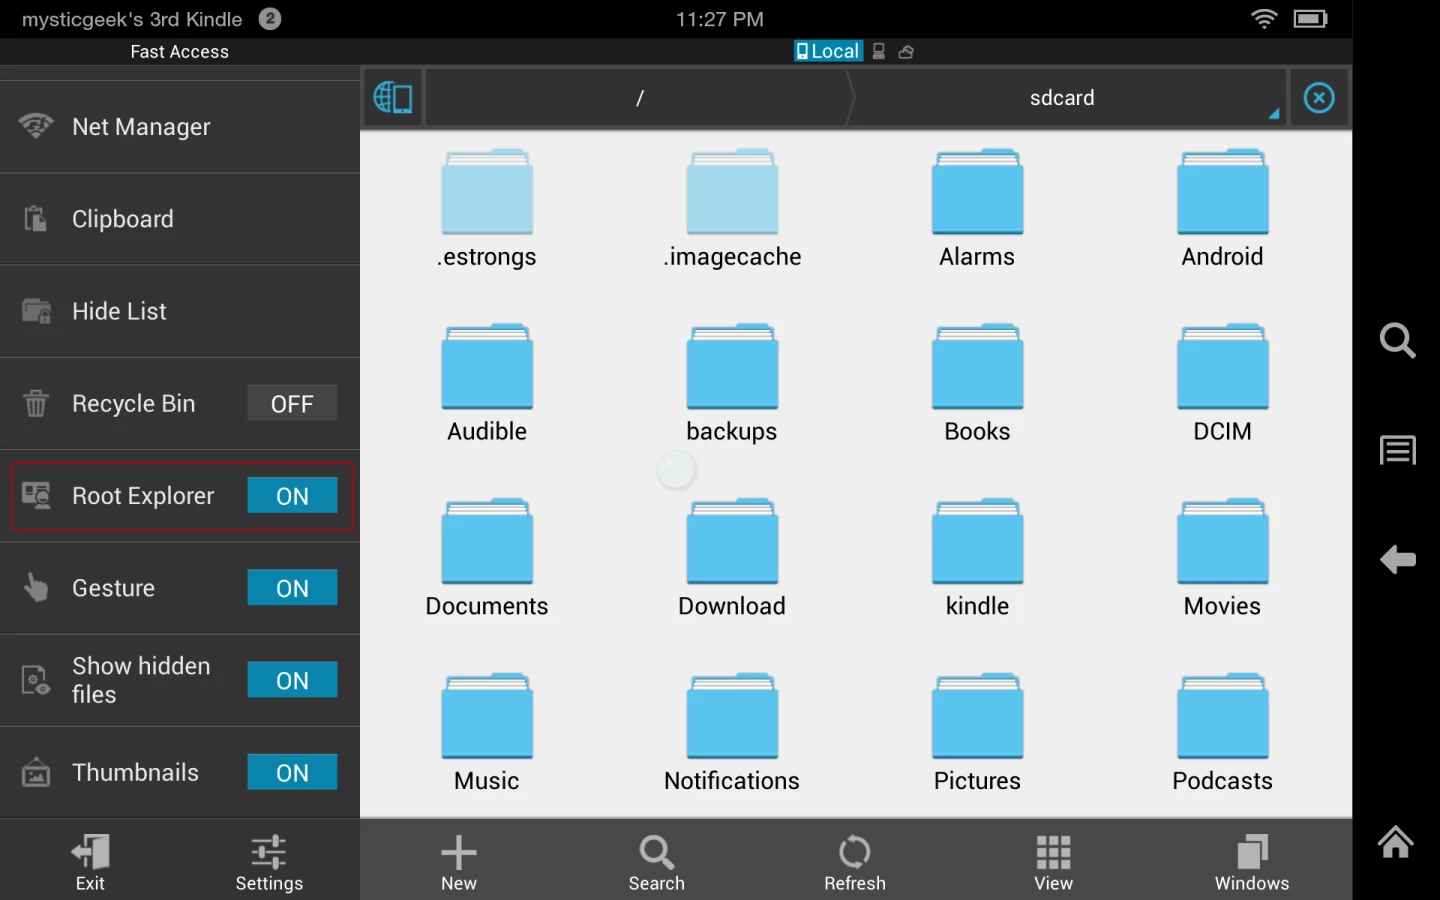
Unplug your Kindle from the computer and to verify you have a successful root of your device, install ES File Explorer if you don't have it already. Go to the Tools section, scroll down and tap Root Explorer and it will turn on.
Troubleshooting, and how I finally got my HDX to root
The above directions are ideally how the rooting process should work, and hopefully it does for you, but there can be some odd quirks you'll run into along the way. Since the Kindle Fire HDX was launched last November, there have been minor tweaks to different batches of tablets as they are shipped out. Versions differ slightly based on release date and where you live in the world. Not to mention these rooting tools aren't officially sponsored by Amazon, so dealing with some oddities goes with the territory.
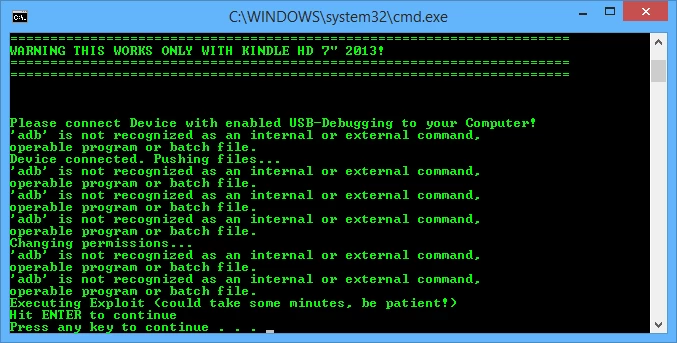
There are a few different auto root files out there. Make sure you're using the correct one and it's for the 7-inch model (there's one for the 8.9 one, too). If you're not using the correct auto root batch file, you'll see something similar in the command line shown below where ADB isn't a recognized command.
At the time of writing, all of the rooting tools out there are for the Fire HDX 13.3.1.0 firmware version, but there may be other tools you'll need to make the root work successfully. For troubleshooting, and getting the proper ADB drivers and auto rooting tools, I suggest keeping an eye on the XDA Developer forums.
After scouring through various forums on rooting the Kindle Fire, I came across a user who suggested going into the Kindle HDX root script, changing adb.exe to adb.exe.exe then rebooting the computer. After the reboot, go back in and change adb.exe.exe back to adb.exe. This strange trick actually worked for me and I now have successfully rooted my Fire HDX.
Summing Up
The Amazon App Store is limited compared to the full wealth of apps Google Play offers, and the main reason to root is to get access to the full collection. You can always sideload apps, but having the Play Store on your device makes it much easier to get them (sideloading is a way of installing non-market Android apps on a factory-set Kindle Fire). For that you need to set the Kindle Fire to allow installation of apps from unknown sources. Then you need to hunt down an application's apk file individually and install each one manually.
Though you may run into some snags during the process, usually it's not hard to correct them. The rooting community has some great information out there, and if you see something unique that isn't addressed in forums, there's a good chance you'll receive an answer quickly.


