Games

How to beat the Keo Ruug Shrine (constellation puzzle) in Breath of the Wild

How to beat the Keo Ruug Shrine (constellation puzzle) in Breath of the Wild
The shrine is right next to the Deku Tree
The shrine is right next to the Deku Tree
View 8 Images
The shrine is right next to the Deku Tree
1/8
The shrine is right next to the Deku Tree
You can also find the Master Sword here
2/8
You can also find the Master Sword here
Always handy when the game gives you advice like this.
3/8
Always handy when the game gives you advice like this.
Look to the stars!
4/8
Look to the stars!
The fifth hole, the third hole...
5/8
The fifth hole, the third hole...
...then the first hole and second hole.
6/8
...then the first hole and second hole.
There's a powerful Knight's Claymore in here too.
7/8
There's a powerful Knight's Claymore in here too.
You're one step closer to having more health or stamina.
8/8
You're one step closer to having more health or stamina.
View gallery - 8 images

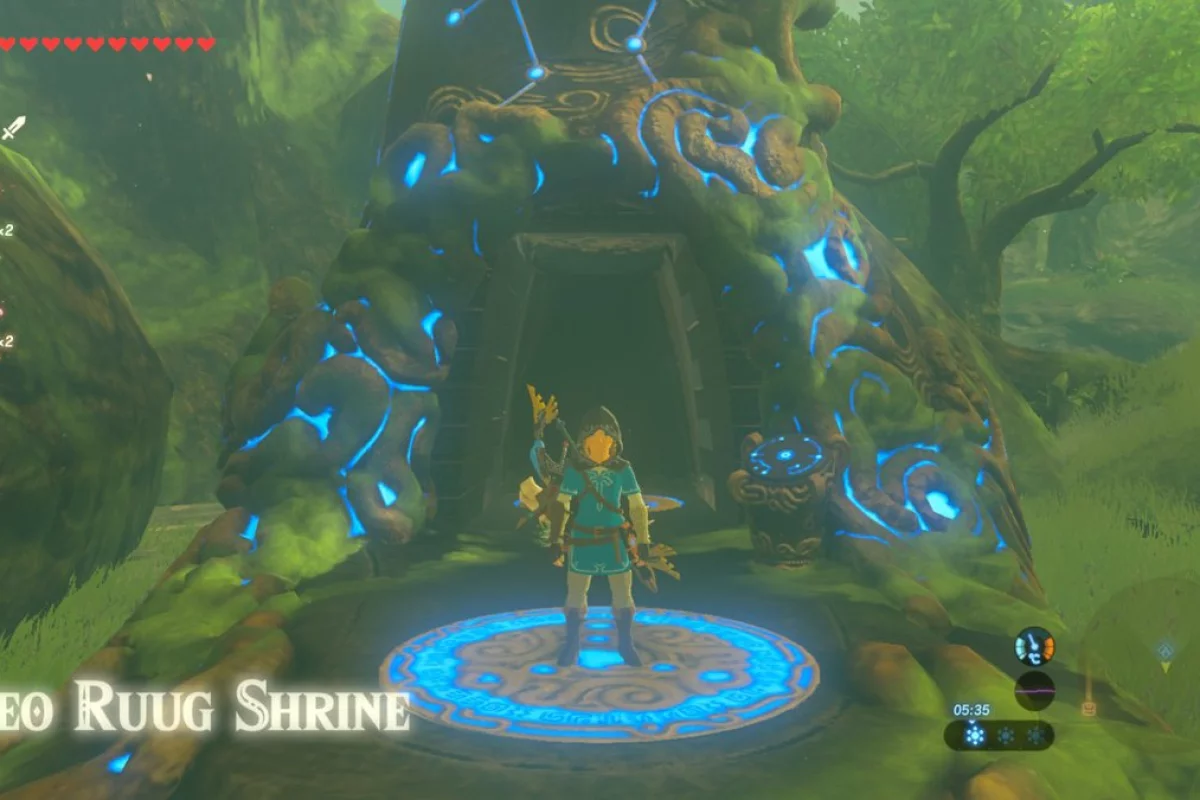
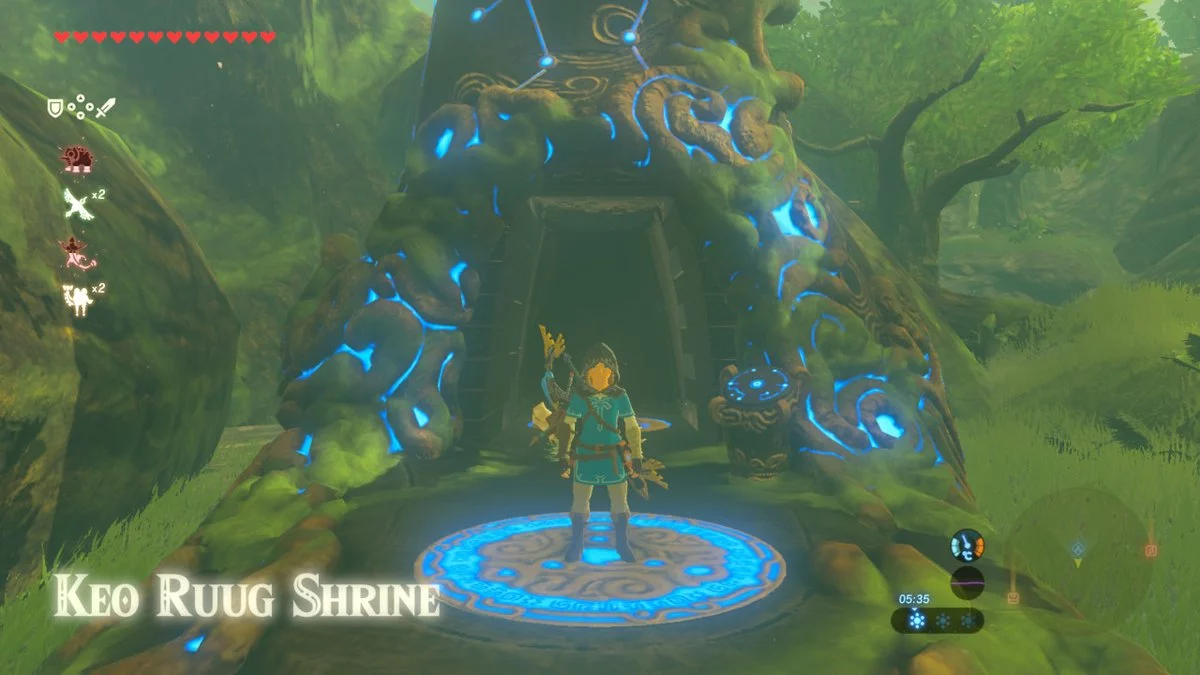
The Keo Ruug Shrine in The Legend of Zelda: Breath of the Wild presents the player with a puzzle, but solving it isn't difficult once you know how – although there's an extra bonus you can easily miss.

You can also find the Master Sword here

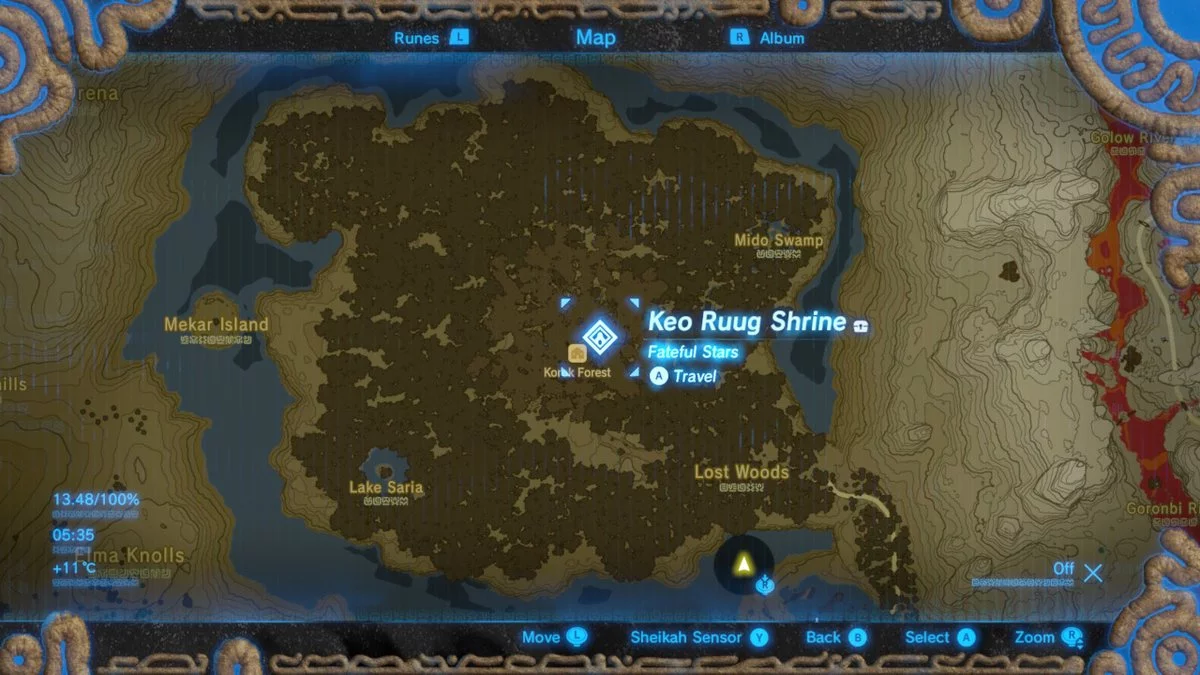
This shrine is located in the Lost Woods, right next to the Deku Tree and the Master Sword. To get there, follow our guide.

Always handy when the game gives you advice like this.

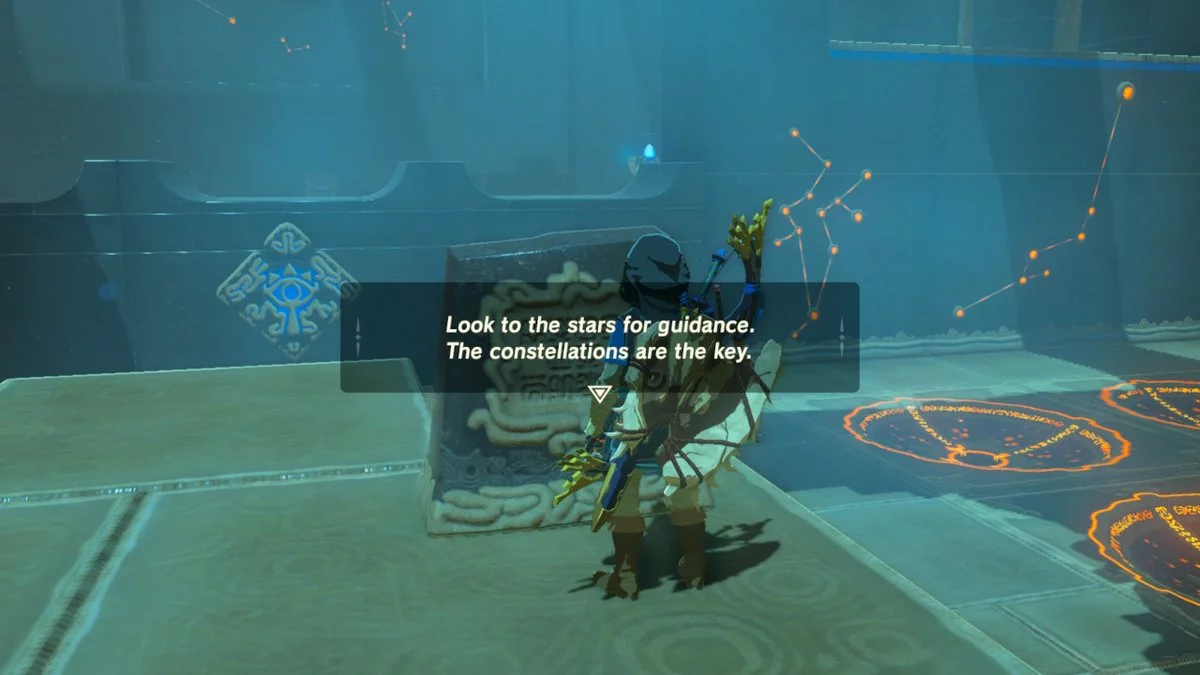
There's a tip on this sign as you walk in – look to the stars for guidance. Which stars?

Look to the stars!
Look to the stars!

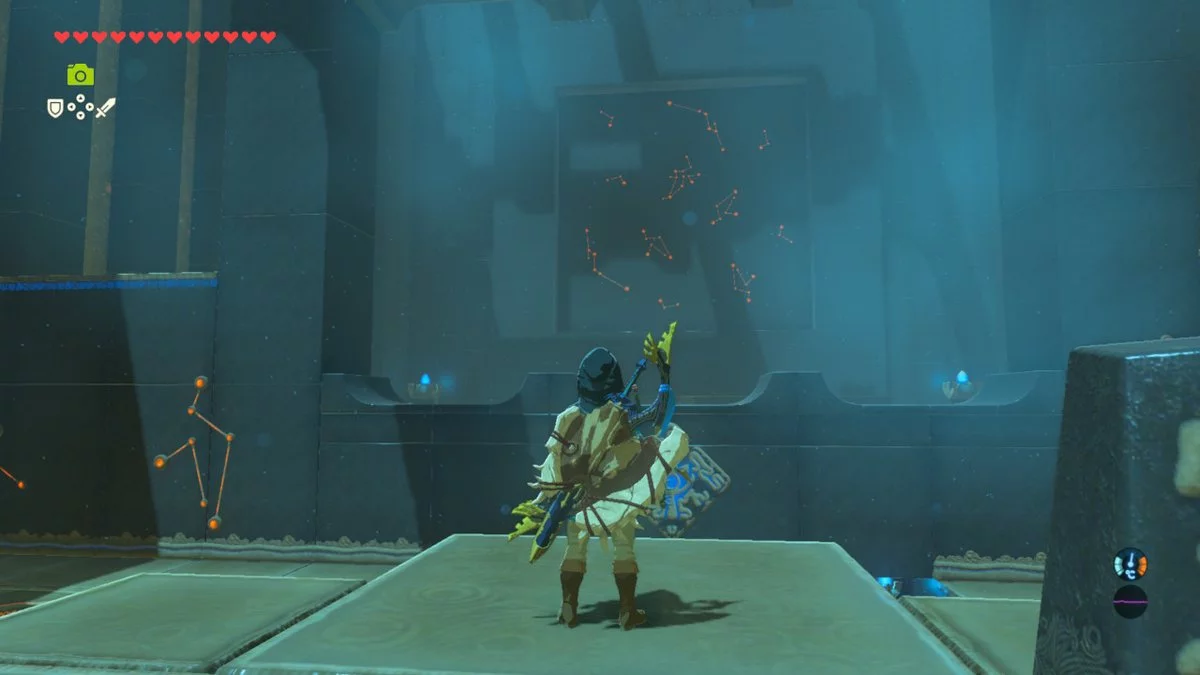
These ones! Little orange lights have been scattered all over the shrines in Zelda, but these ones serve a purpose. You need to count out how many there are of each of the four symbols to solve this shrine.

The fifth hole, the third hole...

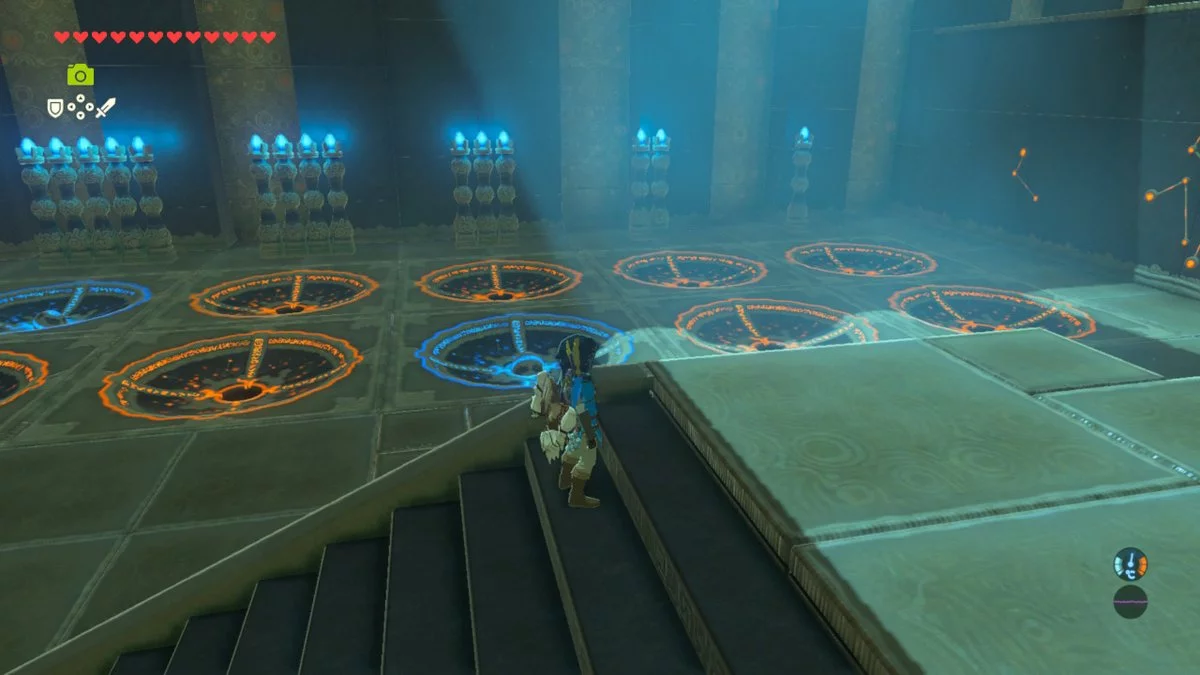
To your left and right are balls, and holes they can fit into. You need to match each ball with the hole corresponding with the number of constellations you can do. On the left, you need to put the first ball in the fifth hole, and the second in the third hole.

...then the first hole and second hole.

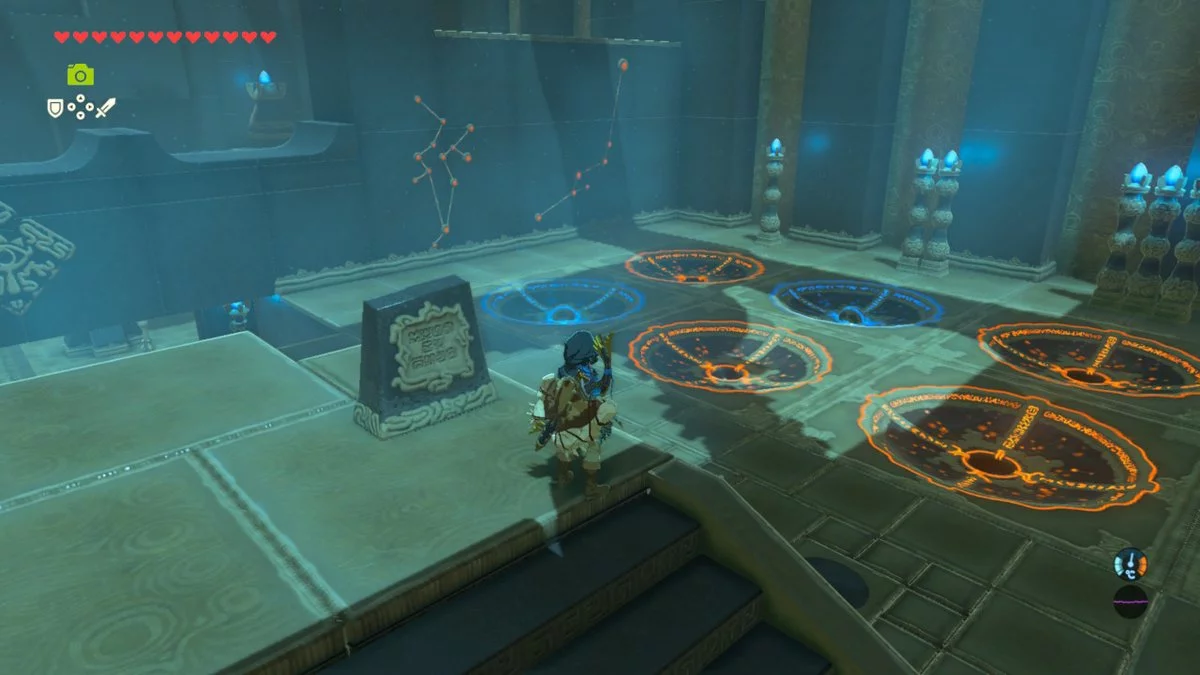
On the other side, put the balls in the first hole for the row closest to you, then the second on the last row. Easy enough.

There's a powerful Knight's Claymore in here too.

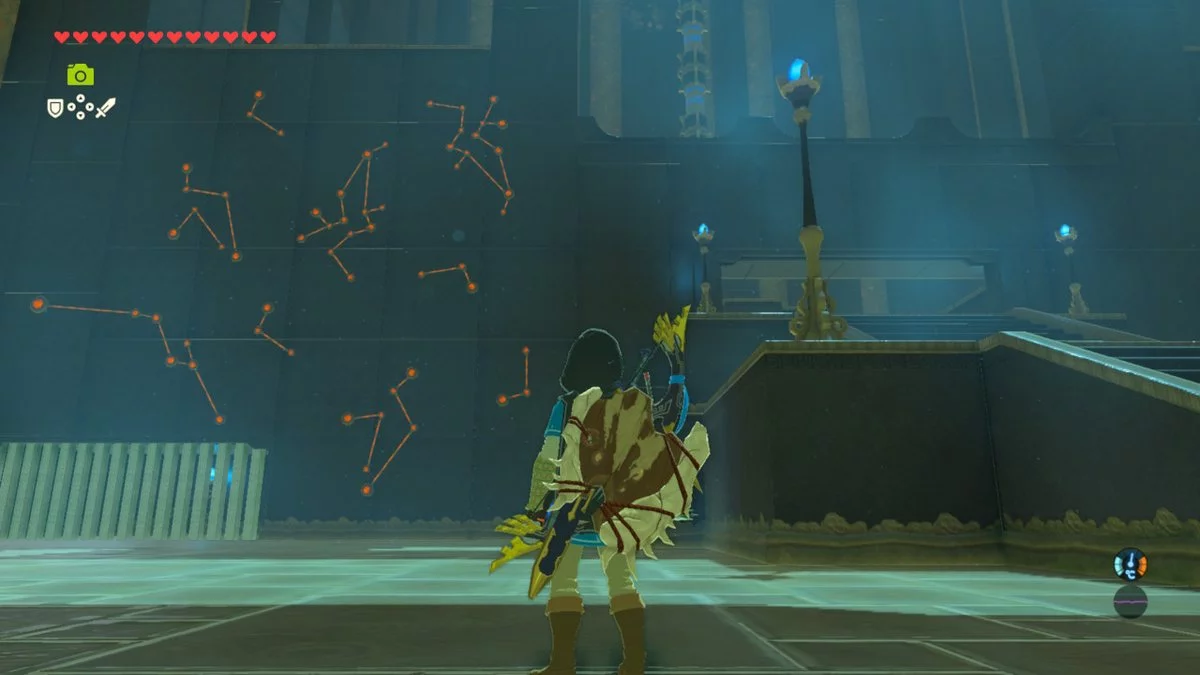
You can head right to the Guardian if you want, but there's a Knight's Claymore hidden in this second room, too. After you enter and come down the stairs, turn around – on one of the walls are more constellations. Go back into the first room and match the balls in line with the numbers here (4-2-2-1) to unlock the powerful two handed weapon.

You're one step closer to having more health or stamina.

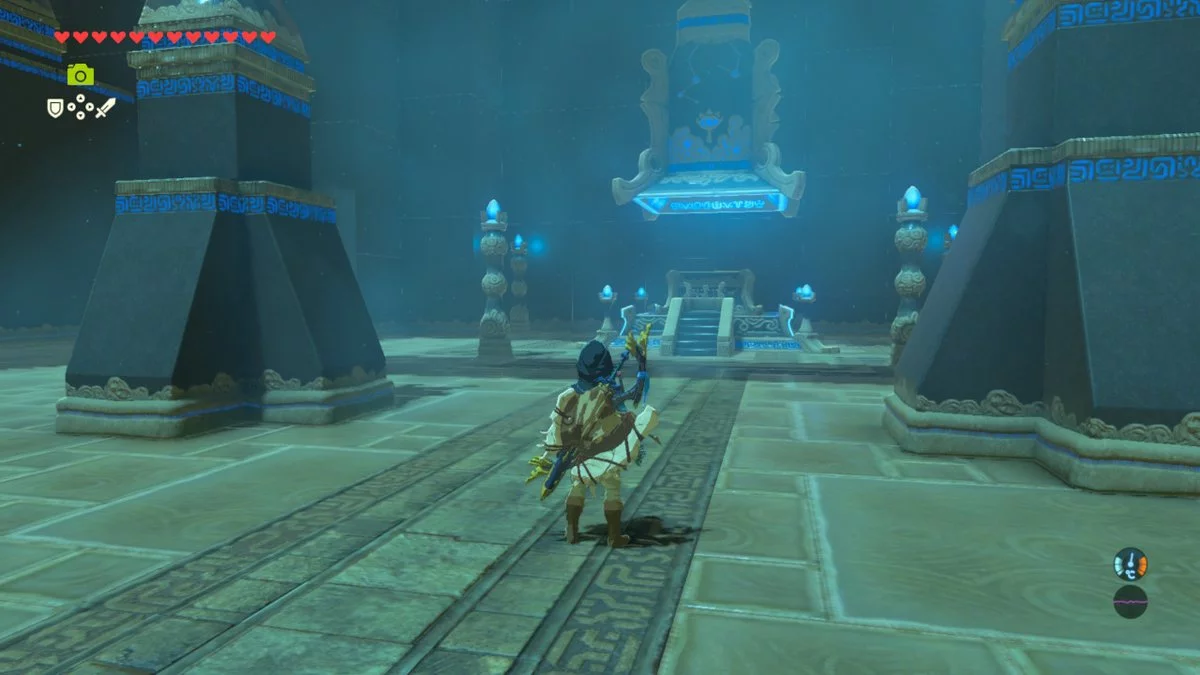
That's it for this level, so head to the Guardian and enjoy your Shadow Orb!

Check out more of our guides to The Legend of Zelda: Breath of the Wild.

View gallery - 8 images
No comments
0 comments
There are no comments. Be the first!