


Thinking about printing your own custom apparel? I put the Procolored F13 DTF printer, oven, and press package through its paces to see if it’s worth your hard-earned cash – or just another overpriced hobby trap.
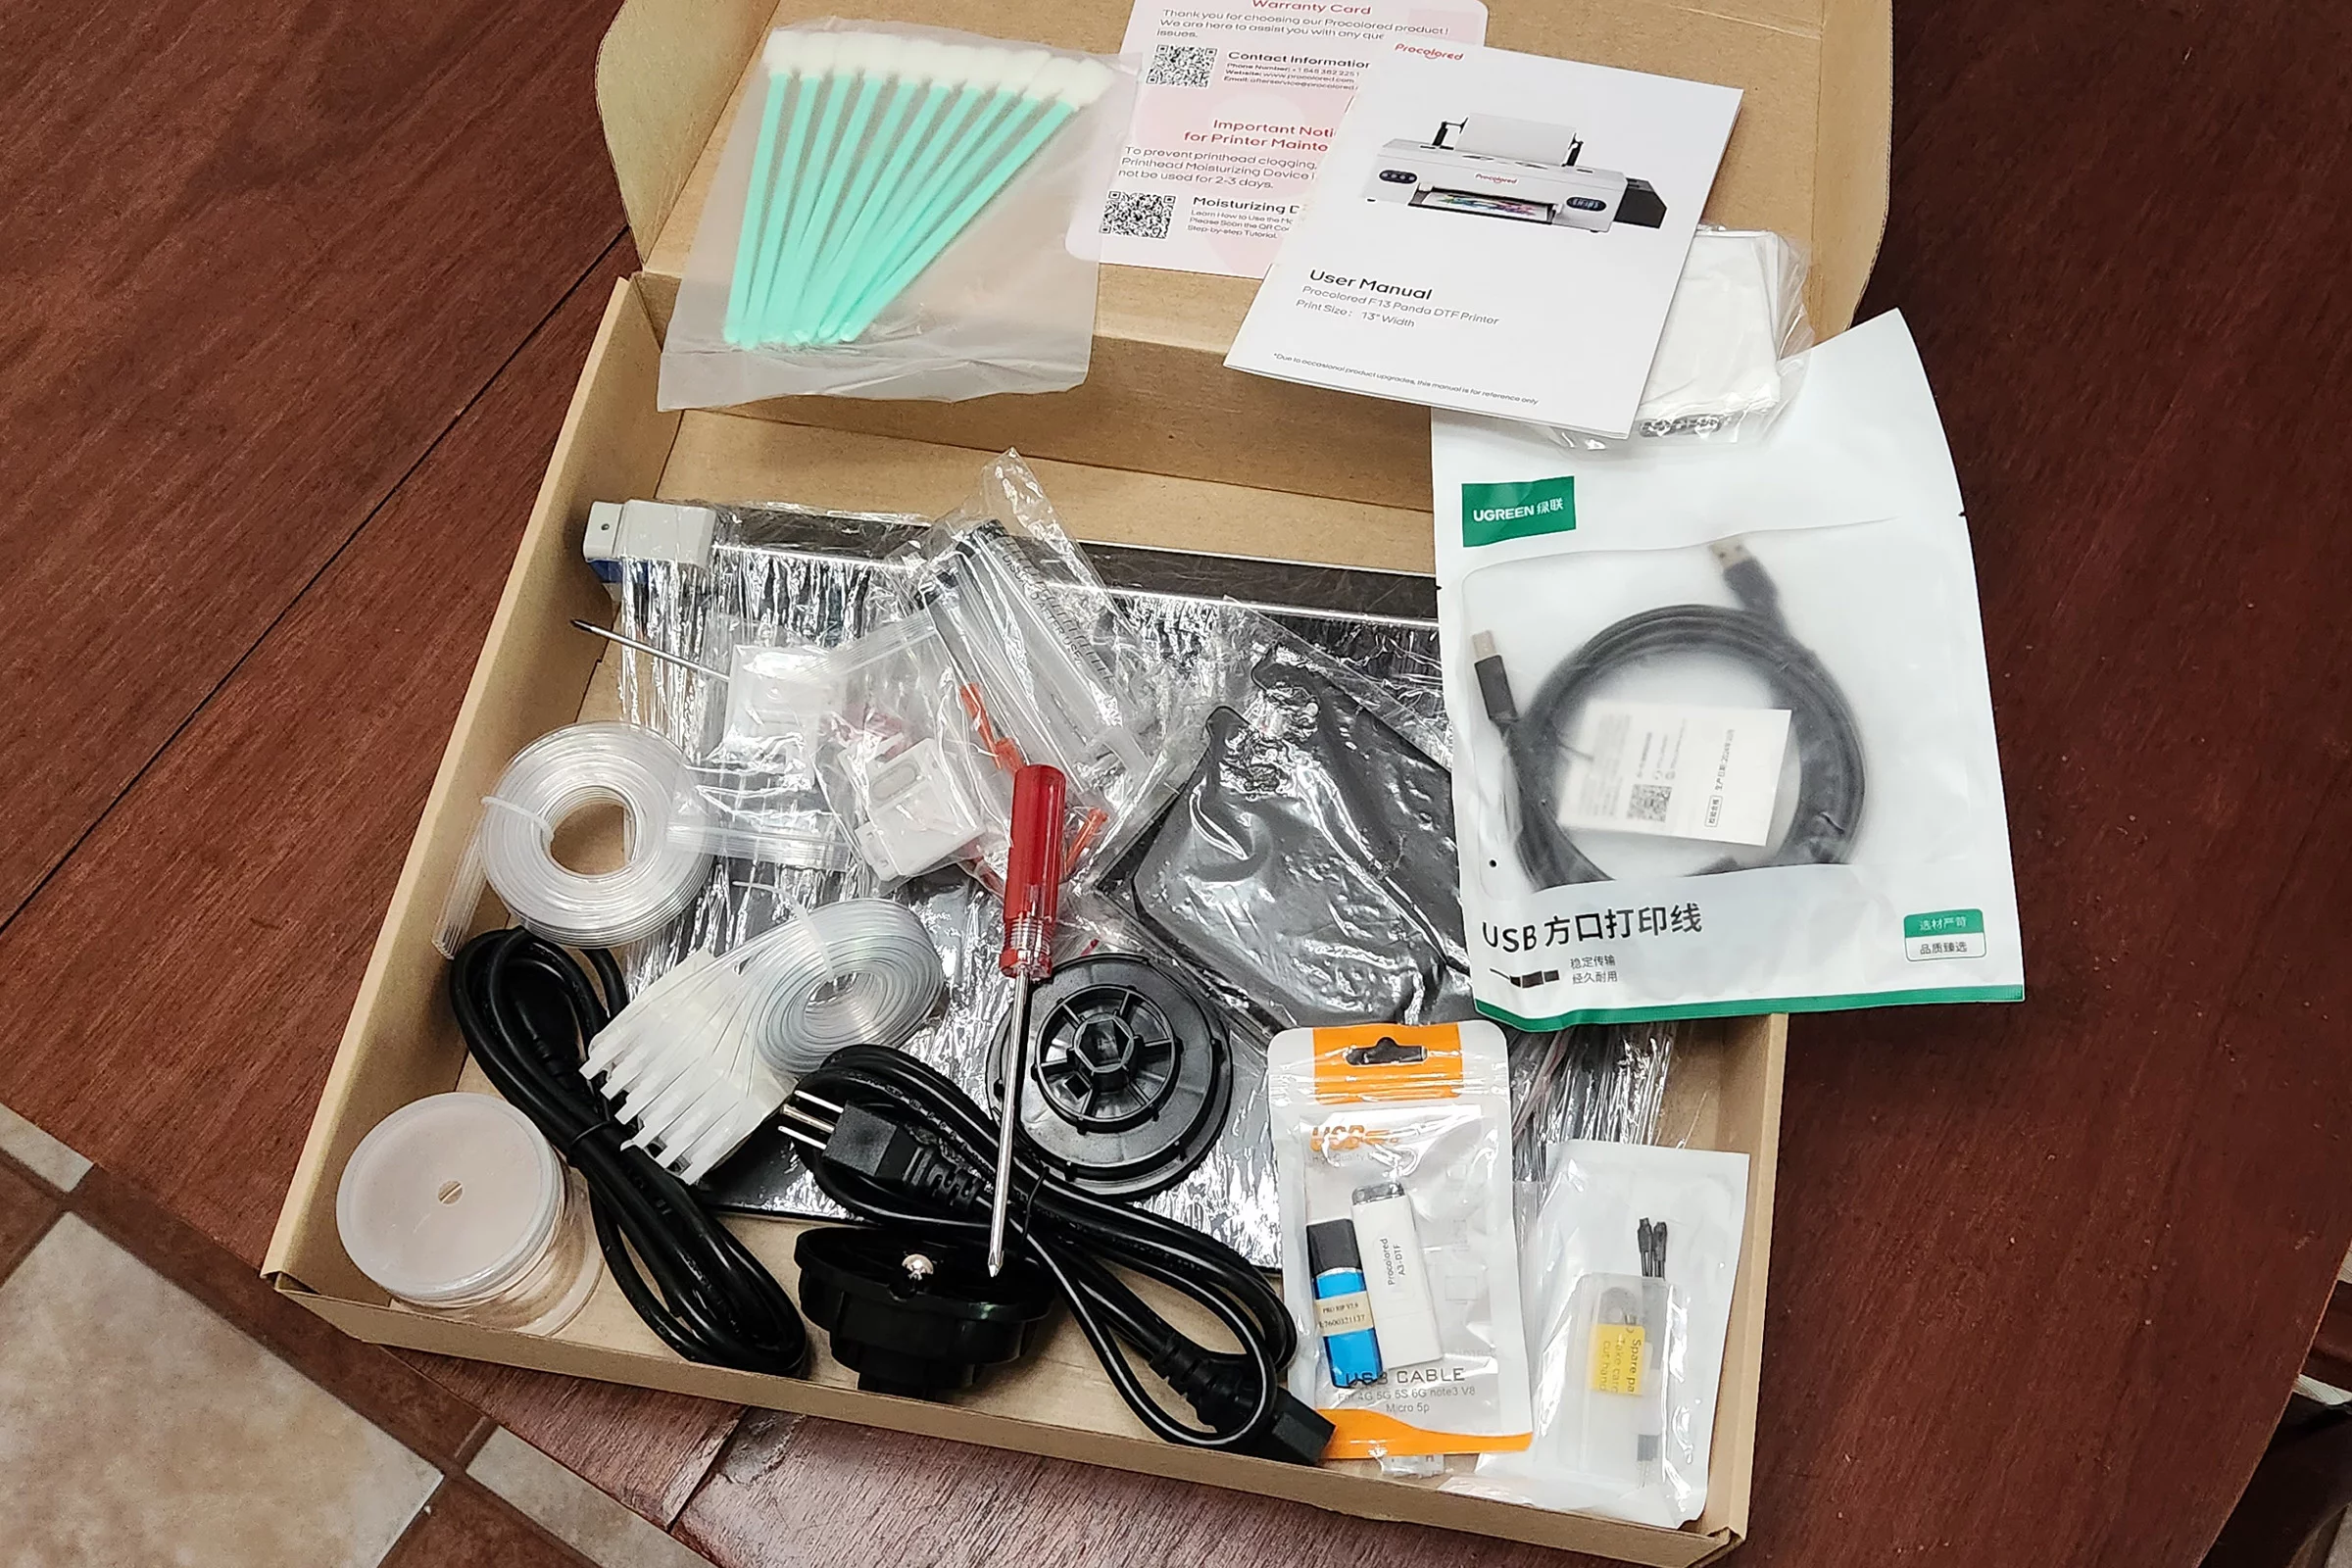
The kit that I received included a 1 kg bag of DTF adhesive powder, 250 mL each of C, M, Y, K, and white ink, plus a 250-mL bottle of nozzle protection fluid, and a 328-ft (100-m) roll of DTF PET matte heat transfer film. Oh, and mine came in a really cool trunk, like you'd see backstage for your favorite band. That was a bonus.
Everything was packed really well for – what I assume was – the overseas journey it took to get to my house. The trunk had both the printer and the oven neatly inside. The heat press was packaged separately in a regular box.
Once I yanked everything from its cozy packaging, the setup seemed a little daunting. It isn't just a matter of chucking in your ink cartridges and printing out your first test page like you would with an inkjet printer – this bad boy needs some proper attention to get going. You've got to fill the tanks and use the supplied syringes to draw ink from the tanks into the print head for every color. You have to pull ink to the waste tank as well.

I wasn't particularly looking forward to it, especially knowing that DTF printers need to be used regularly, else they can have clogging issues – particularly with the white ink – and genuine, high-quality Procolored ink isn't cheap.
In prep for the review, I bought about 60 various t-shirts, tanks, and shorts of different materials and colors from Jiffy. I also bought 150 blank koozies in both foam and neoprene (working with neoprene is real hard, by the way). I waited until I was properly ready to start printing – and keep printing – before I filled the first tank of ink.
A couple weeks later and I've printed and pressed nearly all of it. Here's a quick breakdown of remaining consumables (roughly):
- 60% white ink (~150 mL)
- 75% black (~190 mL)
- 80–85% cyan, magenta, yellow (~200 mL)
- 1/3 roll of PET film (~100 ft)
- 1/4 bag of powder (~125 gr)
I then I did all the math so you wouldn't have to:
The average cost to print a regular cotton shirt is about five bucks each. That includes the shirt, ink, adhesive powder, and DTF film. That price can easily go up by two to four smackeroos if you're using higher-quality shirts, or even down by about a dollar or two for those cheap, janky, uncomfortable shirts that don't fit right and never come out of the closet. The choice is yours.
Sticking to that US$5 figure, it's going to take you 190 shirts at $25 each to recoup your initial investment on the ~$3,800 package I'm using (F13 + oven + heat press). If you already have a press and oven and just want the printer, 150 shirts will cover your investment costs.
You'll have to restock on consumables somewhere around the 250 mark, I think. After lots of research, I've found highly rated and less expensive products on Amazon, like DTF film, and transfer powder, but everything points to using genuine Procolored ink. Or at least ink specific to the Epson L1800 print head (more on that later).

Things I noticed:
Every time I turn on the printer, it'll error with a paper-jam message, even though nothing is actually jammed [insert Office Space references here]. All I have to do is flip the main power switch (on the back) off and on really quick, then hit the front-panel power button again – and it magically works 100% of the time. If I don't turn it off, and I just pick up printing the next day, no jam errors. An annoying "feature," for sure.
After five days straight of use, followed by one day of downtime, the white ink clogged. A quick software printhead clean (twice in a row) got it going again without any extra work.
DTF likes to be used all the time and doesn't like to sit around waiting. After about two weeks of printing nearly every day, I've learned to just clean the print head before my first use of the day. It's been running tip-top, even after a weekend of no use at all. That said, you still have to leave the main power on at all times. Every hour or so (I think, I haven't actually timed it), you can hear it do a little white-ink pump for about 30 seconds to keep the juices flowing. Every 10 hours of idle time, it will automatically clean the print head as well.
The Procolored F13 comes with Pro RIP software and a USB security dongle. It's annoying that you have to leave the USB in your computer any time you use the software for anti-piracy purposes. How long will it be before we need USB bays filled with security dongles? ... But I digress. RIP software is used to lay out your images and to talk to the printer's custom firmware for white-layer printing under color – something regular printers can't do.
IT'S AVAILABLE FOR WINDOWS ONLY!
The Pro RIP software isn't available to the 17% of you guys 'n gals using less-awesome operating systems. *Wink-wink* Also, Pro RIP is the only compatible RIP program for Procolored's F13 machine. If you already have a favorite one with your workflow dialed in, well, you're going to have to learn to love Pro RIP. Honestly, it's super straightforward, simple, and easy to use though. You have flexibility in everything from white layers to punch holes and more with Pro RIP.

If you're expecting to crank out pages of images like an old laser Xerox at your last office job, prepare to be disappointed – the DTF printer is slow. It's literally like watching paint dry. Procolored's site says about six prints per hour, but that's best-case scenario – or maybe six small prints with very little white.
I'm trying to optimize paper use by ganging up images so I'm not wasting film, and it's more like 25 minutes for every ~12 inches (30.5 cm) of roll if you do two full white layers underneath. So if you're making six prints that fit in 12 inches of roll, then sure. A full front-of-shirt print could be 10 inches (24.5 cm) wide and 14 inches (35.5 cm) tall – perfectly within the printer's capability – but that size is going to take a solid half hour to print out just one.
Procolored says the F13 is good for 200+ prints a week. I printed 50 koozies (front and back) in two days, so I think it's possible for smaller stuff. No way I could accomplish 200 full shirts without help.
Though slow, it's super detailed. It prints in photo quality using an Epson L1800 print head. It was a little confusing installing drivers for an Epson while plugging in a Procolored, but I realized it emulates an Epson printer with custom firmware that allows for additional white layers and such.
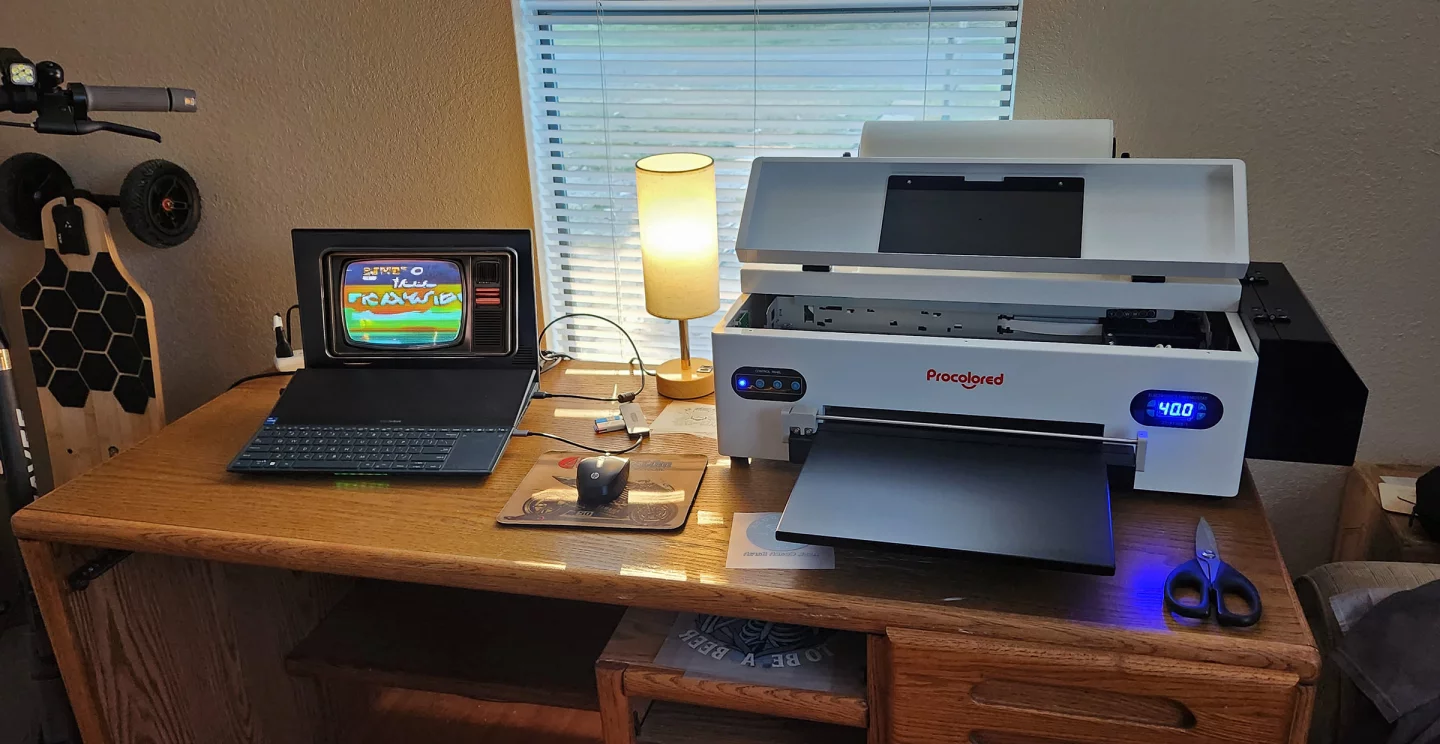
I've had to print everything with the lid open so far. Initially, with the lid closed, it was grinding, thumping, and erroring. After putting a little brainpower into it, I realized that the ink lines at the head were sticking up just high enough to make contact with the hinge screws in the lid.
I did what any respectable person would do and took the twist-tie off a loaf of bread to cinch down the ink lines to the printer head to stop all the noise and jam errors. That stopped the lines from catching the screws ... but it didn't stop the slack in the lines from reaching upward to strike the lid hard enough to cause more thumps, grinds, and errors.
I contacted Procolored support, and they got back to me right away with a video showing how to slightly move the lines to reduce the slack that gets pushed upward into the lid on every stroke. I haven't done it yet. I'm not sure if that's a common issue or not, as everything looks really well designed, thought out ... even the best-laid plans don't always work out every time, I guess.
There are three pre-tapped holes where the lid sits that appear to have no use, and I'm thinking a little rubber spacer in there would do the job nicely – making enough clearance for the ink-line slack. Ultimately, even with the lid open, the printer is quiet enough that if you're not paying attention when it finishes a print, you might not even notice it stopped.

Overall, I'm super pleased with the quality the Procolored cranks out. If you're a small-to-medium-sized shirt company that isn't trying to pump out more than 25 or so shirts per day on just one Procolored machine, I think you'd be pretty happy with it. If you're a maker with an Etsy side hustle or something taking one-off orders, the Procolored will absolutely fit that bill for you, even with all the upfront costs.
The Procolored Oven
The 750-watt "EZ Bake Oven," as I refer to it, is plenty big – big enough to comfortably handle any size print you're likely to fit on a shirt chest. It bakes evenly and cleanly every time. The timer function is nice too, as it'll alert you when time's up – in case you're like me, trying to multitask while not particularly good at multitasking.
I will say, the lid of the baking machine isn't insulated, so it gets pretty hot – even where the handle is. Wifey uses an oven mitt to lift it (meanwhile she washes dishes by hand in water far too scalding for me to even touch). It's not that bad if you're only touching the handle. It'd be nice if that was insulated. Also, it would be great if the lid had a slow-close hinge so that if you do burn yourself and jump back, it doesn't slam shut with a metallic CLANG!
I've also noticed that the air filter tends to get saturated with moisture pretty fast. I have to remove it daily to clean and dry it. Over the course of baking about 50 gangs or so, the exhaust fan has probably lost 50% of its ability to exhaust. I'm tempted to take it apart just to see what's happening internally.
Otherwise, the Procolored DTF oven does a really good job of keeping the workflow moving while looking cute at the same time with its big, happy panda face.
The Procolored Heat Press
Having an automatic press is both cool and slightly annoying. It's great that you can set time and temp for whatever you're working on and it automatically just does the thing – but you have no control over pressure. That can be good or bad depending on the item or fabric, or for those who might be heavy-handed. Or maybe I'm over thinking it and it's just really good, as I don't have any real concept of what "light-medium" pressure actually feels like and the press takes care of it for me.
Ultimately, I'm happy to not have to stand at the press for 20–30 seconds at a time while my garments get their goodies. Also at 750 watts, it's not too bad on power consumption. All in, I'm only using about 25 cents per hour in electricity to run all three machines continuously. If you live in California, expect closer to 75 cents per hour.

I like that it beeps when it's done preheating to your desired temp – one less thing to babysit.
One thing I noticed: my house was built in the 1950s and, as recently as eight years ago, survived a major hurricane (Hurricane Harvey), so it's not exactly perfectly square. Some spots of my hardwood floors are just out of plumb enough that you can't tell until you set something down that might roll away if left unattended. Well, with the press, I found one of those spots. As the lid would open and close, it made a grinding, groaning noise. I relocated the table the press was on about a foot away from the wall, and the grinding noises stopped. So if it's not perfectly level, it might protest.
Is the heat press worth the price of admission, so to speak? As a DTF noob, I'd say so. It takes out all the guesswork and just lets me make cool shirts and stuff. Changing temp and time is a breeze. And I didn't realize it at first, but not only does the controller have a "go" button on it, so does the lid. It took me about 80 presses before I noticed that – and it made the rest of the presses that much easier.
My Little Wrap Up
This is a cool product. At the very least, DTF is a cool concept. It's not cheap to get into, but it wouldn't be difficult to recoup your costs and start making some pretty decent side-hustle money – even with just a single machine. I can easily see two or three machines and a big enough spare bedroom in your house turning into a couple-grand-a-month small business if you're willing to put the time in.
Local churches, sports teams, and other non-profits love custom shirts. Bars, liquor stores, and knick-knack shops all love koozies. You're not limited to just those two products either. That's merely what I did during my review. And DTF's very nature is the ability to make truly custom graphics on garments without messy and difficult setups like silk screening.
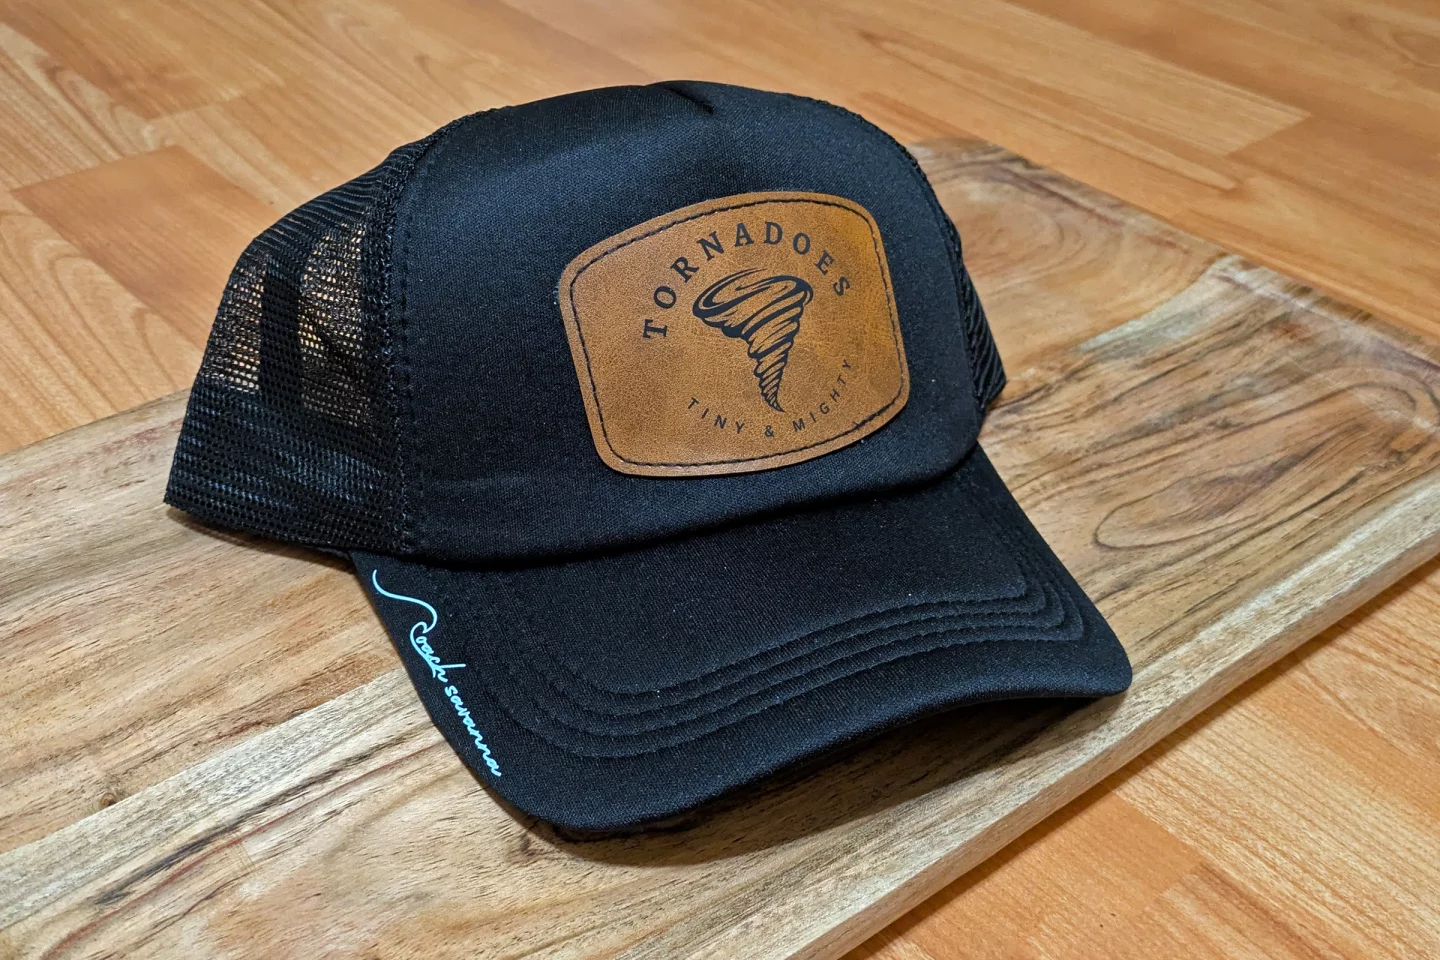
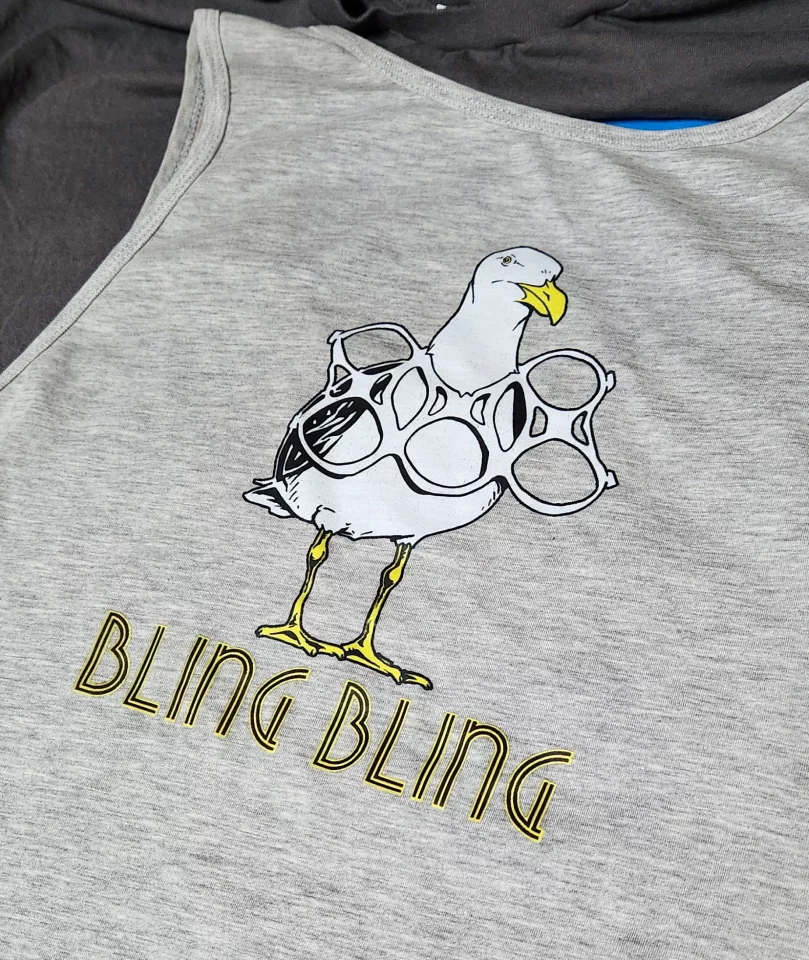
And once again, like my Omni X UV laser review, my crude humor leaves me with very few images I can show you of stuff that I've made ... but I figured if I'm throwing a bunch of money at a review, I'm going to make what I want to wear! Ha!
EDIT TO ADD// I sent a batch of stuff I made through the washer and dryer ... but I did it in the most destructive way possible. The washer set to sanitize, the dryer at full heat WITH six dryer balls in there to beat on it, not to mention I did it all right-side-out. The exact opposite of all recommendations. The results were fabulous and the designs were unscathed. I was honestly a bit surprised, especially with the dryer balls in there. But that was only one wash/dry cycle. Time will tell!
On the other hand, DTF has been around for a while, so we know it works.
Let me know in the comments if you'd be interested in a free New Atlas shirt (that I totally haven't designed or made yet), and maybe I'll pick one or two of the best comments and shoot 'em off to ya. Make sure you're subscribed to our newsletter, though, to find out if I picked you!
Product page: Procolored F13 Panda DTF Printer
Note: Edited to add after wash/dry info at 6:33pm CDT. Thanks for pointing it out, philippeholthuizen!
New Atlas may receive a commission from purchases made through our links; this does not influence our review. Our reviews are impartial and our opinions are our own.