


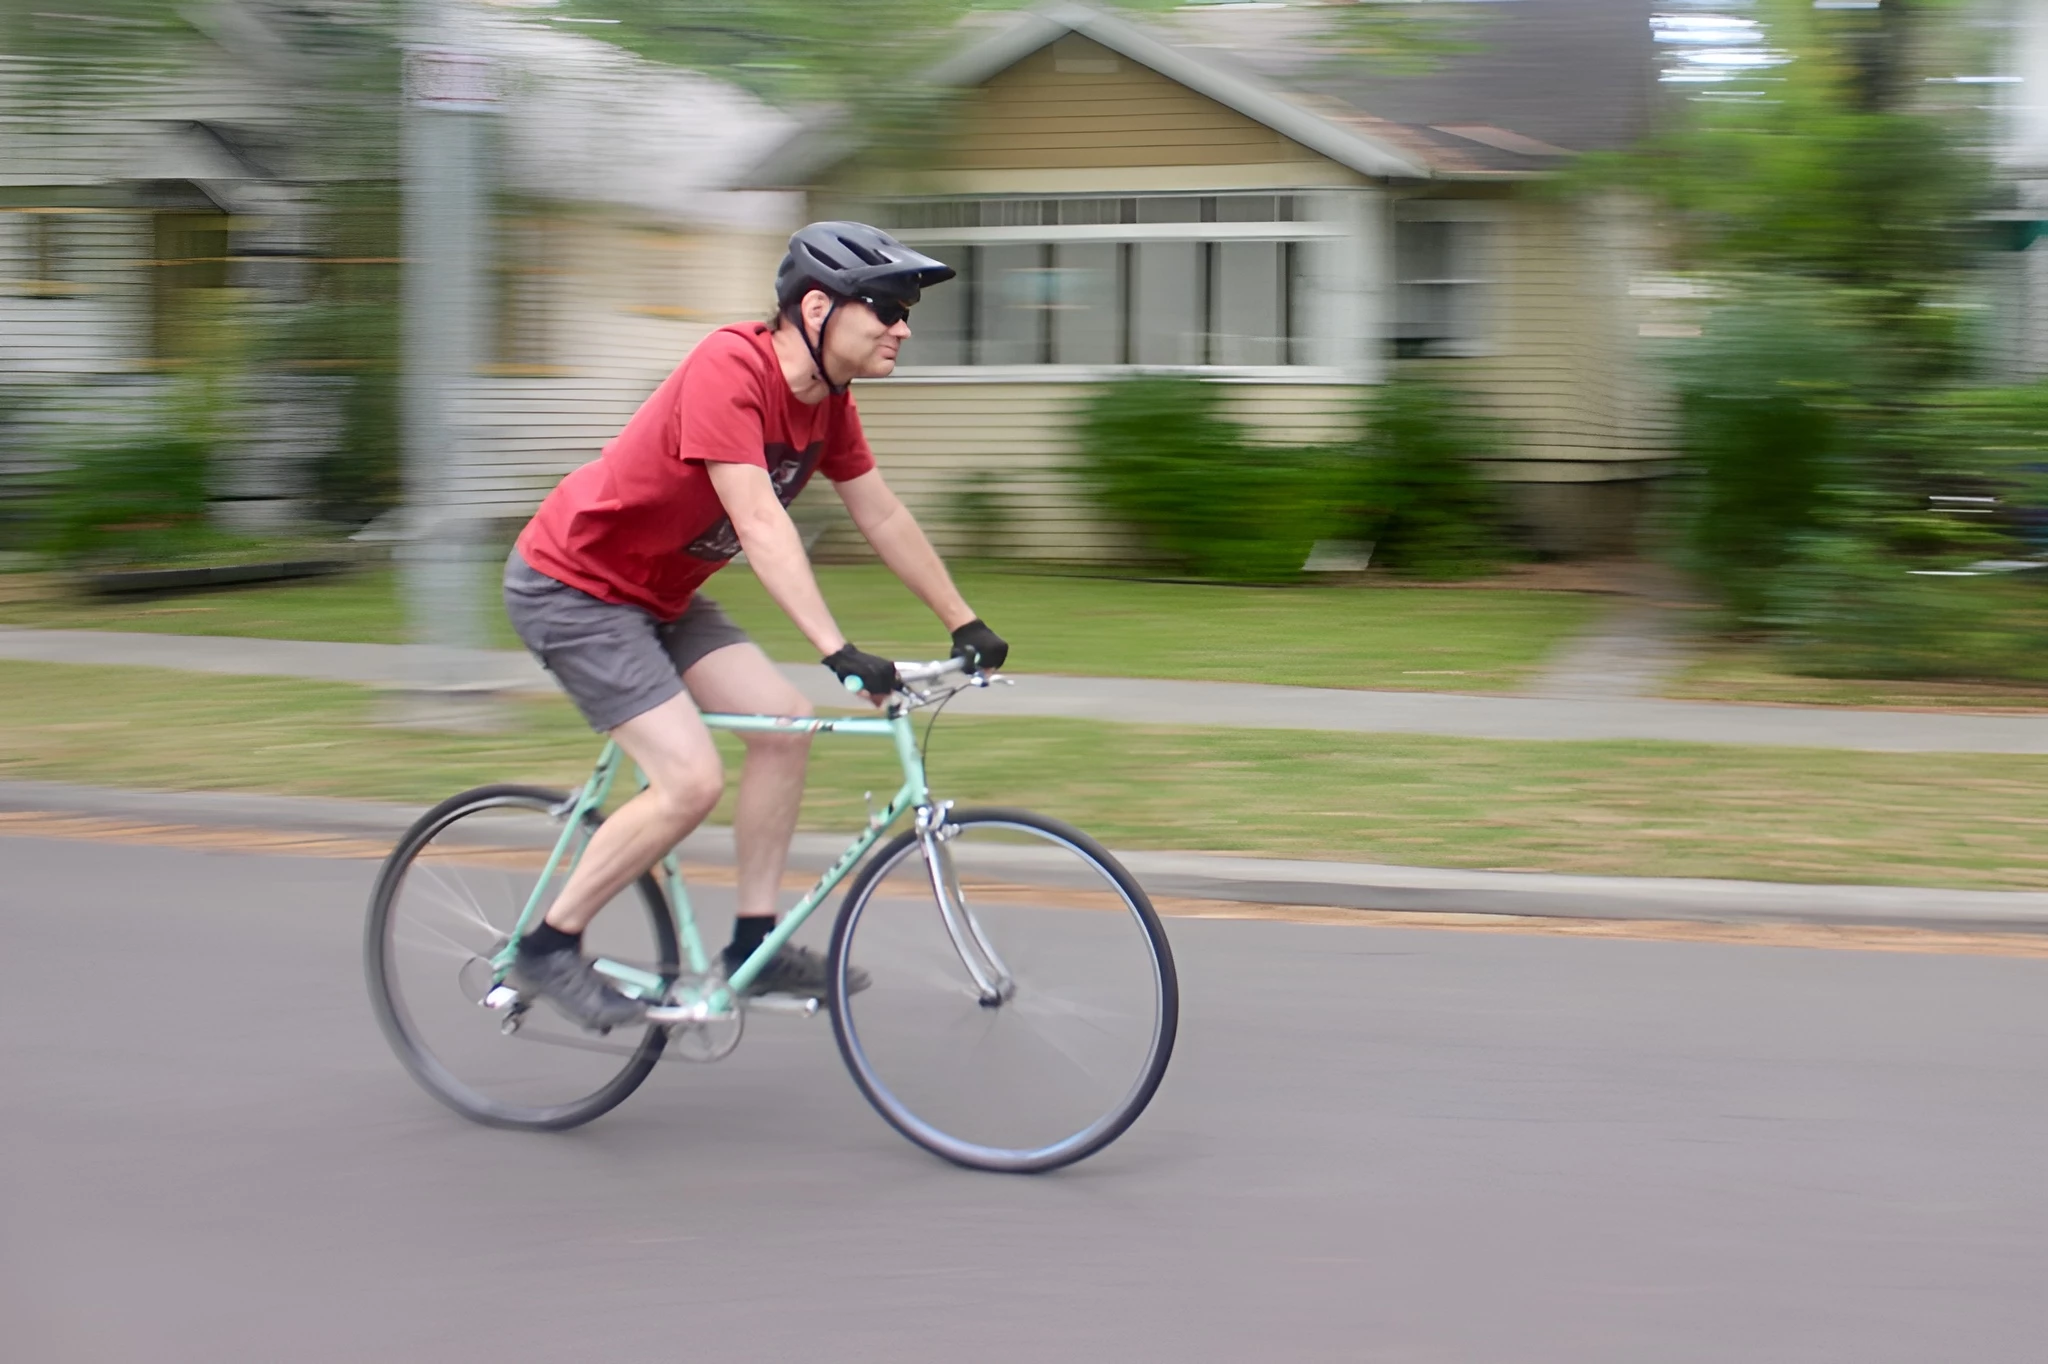


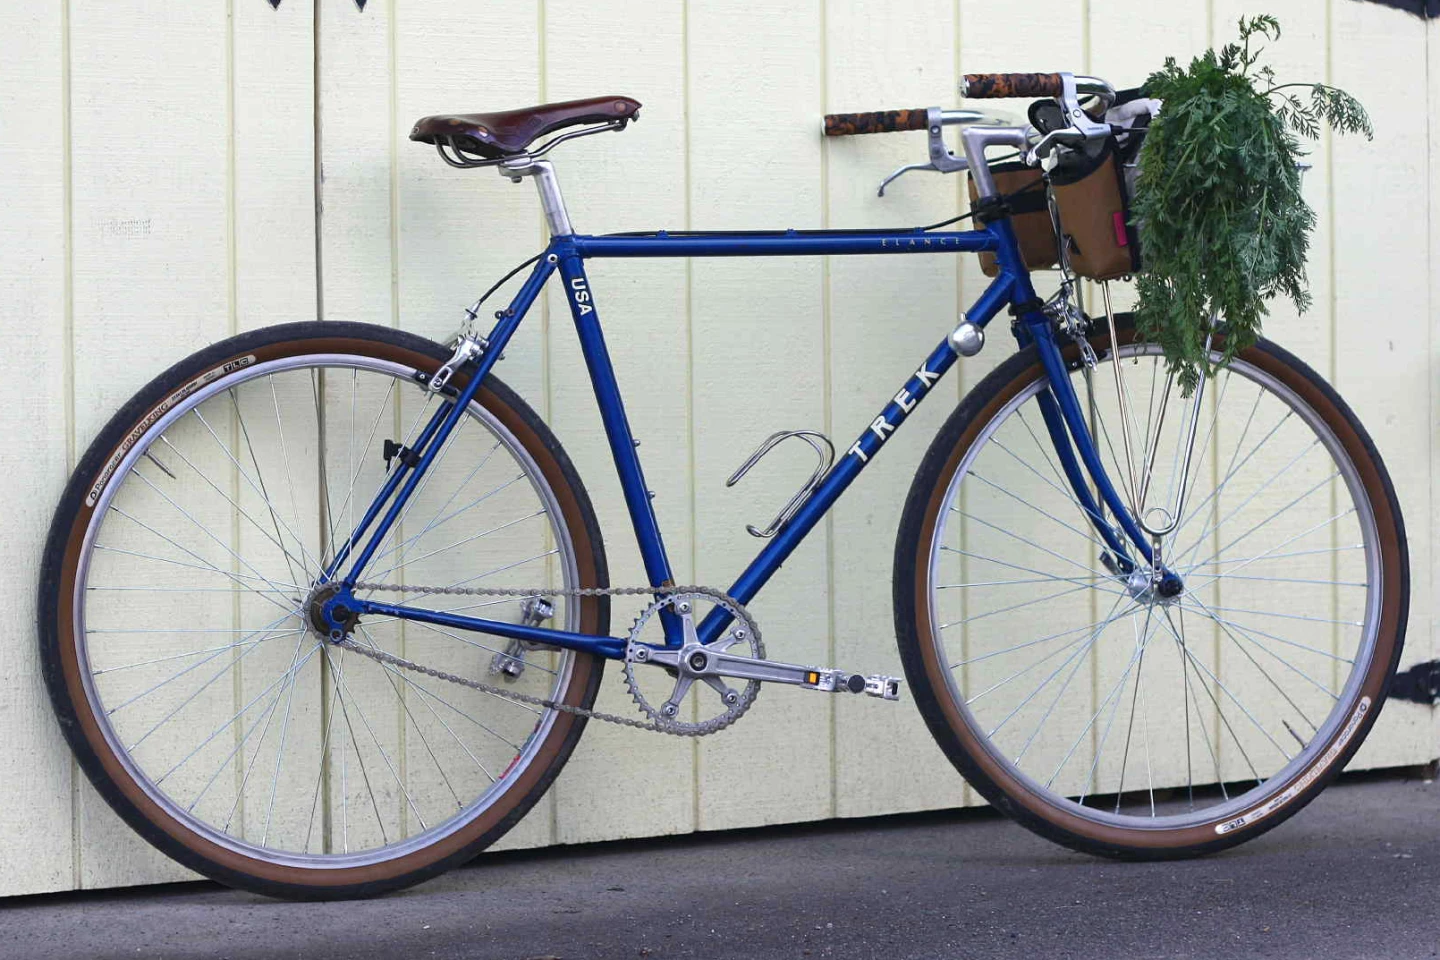
Hybrid commuter bikes generally aren't known for being all that exciting. That's why some cyclists are taking old speed-oriented lugged-steel road bikes that would otherwise go unused, and converting them into zippy, retro-cool city bikes. Here's how you can do it, too.
First of all, yes … pretty much any type of older bike can be fixed up and turned into a stylish commuter.
In fact, with their fatter, thicker tires and sturdier construction, classic 80s and early-90s mountain bikes are a better choice in practical terms. On the other hand, road bikes of approximately the same vintage tend to be lighter, faster, and – oh so importantly – "cooler"-looking, if you're into the lean, mean, fast n' nasty aesthetic.
With such an admittedly rather immature consideration in mind, that is why I'm focusing on them in this article.
Where to look for what
As is the case with just about everything, platforms like Facebook Marketplace, Kijiji and Craigslist are good places to seek out the Miyata, Bianchi, Nishiki, Fuji, Peugeot or whatever it is that you decide to work with. You could also make inquiries at some of the older, more established bike stores and cycling clubs.
Everyone's price range will vary, but unless you're going after a steed like a mint-condition Colnago or Pinarello, you should be able to find something decent for no more than a few hundred bucks.
Unless you already have a lot of tools, spare parts and mechanical expertise, however, you may be spending at least that much over again on the conversion process. All in all, it might not be any less expensive than buying a brand-new low-end commuter bike.
"Acquiring old bikes and building them can be a cheaper option, but often we get in a hurry or get carried away with our build," says Clint Matthew Dowd, a vintage bike restorer from Kentucky. "But that's part of the fun. I encourage people to buy a working (quality) old bike and ride it, then decide what they want to change."
Michigan-based restorer Joel Shinaberry likewise feels that the DIY approach is the best way to go. "The feeling of pride and accomplishment of having done a conversion and then enjoying the fruits of your labor from the conversion are priceless," he tells us. "And you then have something unique that no one else has."
Let's get rolling
Needless to say, it's important to check for all the stuff you would when buying any used bike – such as wobbly wheels and seized seat posts – but you'll also want there to be enough frame clearance to swap in at least 28-mm tires. It's true, some folks do commute on skinnier, higher-pressure tires, but those make for a bone-jarringly harsh ride on rough roads, and they're more prone to punctures.
Frame eyelets for mounting racks and fenders are certainly a desirable feature, although their absence isn't necessarily a dealbreaker. There are front racks that simply hang from the handlebars, plus there are strap-on mudguards that don't require eyelets. And of course, if you really wanna haul stuff around, you can always just wear a backpack.
All of that having been said, there definitely are no rules concerning what bike you choose, or what you do to it. There are a number of modifications that people do tend to make, however, such as …
Getting a handle on the bars
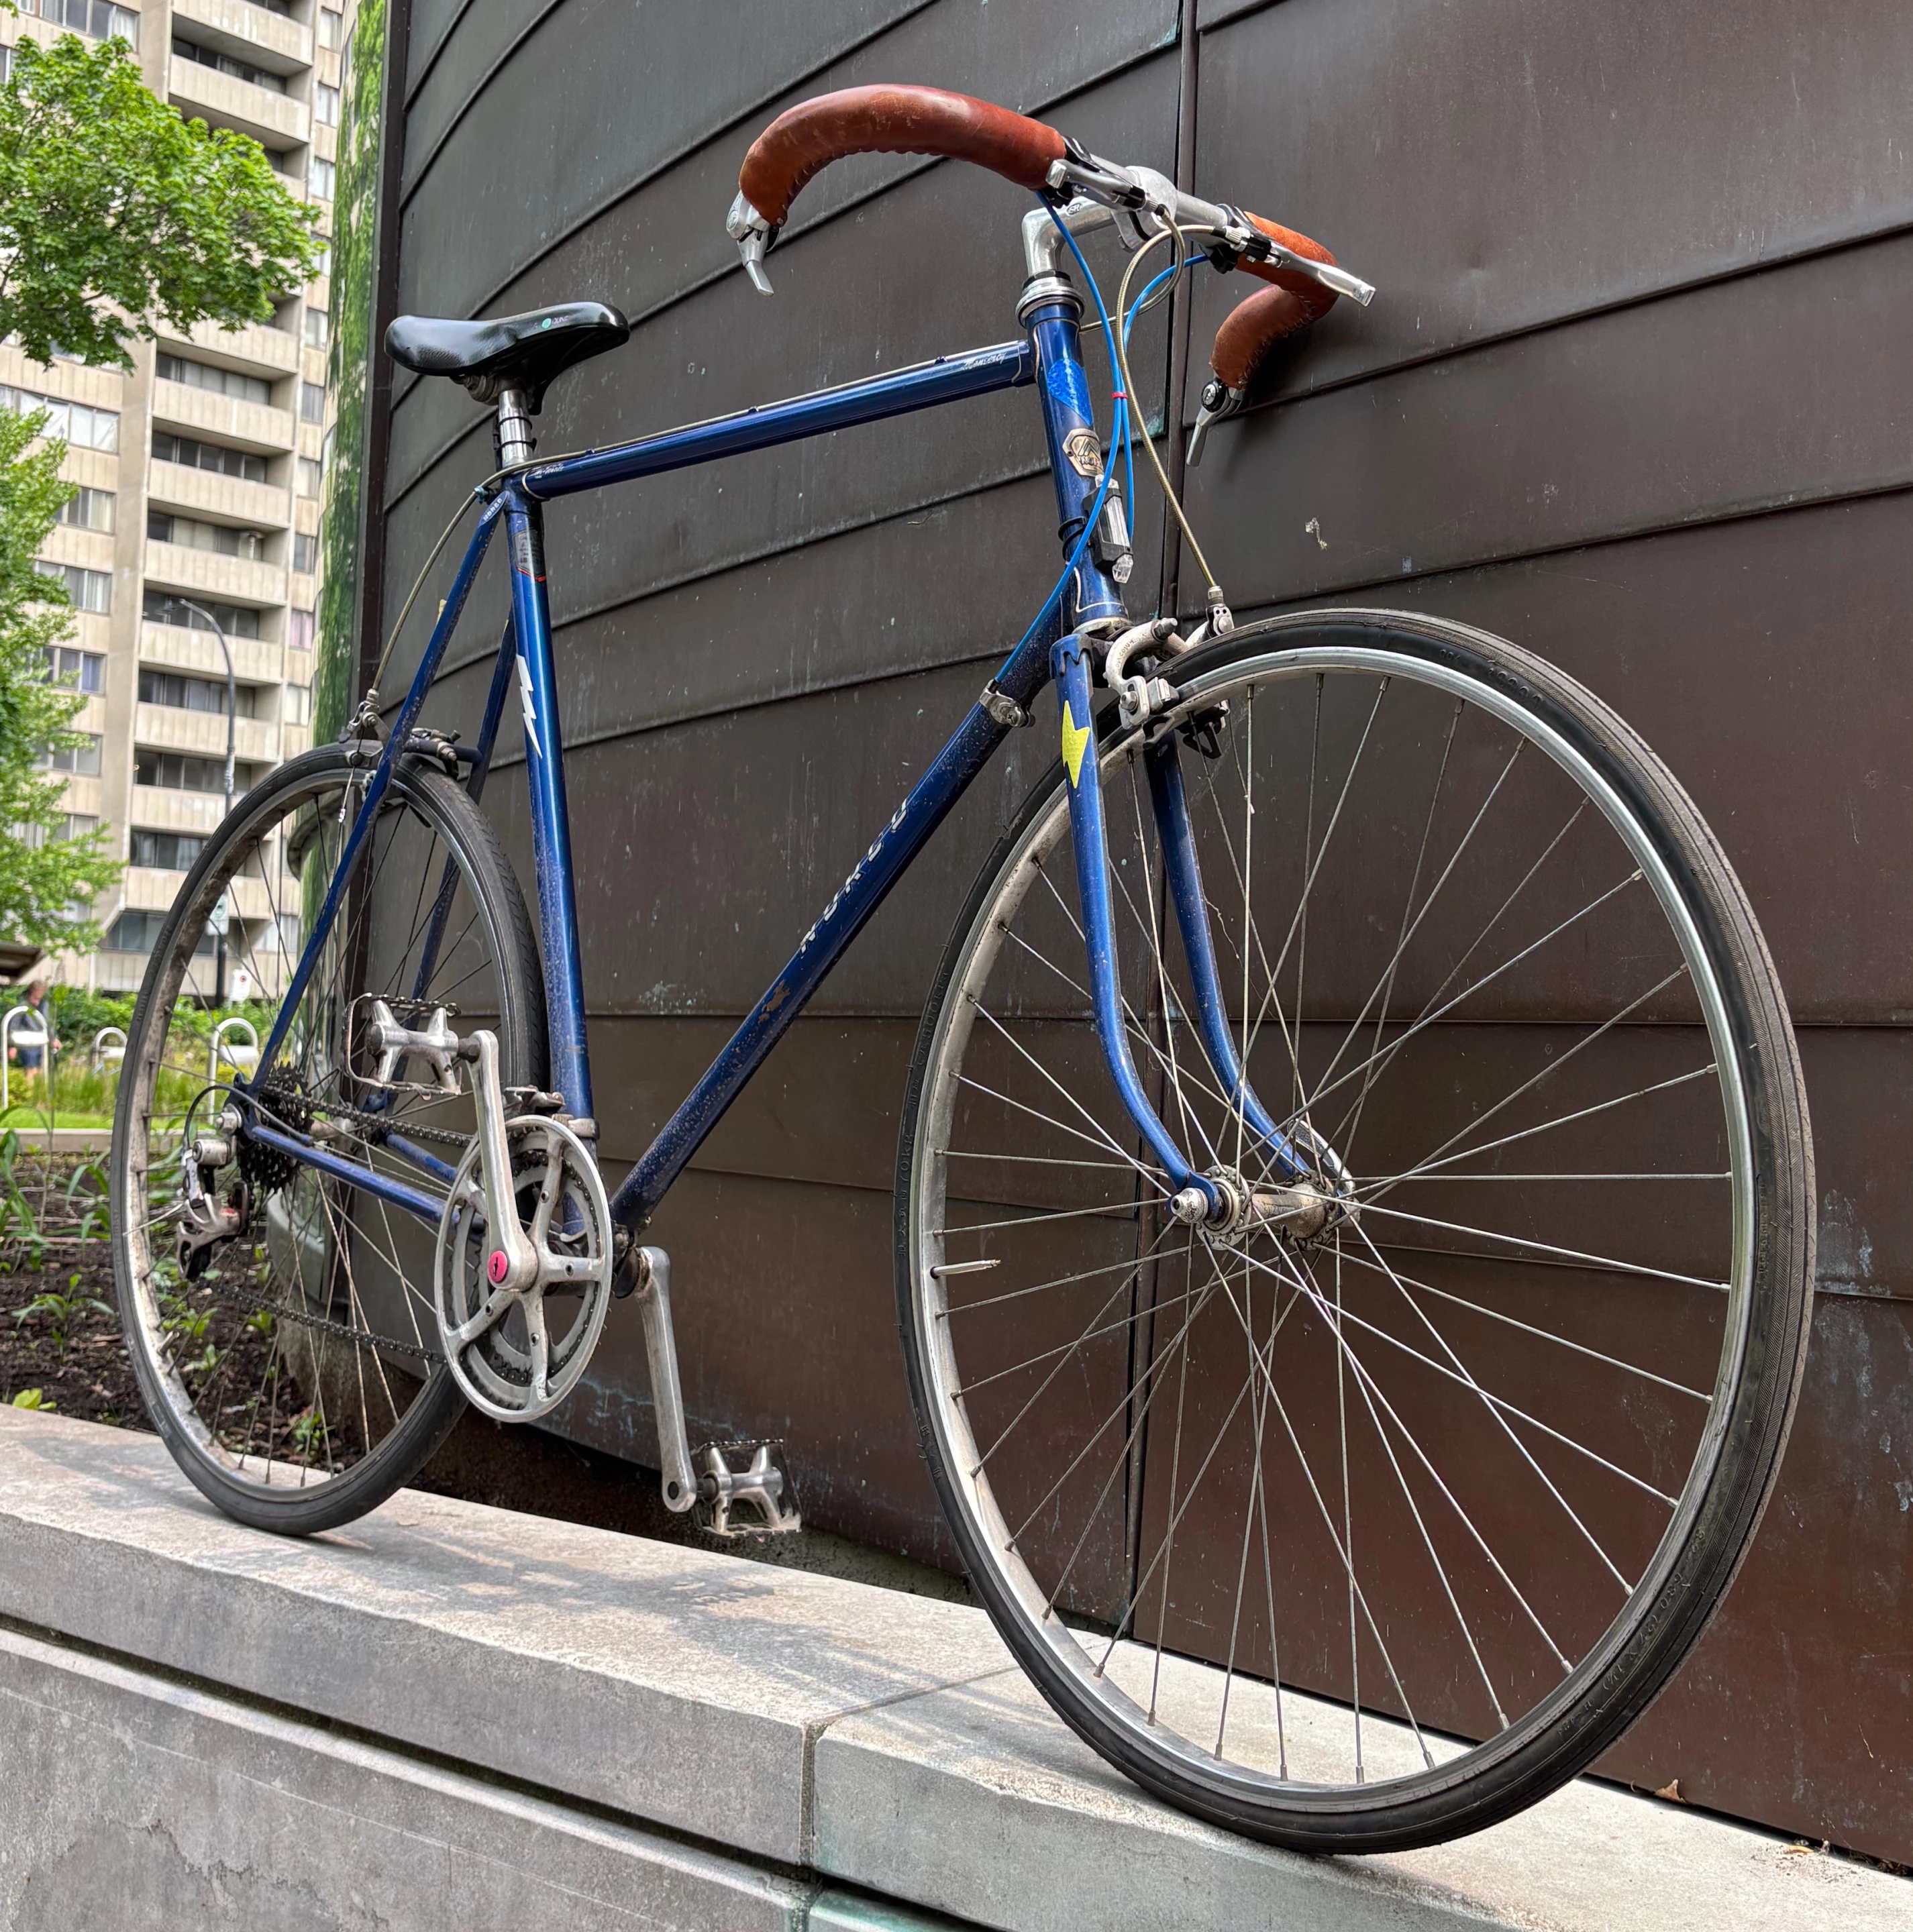
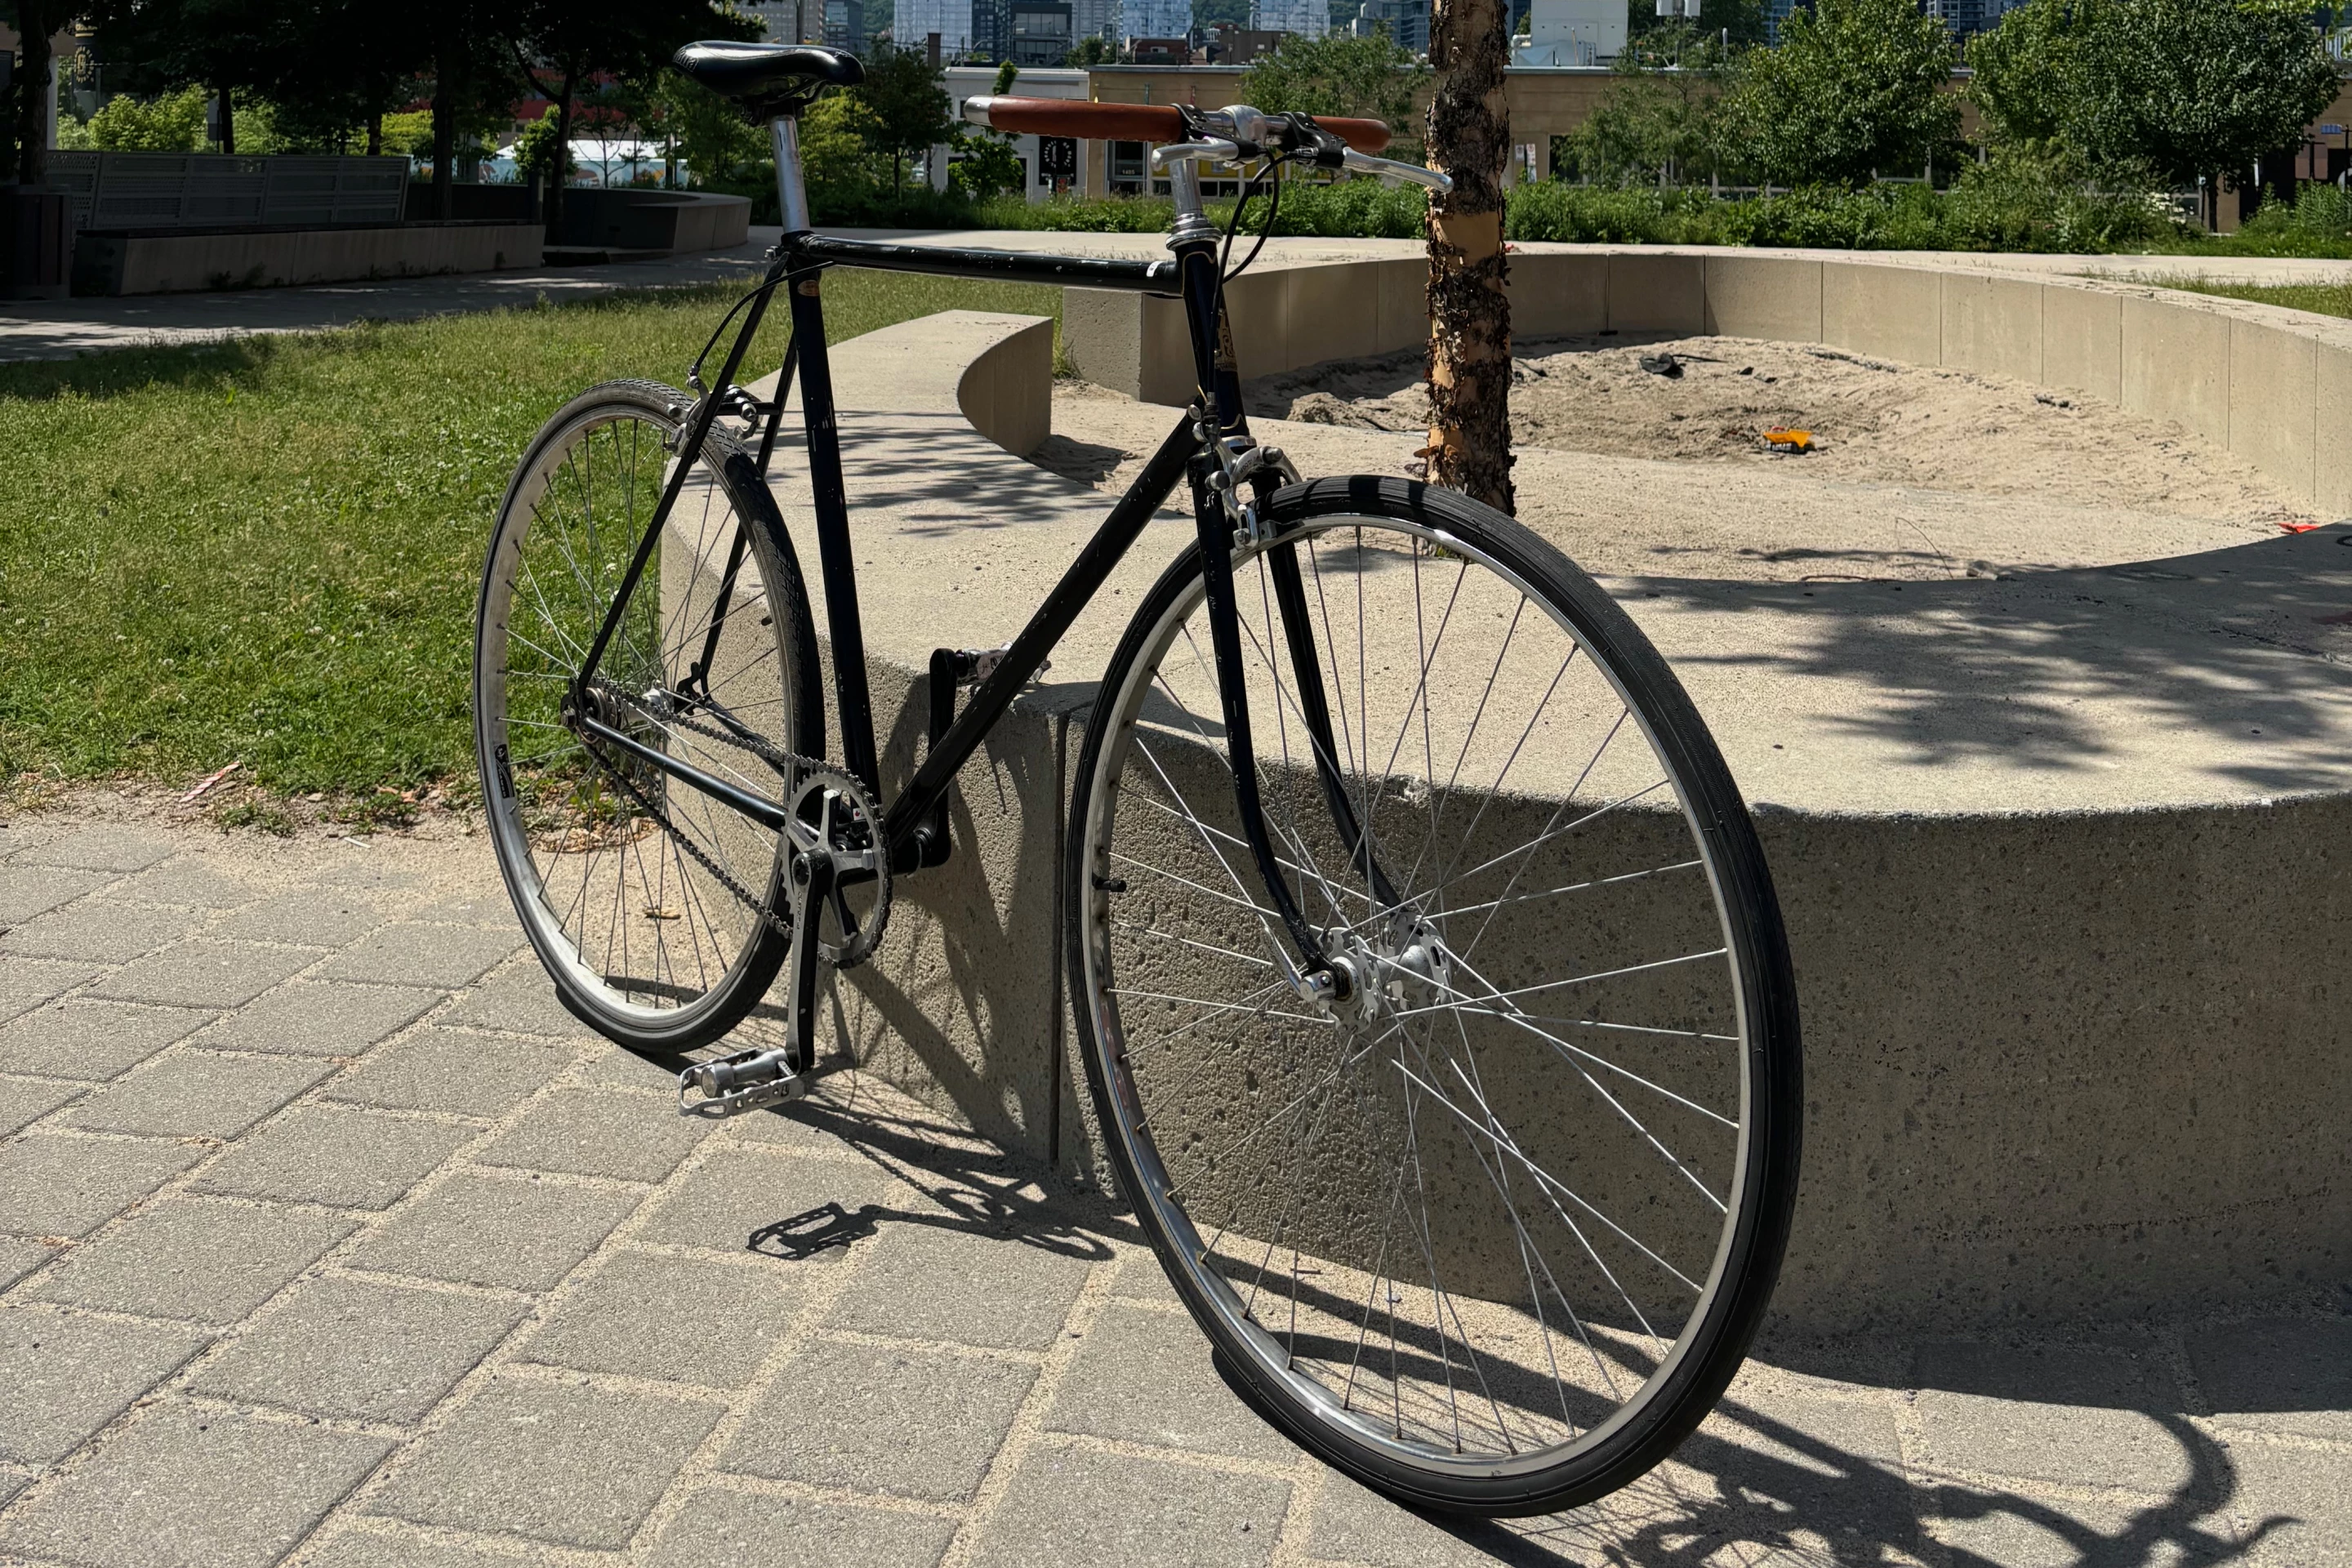
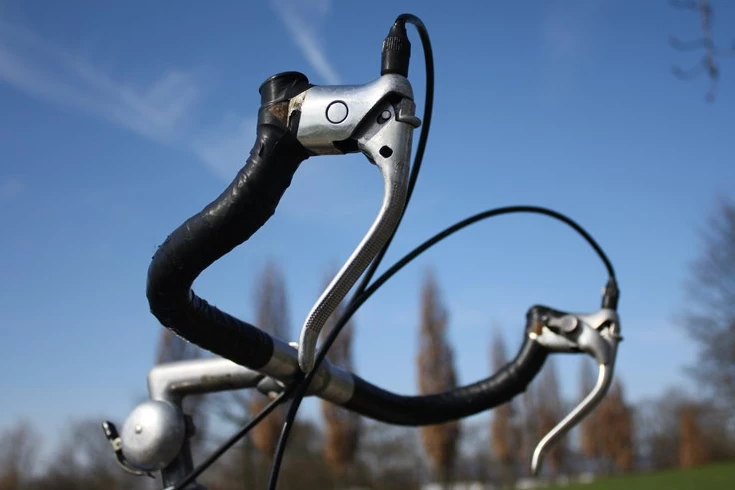
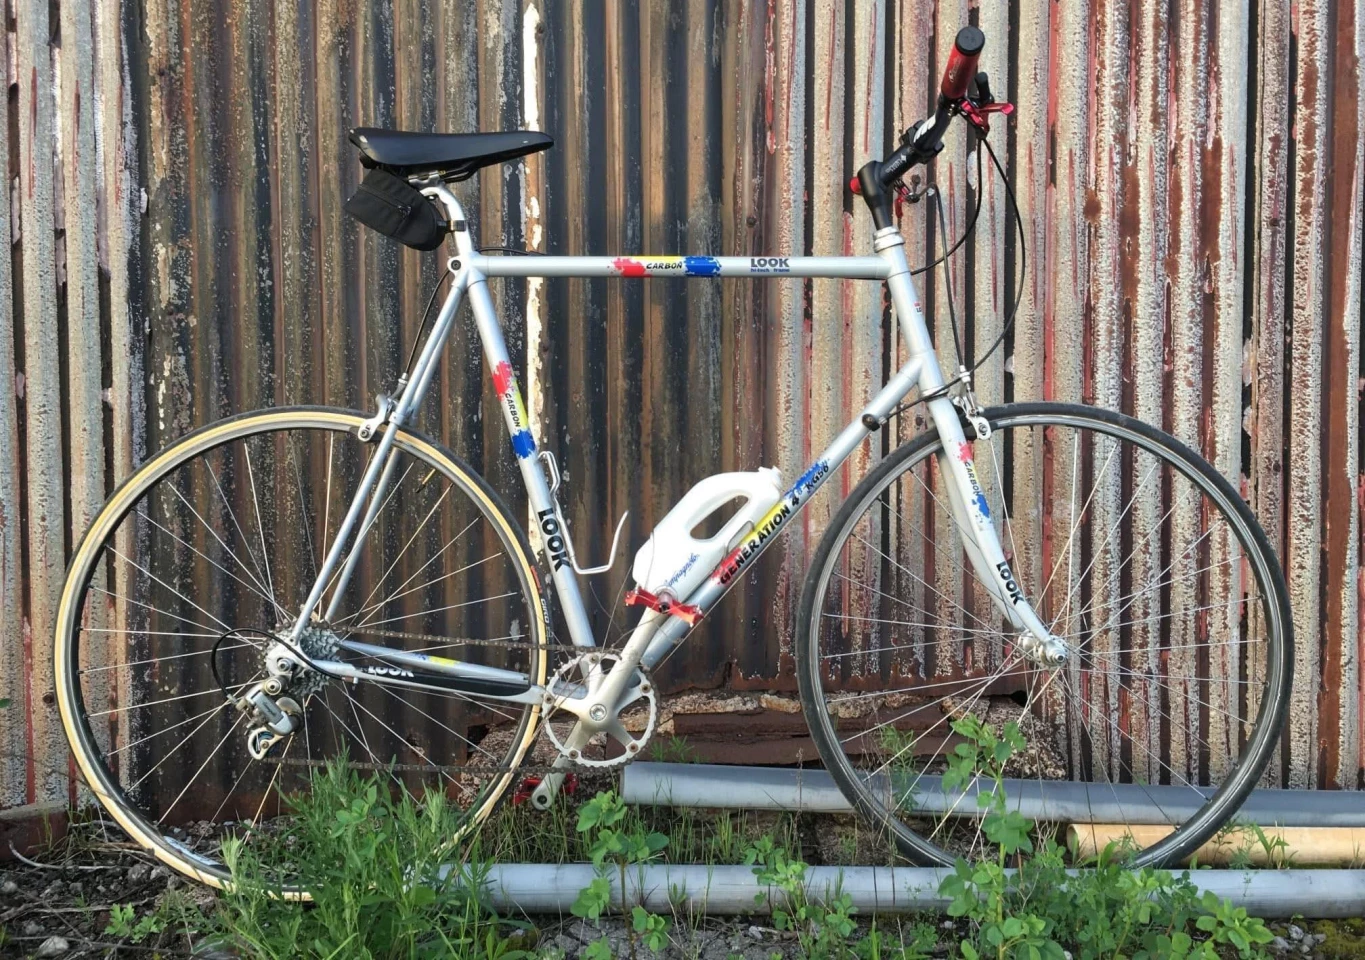
All old road bikes have aero-oriented drop handlebars, which definitely do work for commuting.
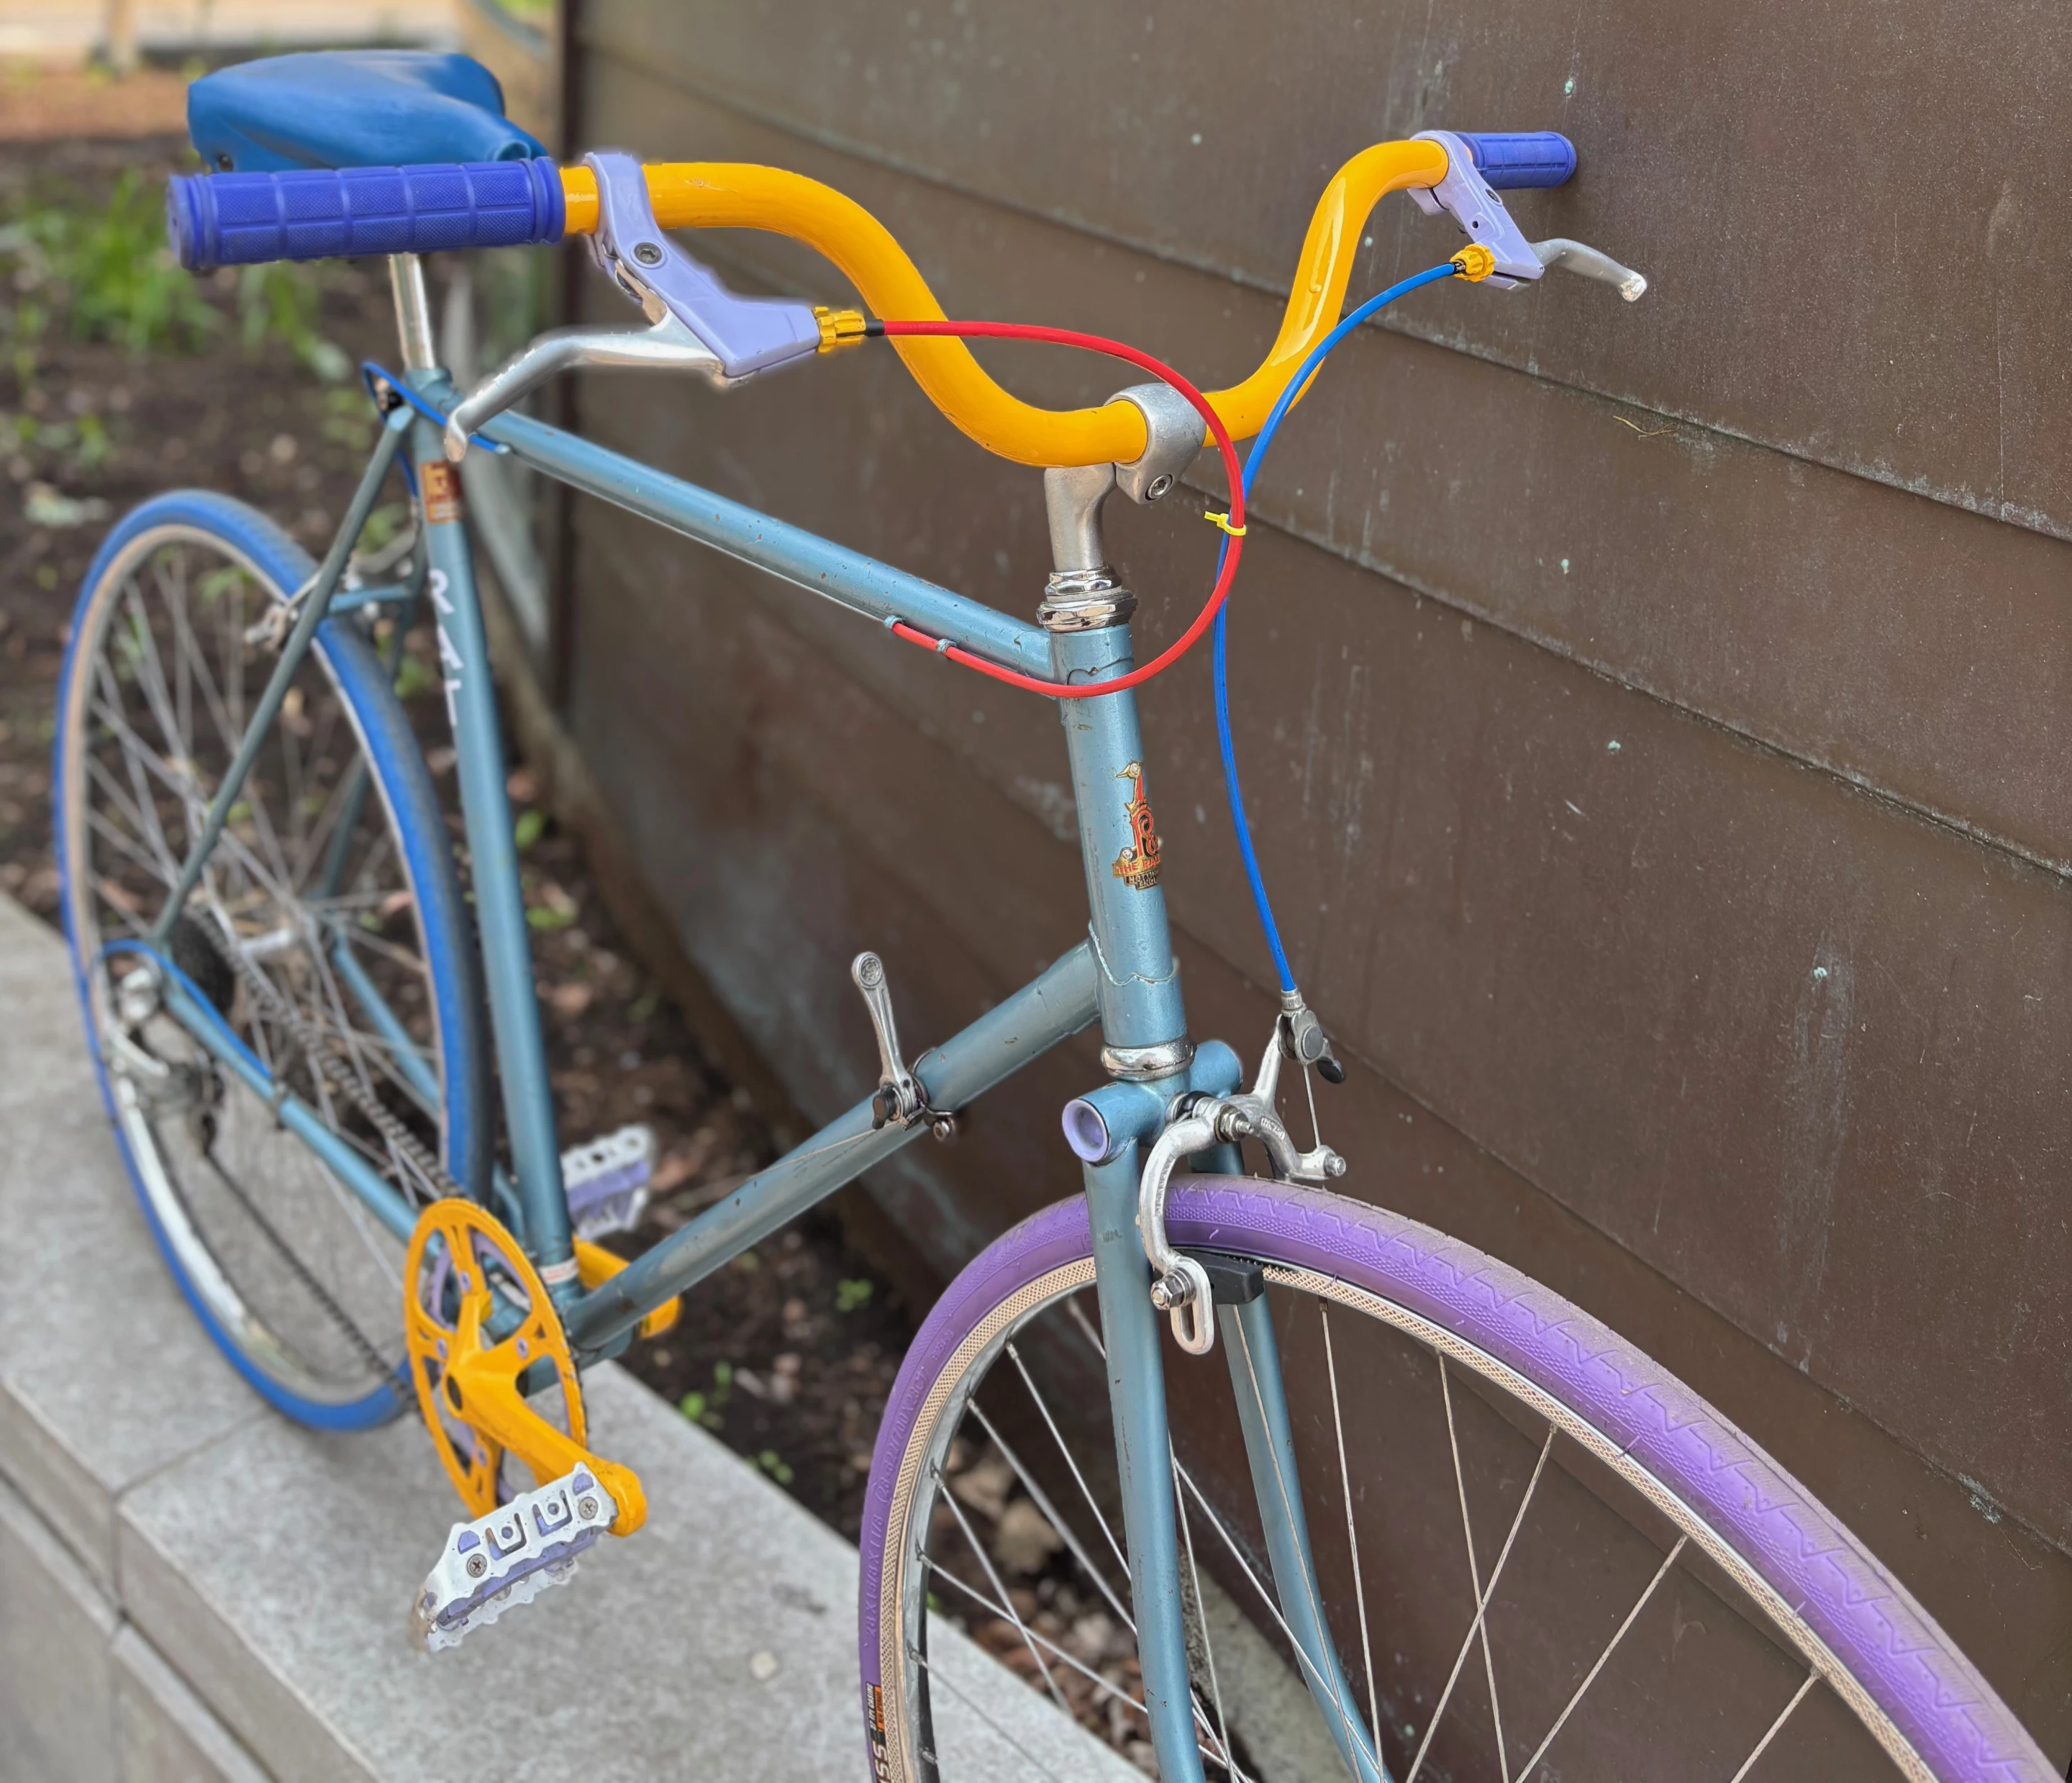
For cruising around town while keeping tabs on the surrounding potholes, traffic and pedestrians, however, many cyclists prefer the more commanding, upright, back-friendly stance offered by a flat handlebar. Swapping one in isn't all that difficult, although you will also have to swap the existing drop-bar brake levers for flat-bar levers.
And keep in mind, you can't use a set of long-reach flat-bar levers that were made for use with old-school mountain bikes' cantilever brakes or V-brakes. For the smaller caliper brakes that your road bike will likely have, you'll need short-reach levers. Should you be in any doubt as to what to get, Tektro's RX 1.0 levers are made specifically for flat-bar conversions.
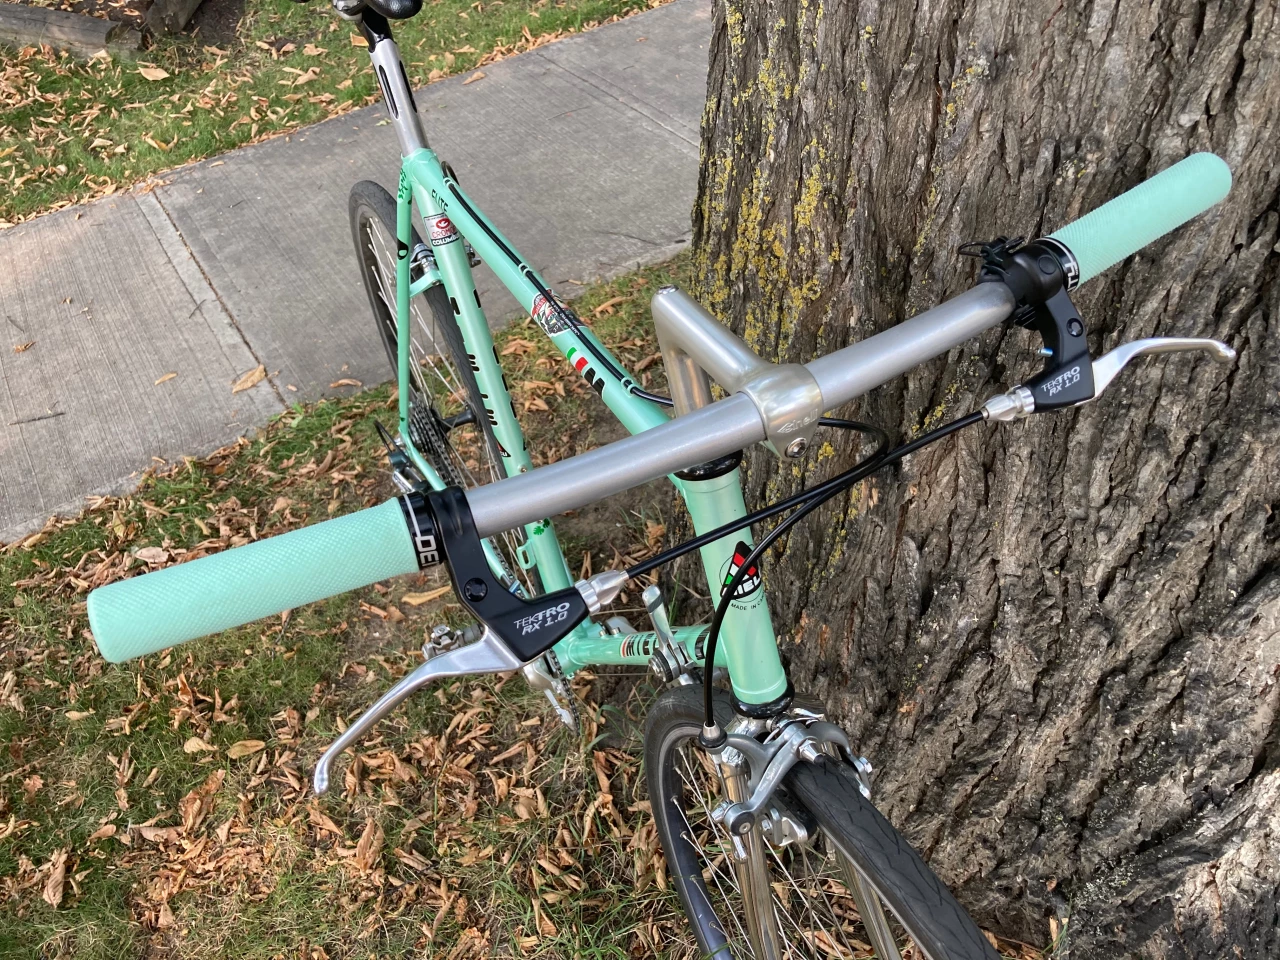
One drawback of going the flat-bar route lies in the fact that your hands will always be located about where they would be if they were on the flats of a drop bar. You can't stretch out and reach farther forward, as you would if you were placing your hands on a drop bar's brake hoods.
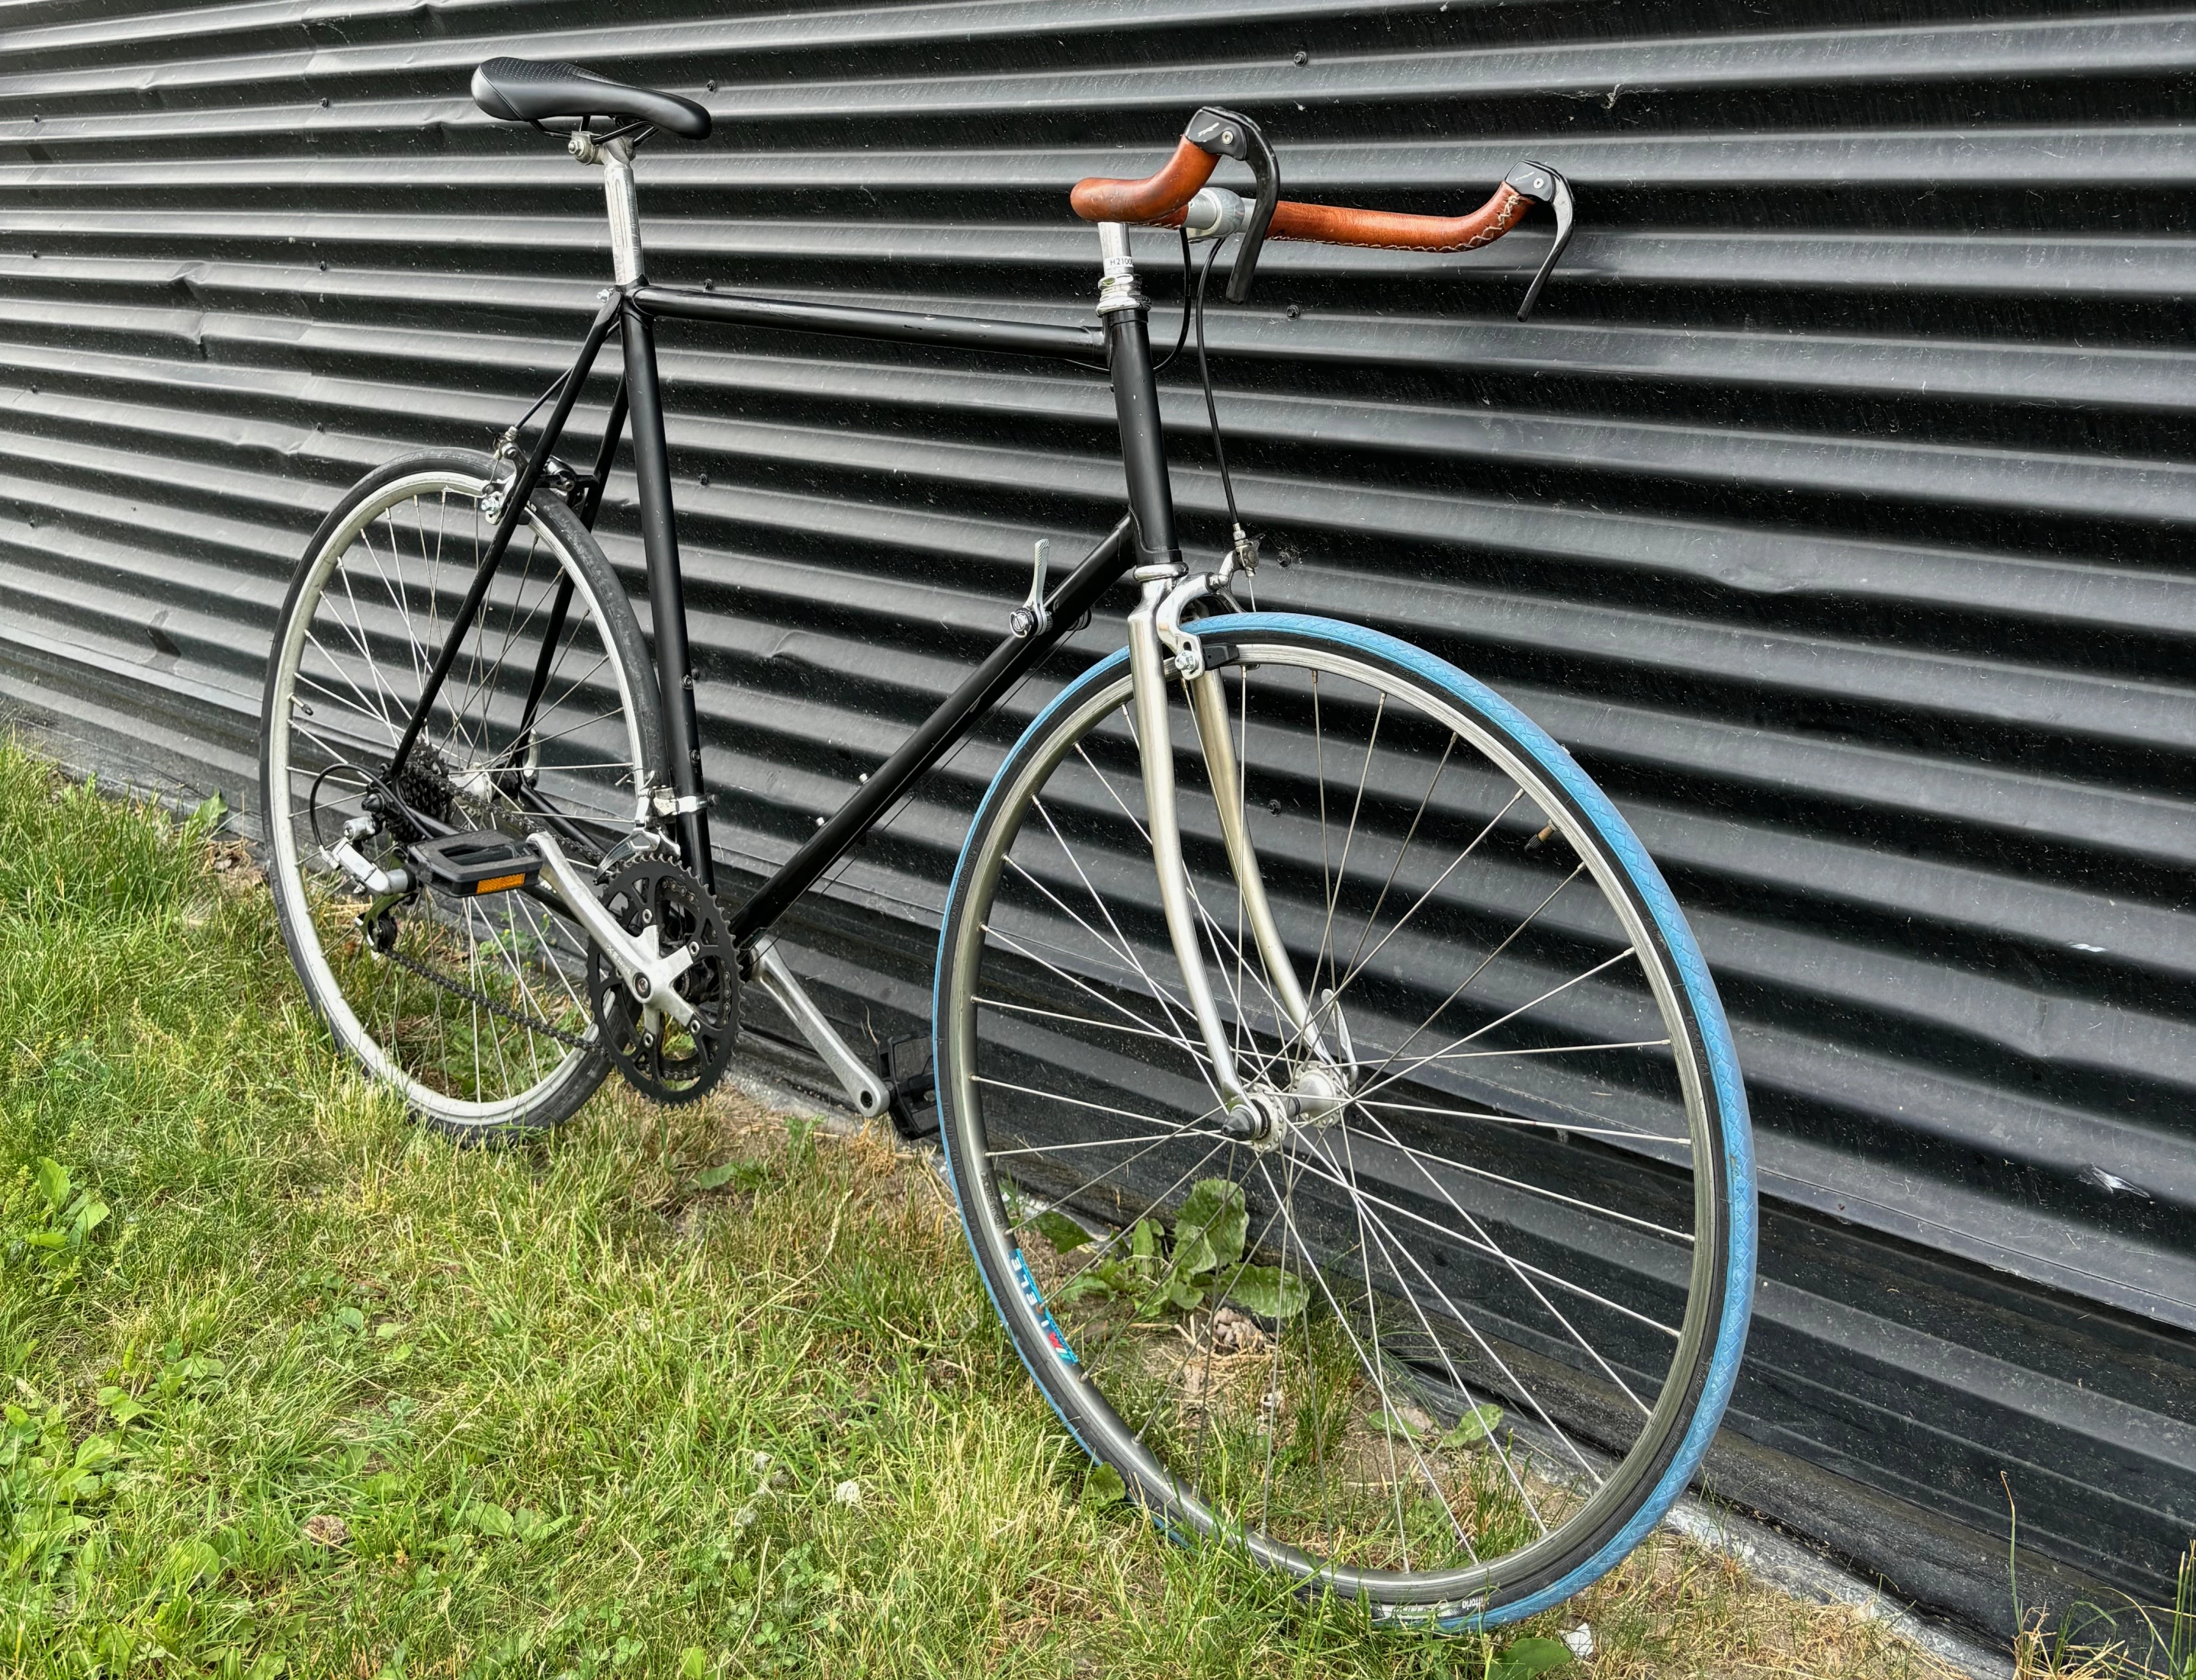
That's where bullhorn bars come in. They have the usual flat section in the middle, but they curve up and forward at the ends. As an added bonus, the bike's existing drop-bar levers will still work on those end sections.
You certainly can buy purpose-built bullhorn bars, but you can also convert the bike's old drop bars. To do so, you just saw off the lower drops themselves, but leave the sections where the bars start to curve down to them. You then simply flip the bars over so those sections curve up. This is what's known as the chop n' flop method.
Simplifying the drivetrain
Road bikes from the 70s thru early 90s – and even from now – are going to have a front derailleur and two (or even three) chainrings. For racing and long-distance touring, those definitely come in handy. On the streets in stop-and-go traffic, though, you may decide that they're extra clutter you don't need. That's why many urban cyclists pare such drivetrains down.
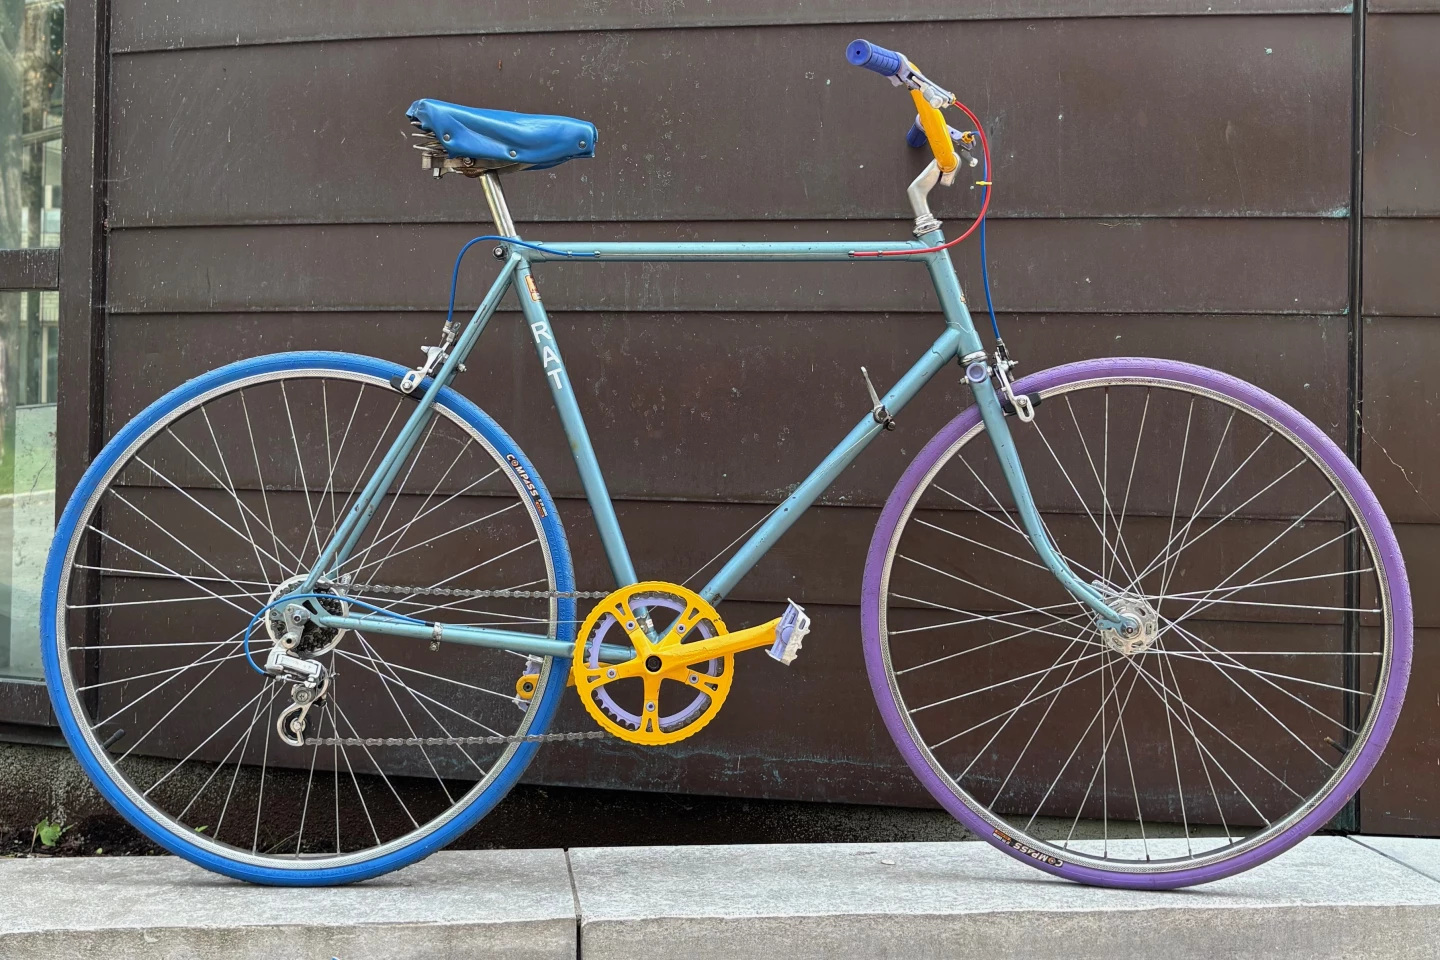

One approach is to channel your inner hipster or bike messenger, and turn the bike into a single-speed or even a fixie. For more versatility, though, you can just get rid of the front derailleur and one of the chainrings, converting the bike into a 1 x 10 (or 1 x 9, or however many cogs it has in the rear).
When you do this to a mountain bike – with its wide spread of many gears, and its tendency to go bouncing over rough terrain – you often have to swap in a new "narrow-wide" chainring. These have teeth that are specially designed to keep the chain from falling off as it moves toward the far inside or outside reaches of the gear cluster.
Since the freewheels or cassettes of old road bikes typically have 10 or fewer cogs that don't span as wide a gear range, you can often get away with just using one of the existing chainrings – no narrow-wide required.
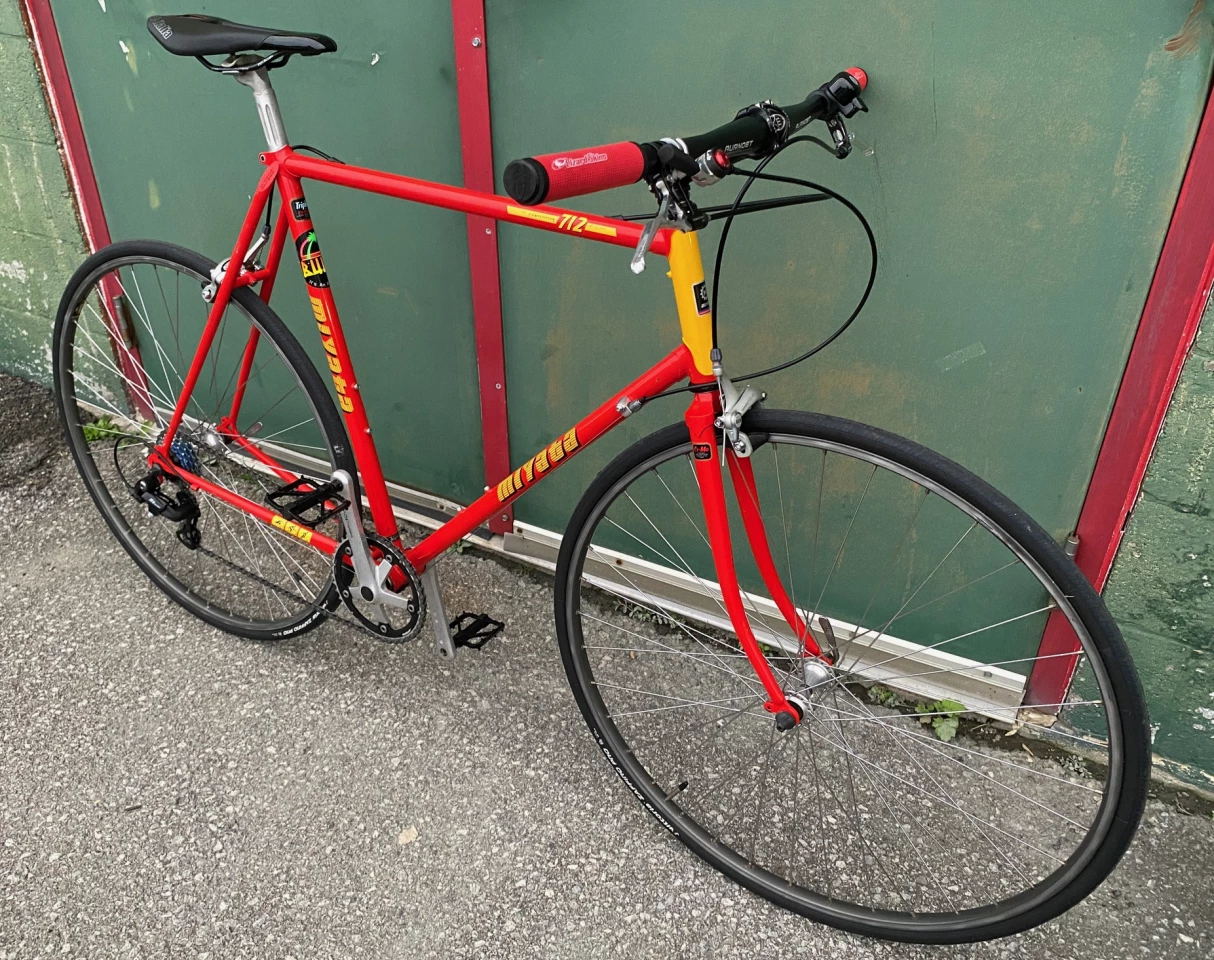
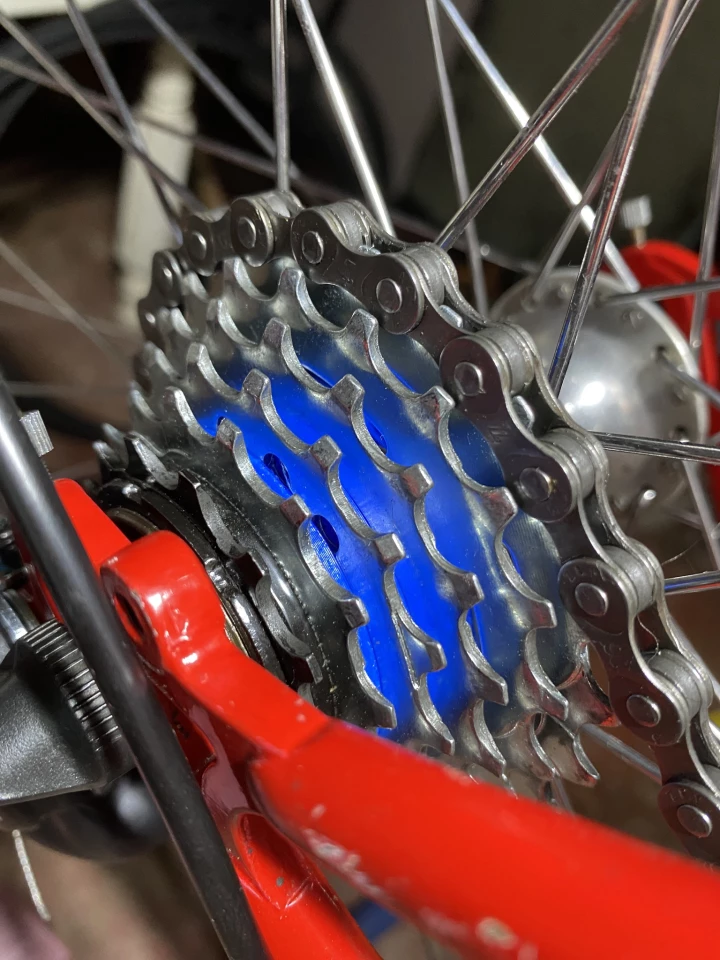
And yes, it is entirely possible that the rear wheel will be equipped with a freewheel, not with a modern freehub and cassette. Fortunately, freewheels are still being made by most major manufacturers, so replacing the one that's on there shouldn't be a problem. Of course, you can also just replace the entire drivetrain with a modern one, but then the whole retro thing kinda starts going out the window.
"Adding personal aesthetic touches while 'upgrading' the functionality of components is where the fun is at for me," says Clint Matthew Dowd. "If a 1x is what you need for your ride then I see nothing wrong with it. Bikes are about the ride and personal expression."
Adapting the shifting
Along with a freewheel, your old road bike will also have down-tube-mounted shift levers. These do take a bit of getting used to if you've never tried them before, but are definitely a hallmark of bikes of the 70s/80s era. If you really can't stand them, though, you can extend the derailleur cable(s) up to a set of bar-mounted shifters.
Additionally, if your bike was made before the mid-80s, it will have friction shifting.

Today's bicycles all have indexed shifting, in which the levers and derailleurs snap precisely from one gear to the next. Friction shifting is more like tuning a radio, as you keep pushing the lever until you hear and feel the derailleur "find the gear." It's a bit of a hassle, relatively speaking, but it's what everyone did up until 1985 or so.
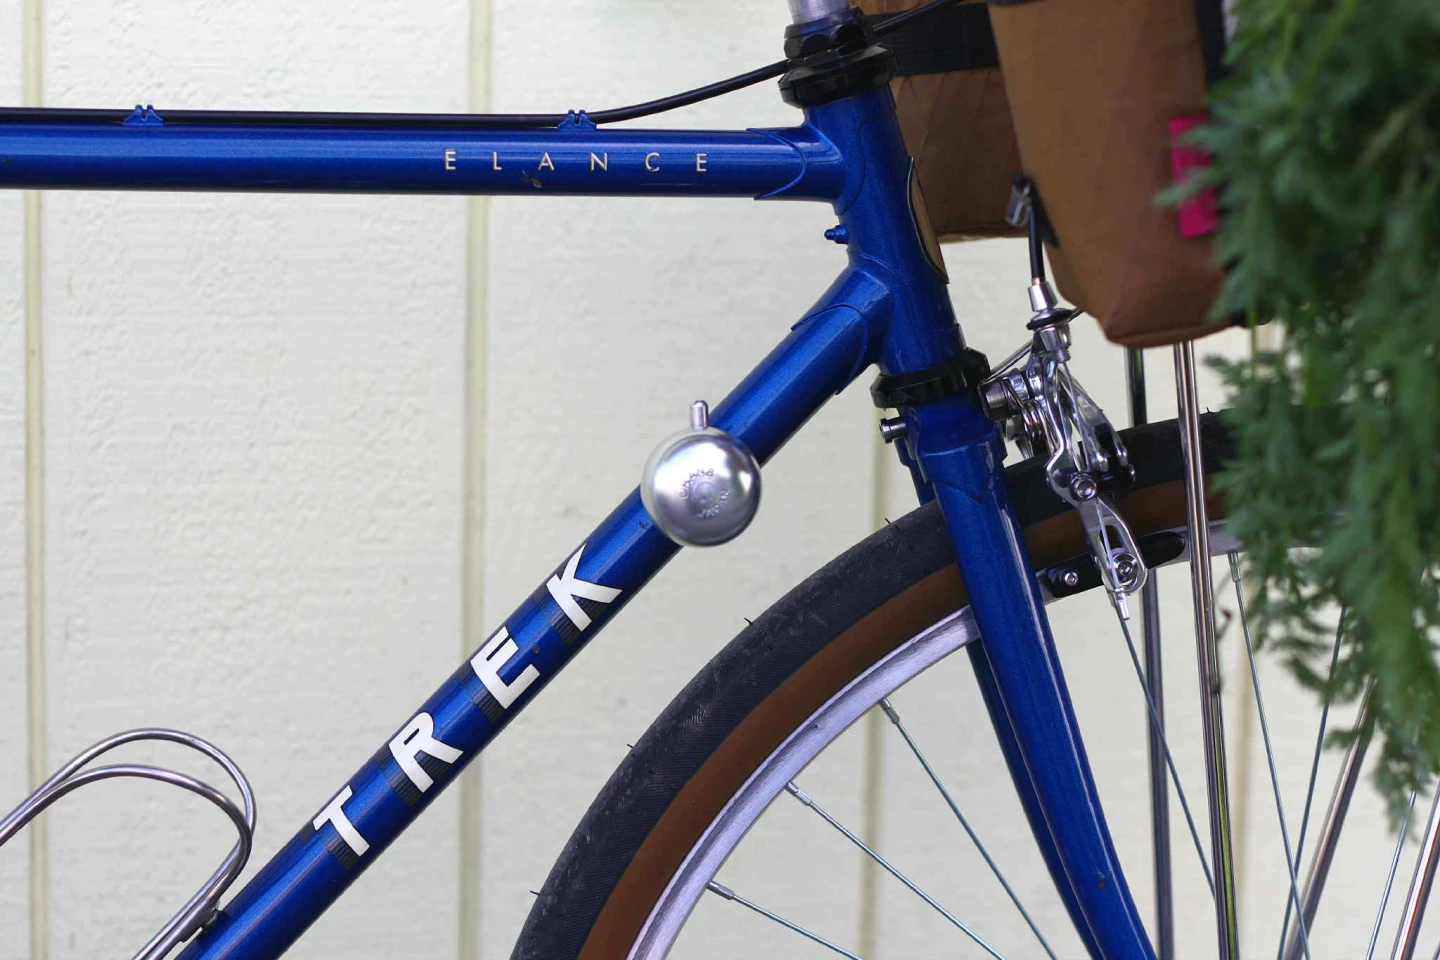
Fussing over the paint
Given the fact that your bike will have been around for 40 years give or take, chances are it will have accumulated a few paint chips, scratches, rust spots and other boo-boos in that amount of time. There are various philosophies regarding what to do about these.
Some people take all the components off the frame, strip off all the decals, then get the whole thing sanded and powder-coated with a fresh coat of paint. This is a big and potentially expensive job, which most folks will probably balk at.
You can also do the opposite, and simply keep the bike in all its dinged-up glory. "I always leave patina if I can," says Tory Jarvis, a restorer from Montreal. "It adds to the charm, makes them more friendly to ride (not a precious trophy) and less desirable to thieves."

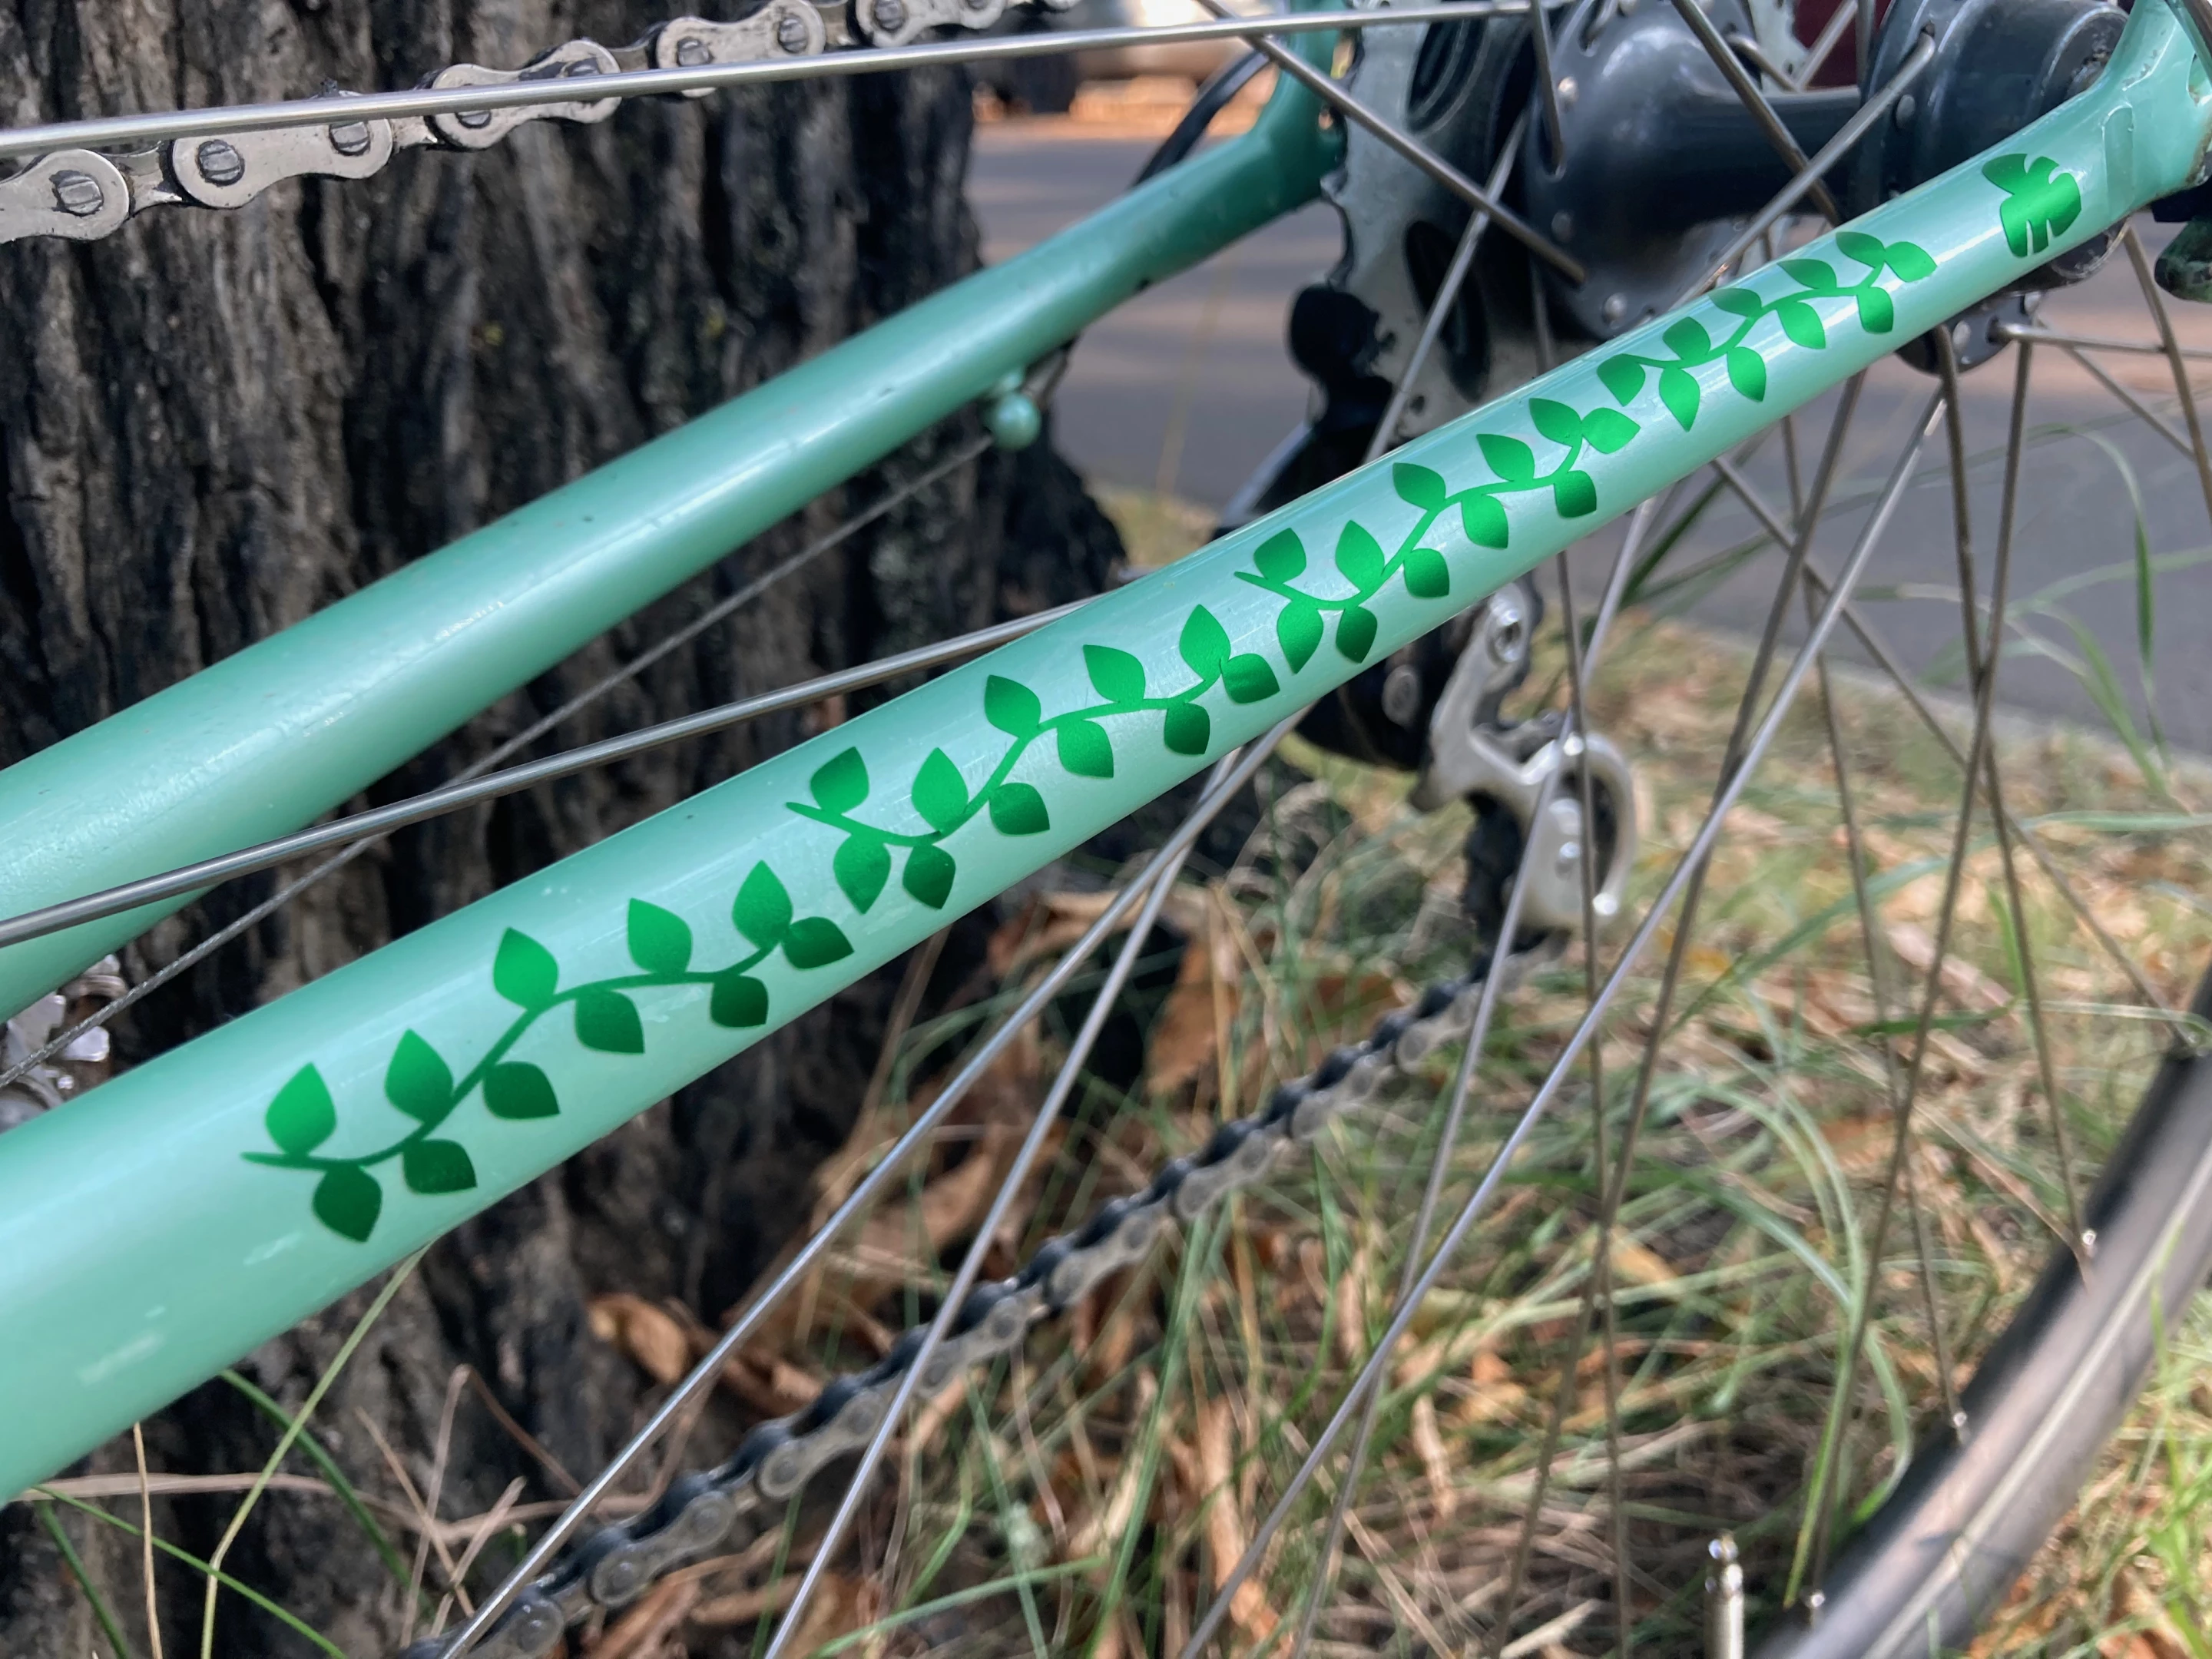
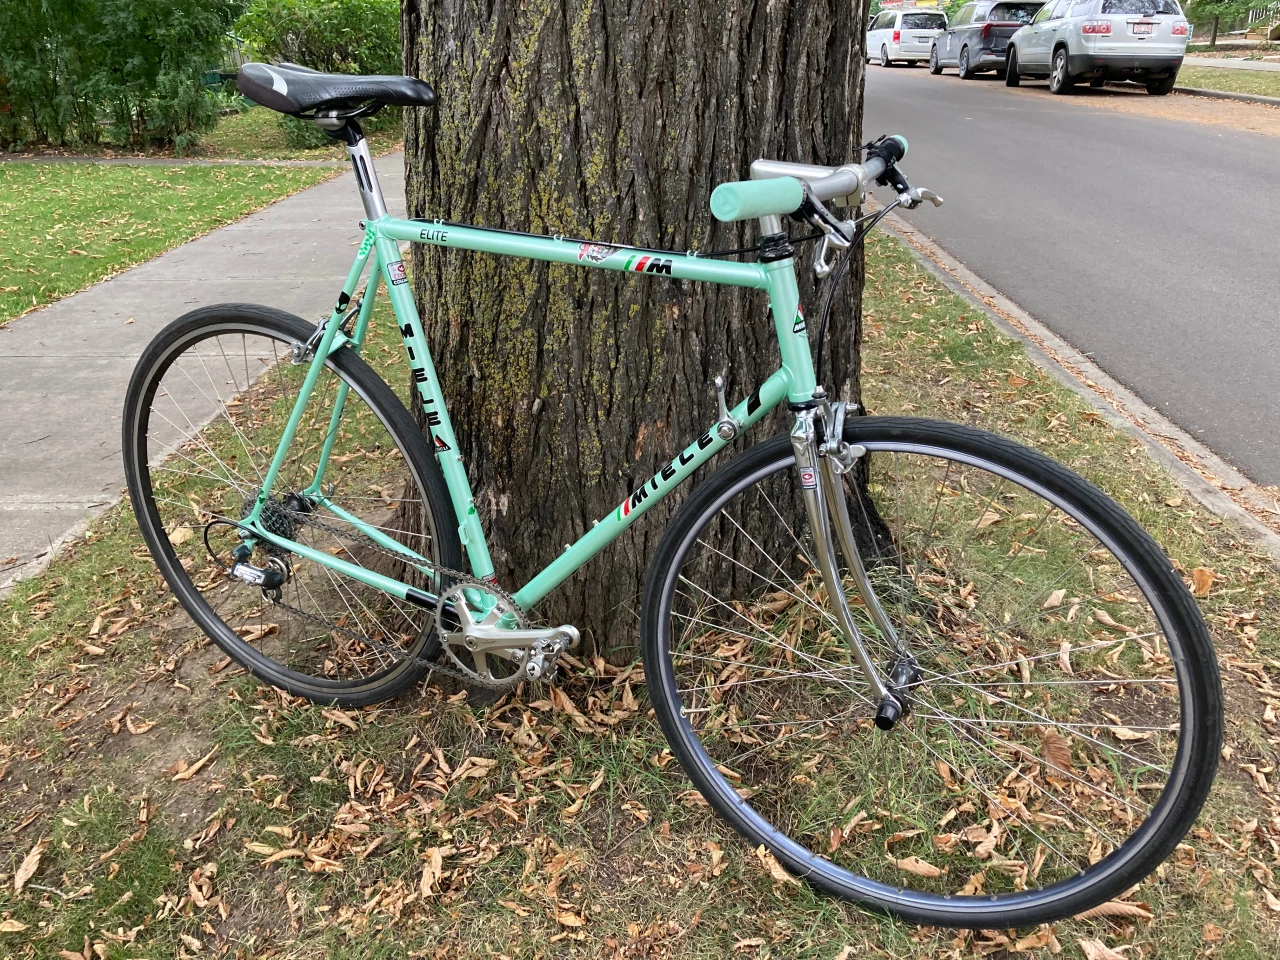
On my Miele, I personally just covered the most noticeable chips, etc with either decals or touch-up paint.
That "paint" is actually a blend of green nail polish and white model paint … which sort of matches the original paint if you look at the bike from a distance in dim lighting.

In any case, nail polish and model paint are available in far more colors than the automotive touch-up paint you might think of using, plus they come in smaller, less expensive bottles.
But isn't the whole idea blasphemous?
There are always going to be people who say that converting race-oriented bikes into commuters is just … wrong. Particularly when those bikes are old time-capsule classics that are valuable to collectors. Such folks, however, probably aren't seeking out the same bikes that you'll be considering.
"I think there are some really special bikes out there that should be restored and appreciated as they were intended. But 99% of bikes, especially from the mid 70s and 80s, are not that," says Tory Jarvis. "They should be used, and used often, because they are still really exceptional bikes. Fix them up so that you will want to ride them. Make a comfortable setup that will have you itching to ride to work, school or errands."
The last word goes to Joel Shinaberry, who adds, "Bikes are made to be ridden, and if your conversion keeps you riding, then that is a win."
For more information and inspiration, check out the Facebook groups Café Cruiser Bicycle and Beautifully Practical Steel Bikes.