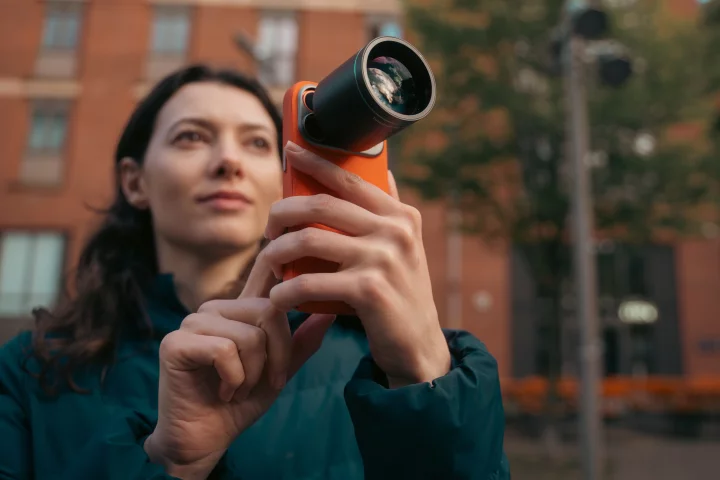
Modern camera lenses are complicated. Really complicated. I know, because I tried to fix the aperture control ring on my Canon 24-105 the other day. To cut a very long and confusing story short, I now have two Canon 24-105 lenses, one of which is completely ornamental. It was a fascinating, if expensive lesson on just how precise and complex a zoom lens mechanism can be.
One of the things you look for in a quality lens is its ability to focus all wavelengths of light to the same convergence point. As you know, different colors represent different wavelengths, and different wavelengths can refract by different amounts when you send them through glass. Imagine having the massive brain required to get all that right on a fixed focal length lens, and then imagine the challenge of focusing all those different wavelengths through no less than 18 bits of curved glass that move in relation to one another when you zoom in and out.
Yeah. Not a simple thing to do. So even on modern, expensive lenses, you often find little bits of chromatic aberration popping up in your photos. It comes in strongest where bright light meets dark or detailed lines – for example, the sun shining through the trees. And it looks like a little color fringe, often purple or green, along the edges.
Here’s an example. I shot this photo of the lovely Robyn and her highly dodgy new husband Simon on the Canon 5D MkIII through a Canon 135mm F/2.0 lens. Here it is in Adobe Lightroom 5, with the basic edits done:

Decent enough shot, but when we zoom in on a bright spot like Simon's collar, the chromatic aberration becomes apparent:

Eww. This is the kind of detail that drives pixel peepers mad. Luckily, Lightroom 5 is absolutely superb at removing these color fringes. Let’s have a look at how.
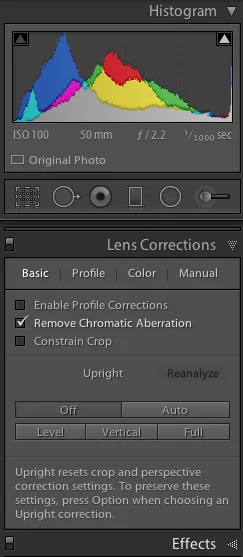
The first thing to do is open the photo in the Develop panel, then scroll down the list on the right hand side to find the Lens Corrections tab. Tick the box labelled "Remove Chromatic Aberration" and let’s see how that goes:


Well, it made a bit of a difference – but it didn’t fix it entirely, probably because this CA is showing up in a weird blue color, and the auto-fix settings tend to work better on green and purple fringing. So let’s get in and play with some more precise settings to see if we can eliminate it altogether.
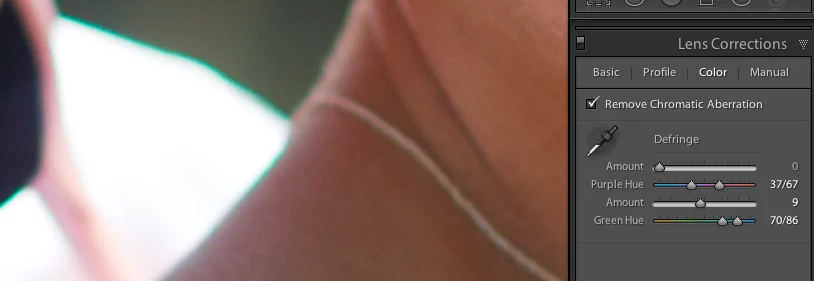
Click on the Color tab under Lens Corrections and you’ll see your Defringe options. You can run two defringe operations at a time, one based around purple, the other around green, but you can widen your spectrum or move it around if your color fringing doesn’t fall within those common colors.

In our case, our CA is a sort of aqua blue, so let’s start on the green hue slider. Raising the amount about halfway, we then widen the Green Hue sliders until that blue fringe is gone:


Great! But looking around at 100 percent magnification and checking the brightest areas I also notice some purple fringing around Simon’s collar. This will not do!

Just raising the top Amount slider does a little bit:

But widening out towards blue gets rid of it entirely:

Great! But what’s this over here on the fingers?

Again this is an easy kill – let’s just widen that Green Hue slider back out to cover more green, and…
Done! Now, let’s zoom out and see how much this has changed the look of the original photo:

Aaaaaand basically, it’s almost impossible to see at this size. But that doesn’t mean it’s not worth doing! CA is the sort of thing that can really make a printed photo look a touch cheap. A lot of lenses will suffer from it under certain conditions, and it’s great to know just how quick and easy it is to get rid of it in Lightroom. Happy snapping!


